Over the past few years, functional programming has earned a reputation for being a highly precise and efficient programming approach. Not only are functional programming languages gaining popularity among developers, but also, many major companies are adopting them to address business challenges.
For instance, Walmart has started utilizing Clojure, a JVM-based functional Lisp dialect, for its checkout system. Jet.com, a major e-commerce platform (now acquired by Walmart), employs F# to develop most of its microservices. Similarly, Jane Street, a proprietary trading company, primarily relies on OCaml to build its algorithms.
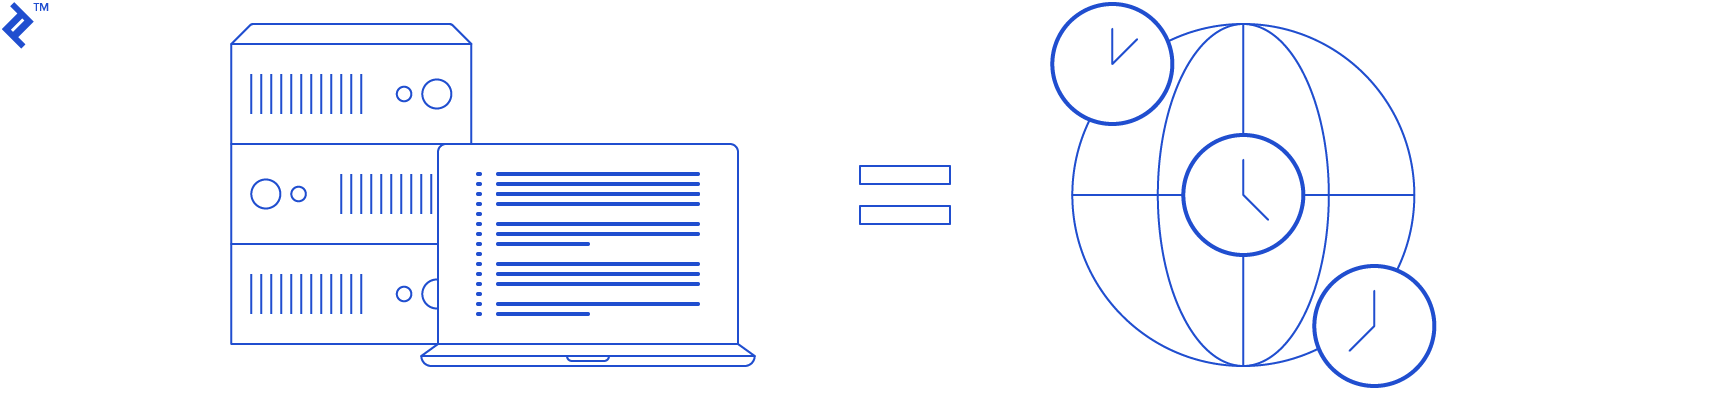
This article will delve into F# programming. F# is experiencing growing adoption due to its adaptability, seamless .NET integration, and excellent tooling. In this F# tutorial, we will construct a straightforward web server and a corresponding mobile app, using solely F# for both the front end and back end.
Why Opt for F# and Its Applications?
We will exclusively utilize F# for today’s project. There are several compelling reasons to choose F# as our preferred language:
- .NET Integration: F# seamlessly integrates with the broader .NET ecosystem, providing ready access to a vast collection of well-supported and comprehensively documented libraries for tackling a wide array of programming tasks.
- Conciseness: F# is remarkably concise thanks to its robust type inference system and succinct syntax. It often provides more elegant solutions to programming challenges compared to C# or Java, resulting in streamlined code.
- Developer Tools: F# boasts excellent integration with Visual Studio, a leading IDE for the .NET ecosystem. For those working on non-Windows platforms, a plethora of plugins are available in Visual Studio Code. These tools make F# programming highly productive.
While I could elaborate further on the advantages of using F#, let’s dive right in!
The Concept Behind Our F# Tutorial
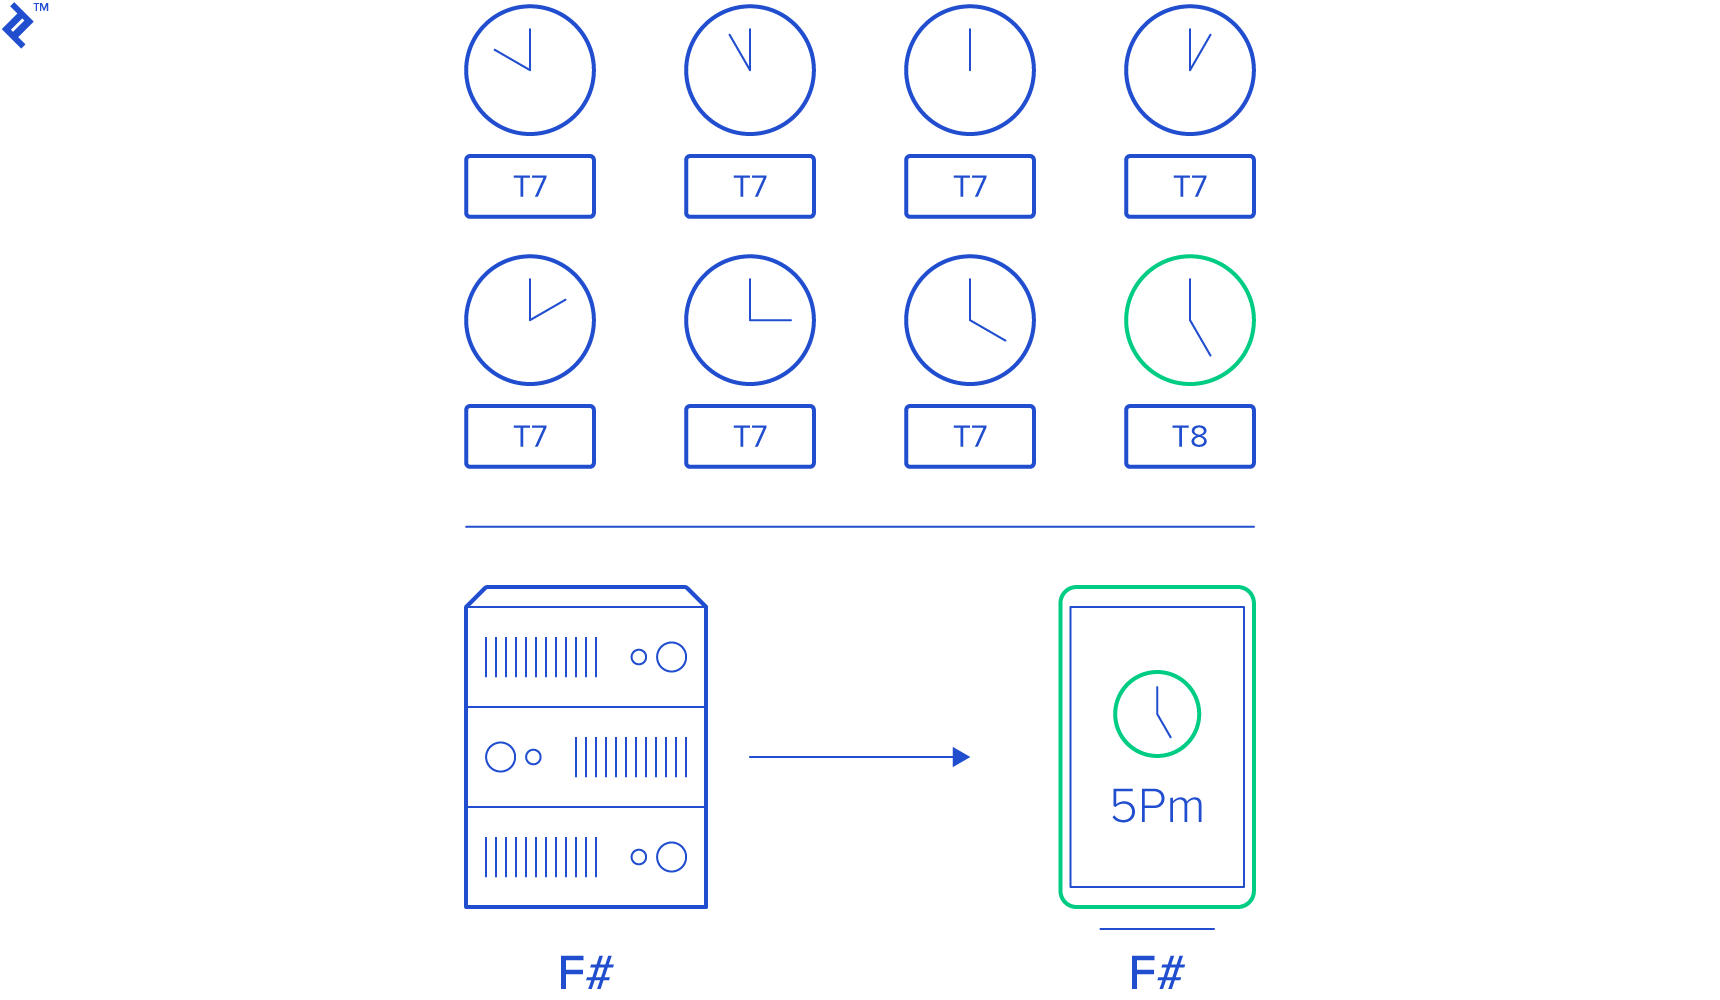
A popular saying in the United States is: “It’s five o’clock somewhere”.
In certain parts of the world, 5:00 pm marks the earliest socially acceptable time to enjoy a drink or a customary cup of tea.
Building upon this concept, we will create an application that constantly scans different time zones, identifies where it’s currently five o’clock, and presents this information to the user.
Building the Back End
Web Server Setup
We’ll start by creating the back-end service responsible for the timezone search functionality. We will use Suave.IO to construct a JSON API.
Suave.IO is an intuitive web framework featuring a lightweight web server, enabling rapid development of simple web applications.
To get started, open Visual Studio and initiate a new F# Console Application project. If this option isn’t available, you might need to install F# functionality via the Visual Studio Installer. Name the project “FivePM”. Once your application is created, you should see something similar to this:
| |
This is a basic starter code snippet that prints the argument and exits with a status code of 0. Feel free to modify the print statement and experiment with different code functions. The “%A” formatter is a special formatter that prints the string representation of any type you input, so experiment with printing integers, floats, or even complex types. Once you’re comfortable with the fundamental syntax, it’s time to install Suave.
Installing Suave is easiest through the NuGet package manager. Go to Project -> Manage NuGet packages, and click the browse tab. Search for Suave and click install. After accepting the packages for installation, you’re all set! Return to your program.fs screen; we’re ready to build the server.
To start using Suave, we first need to import the package. At the top of your program, add the following statements:
| |
This will import the necessary packages for constructing a basic web server. Now, substitute the code in the main function with the following, which defines a simple app and serves it on port 8080:
| |
The code should be quite straightforward, even if you’re unfamiliar with F# syntax or Suave’s route handler definitions. In essence, the web app responds with a 200 status and the string “Hello World!” upon receiving a GET request at the “/” route. Proceed to run the application (F5 in Visual Studio) and navigate to localhost:8080 in your browser; you should see “Hello World!” displayed.
Server Code Refactoring
We now have a web server! However, it doesn’t do much – let’s add some functionality! First, we’ll relocate the web server functionality to build out features without concerning ourselves with the web server (we’ll connect it later). Define a separate function like so:
| |
Now, modify the main function as follows and ensure everything functions correctly:
| |
Press F5, and our “Hello World!” server should operate as before.
Obtaining Time Zones
Next, let’s build the functionality that determines the time zone where it’s currently five o’clock. We aim to write code that iterates through all time zones and pinpoints the one closest to 5:00 pm.
Moreover, we want to avoid returning a time zone extremely close to but slightly before 5:00 pm (e.g., 4:58 pm). For this demonstration, the premise is that it cannot be before 5:00 pm, regardless of how close.
Let’s start by retrieving a list of time zones. This is very straightforward in F# due to its excellent C# integration. Add “open System” at the top and modify your F# application like this:
| |
Run the application, and your console should display a list of all time zones, their offsets, and display names.
Custom Type Creation and Utilization
With the list of time zones, we can transform them into a custom data type that’s more beneficial. We need something containing information like the UTC offset, local time, how far it is from 5:00 pm local time, etc. Let’s define a custom type right above your main function:
| |
Now, we can transform the time zone information from the previous step into a list of these TZInfo objects. Adjust your main function accordingly:
| |
You should now see the tzInfo object for Dateline Standard Time printed on your screen.
Sorting, Filtering, and Piping
With a list of tzInfo objects, we can filter and sort them to find the time zone where it’s 1) after 5:00 pm and 2) closest to 5:00 pm among those meeting condition 1. Modify your main function as follows:
| |
We should now have the desired time zone.
Refactoring the Time Zone Getter
Let’s refactor the code into its own function for later use. Define a function like so:
| |
Run the code; the output should remain the same.
Encoding Return Data as JSON
Now that we can retrieve the time zone data, we can transform it into JSON format and serve it through our application. This is quite simple thanks to the JSON.NET package from Newtonsoft. Go back to your NuGet package manager, locate Newtonsoft.Json, and install the package. Return to Program.fs and make a minor change to your main function:
| |
Running the code now should display the JSON representation of the TZInfo object in your console, instead of the object itself.
Connecting Time Zone Info to the JSON API
Connecting this to our JSON API is very straightforward. Simply make the following changes to your runWebServer function:
| |
Run the application and navigate to localhost:8080 in your browser. You should see the JSON displayed.
Server Deployment
With our JSON API server functional, we can deploy it for internet accessibility. One of the simplest deployment methods is using Microsoft Azure’s App Service – essentially a managed IIS service. To deploy to Azure App Service, navigate to the https://portal.azure.com and go to App Service. Create a new app and go to the deployment center within your portal. The portal can be overwhelming for first-time users; consult one of the many available App Service tutorials if needed.
You’ll see various deployment options; choose whichever you prefer. For simplicity, we’ll use the FTP option.
The App Service relies on a web.config file at your application’s root to understand how to run it. Since our web server is fundamentally a console application, we can publish the application and integrate it with the IIS server using HttpPlatformHandler. In Visual Studio, add an XML file to your project and name it web.config. Populate it with the following XML:
| |
Connect to the FTP server using credentials obtained from the deployment center (you’ll need to click the FTP option). Transfer the web.config file to the wwwroot folder of your app service FTP site.
We’re ready to build and publish our application, but first, a small change to the server code is needed. Go to your runServer function and modify the first three lines as follows:
| |
This allows the application to read the input argument and use the first one as the port number, rather than having port 8080 hard-coded. In the web.config file, we pass %HTTP_PLATFORM_PORT% as the first argument, so we’re all set.
Build the application in release mode, publish it, and copy the published folder to the wwwroot directory. Restart the application, and you should see the JSON API result at the *.azurewebsites.net site.
Our application is now deployed!
Creating the Front End
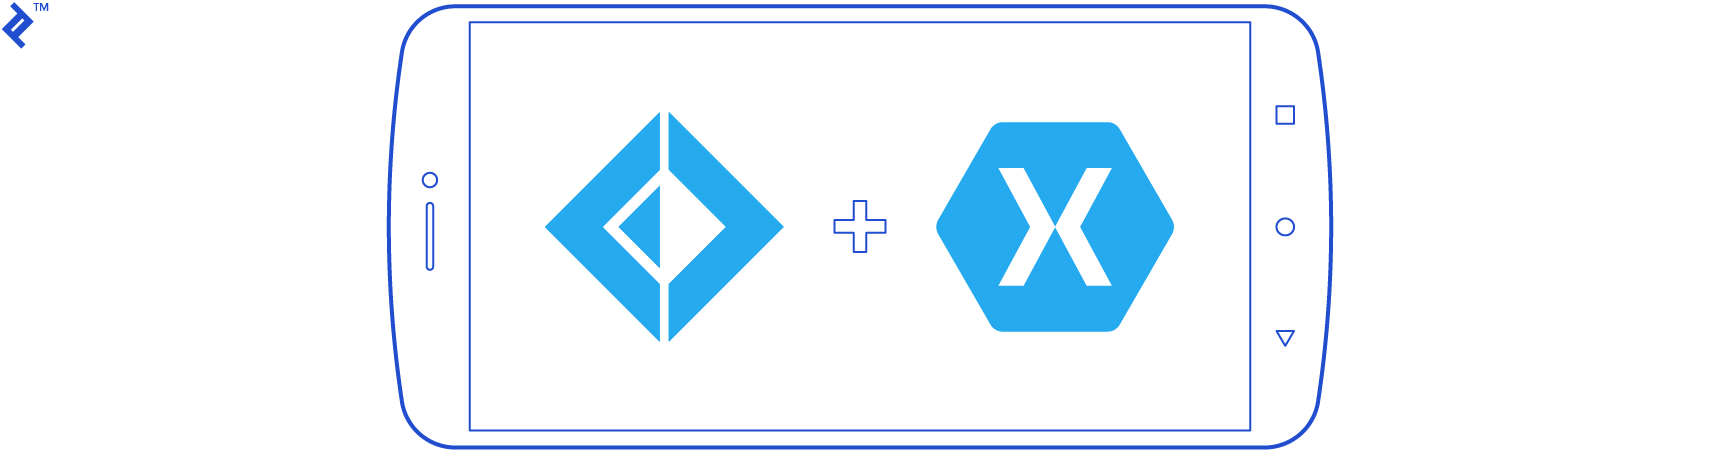
With the server up and running, we can build a front-end application. For this, we’ll create an Android application using Xamarin and F#. This stack, like our back-end environment, boasts seamless integration with Visual Studio. Of course, the F# ecosystem supports various front-end development options (WebSharper, Fable/Elmish, Xamarin.iOS, DotLiquid, etc.), but for brevity, this post will focus solely on Xamarin.Android, leaving others for future exploration.
Front-End Setup
To set up the Android app, initiate a new project and select the Xamarin Android option. Ensure you have Android development tools installed. Once the project is set up, your main code file should resemble this:
| |
This is the starter code for F# Android Xamarin. It currently just tracks button clicks and displays the count. You can test it by pressing F5 to launch the emulator and starting the application in debug mode.
Adding UI Elements
Let’s incorporate some UI elements to enhance functionality. Open resources/layouts and navigate to Main.axml.
You’ll see a visual representation of the main activity layout. Modify UI elements by clicking on them. Add elements from the toolbox by selecting the desired element. Rename the button and add a textView beneath it. Your AXML’s XML representation should look similar to this:
| |
The AXML references the strings resource file, so open resources/values/strings.xml and make the following changes:
| |
The front-end AXML is now ready. Let’s connect it to some code. Go to MainActivity.fs and modify your onCreate function:
| |
Replace fivepm.azurewebsites.net with your deployed JSON API’s URL. Run the application and click the button in the emulator. Shortly, you should see the JSON API returning your API result.
Parsing JSON Data
We’re almost there! Currently, the app displays raw, rather unreadable JSON. The next step is to parse this JSON and output a more user-friendly string. We’ll use the Newtonsoft.JSON library from the server for JSON parsing.
Navigate to your NuGet package manager and search for Newtonsoft.JSON. Install it and return to the MainActivity.fs file. Import it by adding “open Newtonsoft.Json”.
Now, add the TZInfo type to the project. While we could reuse the server’s TZInfo, we only need two fields; let’s define a custom type here:
| |
Add this type definition above the main function, and modify the main function like so:
| |
Now, the JSON API result is deserialized into the TZInfo object and used to construct a string. Run the app and click the button. You should see the formatted string appear on the screen.
While this application is basic and potentially unrefined, we’ve successfully built a mobile app that consumes an F# JSON API, processes the data, and presents it to the user – all in F#. Feel free to experiment with various controls and enhance the design further.
There you have it! A simple F# mobile application and a corresponding F# JSON API that informs the user where it’s currently five o’clock.
Conclusion
Today, we explored the creation of a basic web API and a simple Android application using solely F#, showcasing both the language’s expressiveness and the robustness of the F# ecosystem. However, this merely scratches the surface of F# development. I’ll be authoring additional posts to expand on the concepts discussed today. Hopefully, this post inspires you to embark on building your own F# applications!
You can find the complete code for this tutorial on GitHub.