Mobile applications are becoming ubiquitous, from smartphones and tablets to smartwatches and other emerging wearables. However, creating separate apps for each platform demands significant resources, especially for individual developers or small teams.
This is where Apache Cordova shines. It enables the development of mobile applications using familiar web technologies like HTML5, CSS3, and JavaScript.
PhoneGap, an open-source API for accessing native mobile resources, was created by Nitobi in 2009. Their vision was to empower developers to build mobile applications using web technologies, with the option to incorporate native code for performance enhancements or specific hardware access.
Cordova PhoneGap?
To clarify, there’s no actual “Cordova PhoneGap.” Adobe acquired Nitobi in 2011 and contributed the open-source core to the Apache Software Foundation, where it was renamed Apache Cordova. Think of Cordova as the engine (like WebKit) and PhoneGap as a specific browser built on that engine (like Chrome or Safari).
Initially, the differences between Cordova and PhoneGap were minimal. Over time, Adobe PhoneGap introduced its own proprietary features, while Cordova continues to be supported by the open-source community. This review and tutorial delve into Cordova app development, and while some aspects might apply to PhoneGap, it’s not a PhoneGap-specific guide.
Apache Cordova Capabilities
Cordova essentially has no limitations compared to native app development. It provides a JavaScript API that acts as a wrapper for native code, ensuring consistency across devices. You can picture Cordova as an application container with a web view that fills the device’s screen.
Apache Cordova comes equipped with pre-built plugins for accessing device features like the camera, GPS, and file system. As devices evolve, new plugins are developed to support added hardware.
Importantly, Cordova applications are installed just like native applications. This means building your code for iOS generates an IPA file, Android an APK file, and Windows Phone an XAP file. With careful development, users might not even realize they’re not using a native application.

Apache Cordova Development Workflows
Cordova offers two primary development paths:
- Cross-platform workflow: Ideal for deploying on multiple platforms with minimal platform-specific coding. This approach utilizes the Cordova Command-Line Interface (CLI), simplifying configuration and building for various platforms.
- Platform-centered workflow: Suitable for apps designed for a specific platform. It allows for deeper customization by blending native and Cordova components. This approach can be used for cross-platform development, but it’s more time-consuming.
Starting with the cross-platform workflow is generally recommended. Switching to platform-centered development is easier than the reverse, as the CLI might overwrite customizations during the build process.
Prerequisites and Cordova Installation
Before diving into Cordova, install the SDK for each target platform. This tutorial focuses on Android, but the process is similar for other platforms.
Download the Android SDK from here. Windows users will find an installer, while Linux and macOS users receive an extractable archive. Add the sdk/tools and sdk/platform-tools directories to your PATH environment variable, which Cordova uses to locate necessary binaries.
Ensure you have Java JDK and Ant installed. Set ANT_HOME and JAVA_HOME to their respective bin folders. After installing the Android SDK, set ANDROID_HOME to Android/Sdk. Include all *_HOME locations in your PATH as well.
Once the SDK is installed, use the android command to launch the SDK manager and install the latest tools and Android API. Download essential components, including Android SDK Tools, Platform tools, Build-tools, SDK Platform, Google APIs, system images, sources, and the emulator accelerator. Afterward, create an emulator using android avd.
Cordova CLI relies on Node.js and Git. Download and install Node.js from nodejs.org and Git from git-scm.com. NPM is used for installing Cordova CLI and plugins, while Cordova uses Git to download dependencies.
Finally, run:
| |
to install Cordova CLI globally (using only npm install cordova is insufficient).
Here’s a summary of the required packages:
- Java
- Ant
- Android SDK
- NodeJS
- Git
Update these environment variables accordingly:
PATHJAVA_HOMEANT_HOMEANDROID_HOME
Bootstrapping an Application
With Cordova installed, you can access its command-line utility. Open your terminal, navigate to your desired project directory, and run this command to create a new Cordova project:
| |
This command uses the cordova create subcommand, specifying the project folder, application namespace, and display name. It creates a folder structure like this:
| |
The www folder holds your core application code, shared across all platforms.
Cordova simplifies cross-platform development but allows for platform-specific customization. Avoid directly modifying source files within platforms/[platform-name][assets]/www directories, as they’re overwritten with top-level www files during builds.
Customize application metadata (author, description, etc.) in the config.xml file.
Add your desired platform using:
| |
If needed, remove a platform later with:
| |
Inspecting the platforms directory reveals a new folder for each added platform, containing a copy of the www folder. Customize your app for a specific platform (e.g., Android) by modifying files within platforms/android/assets/www and utilizing platform-specific tools.
Remember that rebuilding with the CLI (for cross-platform development) overwrites platform-specific changes. Utilize version control or make customizations after cross-platform development is complete.
For platform-specific adjustments within the cross-platform workflow, create a merges folder alongside the other top-level directories (hooks, platforms, plugins, and www).
Place customizations within merges/[platform-name]. These changes are applied after the top-level www folder, enabling you to add new files or override existing ones for specific platforms. For instance:
| |
In this structure, the output for Android includes both app.js and android.js, while the Windows Phone 8 output only contains app.js from the merges/wp8 folder, overriding the top-level file.
The plugins directory manages plugin information for each platform. At this stage, it likely only contains android.json with a structure similar to this:
| |
Let’s build the application and deploy it. Cordova offers various CLI commands: cordova prepare, cordova compile, cordova build (combining the previous two), cordova emulate, and cordova run (incorporating build and capable of running the emulator). Typically, you’ll use this command to build and run in the emulator:
| |
To deploy directly to a USB-connected device with USB debugging enabled, run:
| |
This copies files to platforms/* and executes necessary tasks.
Limit the build scope to a specific platform or emulator:
| |
or
| |
Hands-on Apache Cordova Tutorial
Let’s create a simple application demonstrating Cordova and its plugins. The complete demo is available at this GitHub repository.
Using our existing setup, let’s enhance it. We’ll add functionality to add and view projects in a hypothetical Toptal database. Modify index.html to include two tabs:
| |
This incorporates Bootstrap and jQuery Mobile as dependencies. While more sophisticated frameworks exist for building modern hybrid apps, these libraries are familiar to most web developers. Download the stylesheets from GitHub or use your preferred versions.
Next, simplify index.js to:
| |
Cordova apps typically benefit from a Single Page Application (SPA) architecture. Resources are loaded once at startup, remaining in the web view, and eliminating page reloads for a smoother, native-like experience. Let’s create a basic controller for switching between our tabs:
| |
We have two methods: one for the Search View and another for the Post Project view. Initialize this controller in index.js:
| |
| |
Add a script reference to Controller.js in index.html before index.js. The Search and Post views can be downloaded from GitHub. Since partial views are loaded from files, browsers like Chrome might issue cross-domain request warnings. Consider using a local static server (e.g., the node-static npm module) or frameworks like PhoneGap or Ionic, which offer tools like browser emulation, hot reloading, and scaffolding.
Deploy to an Android device:
| |
You should now have an app with two tabs: one for searching projects:
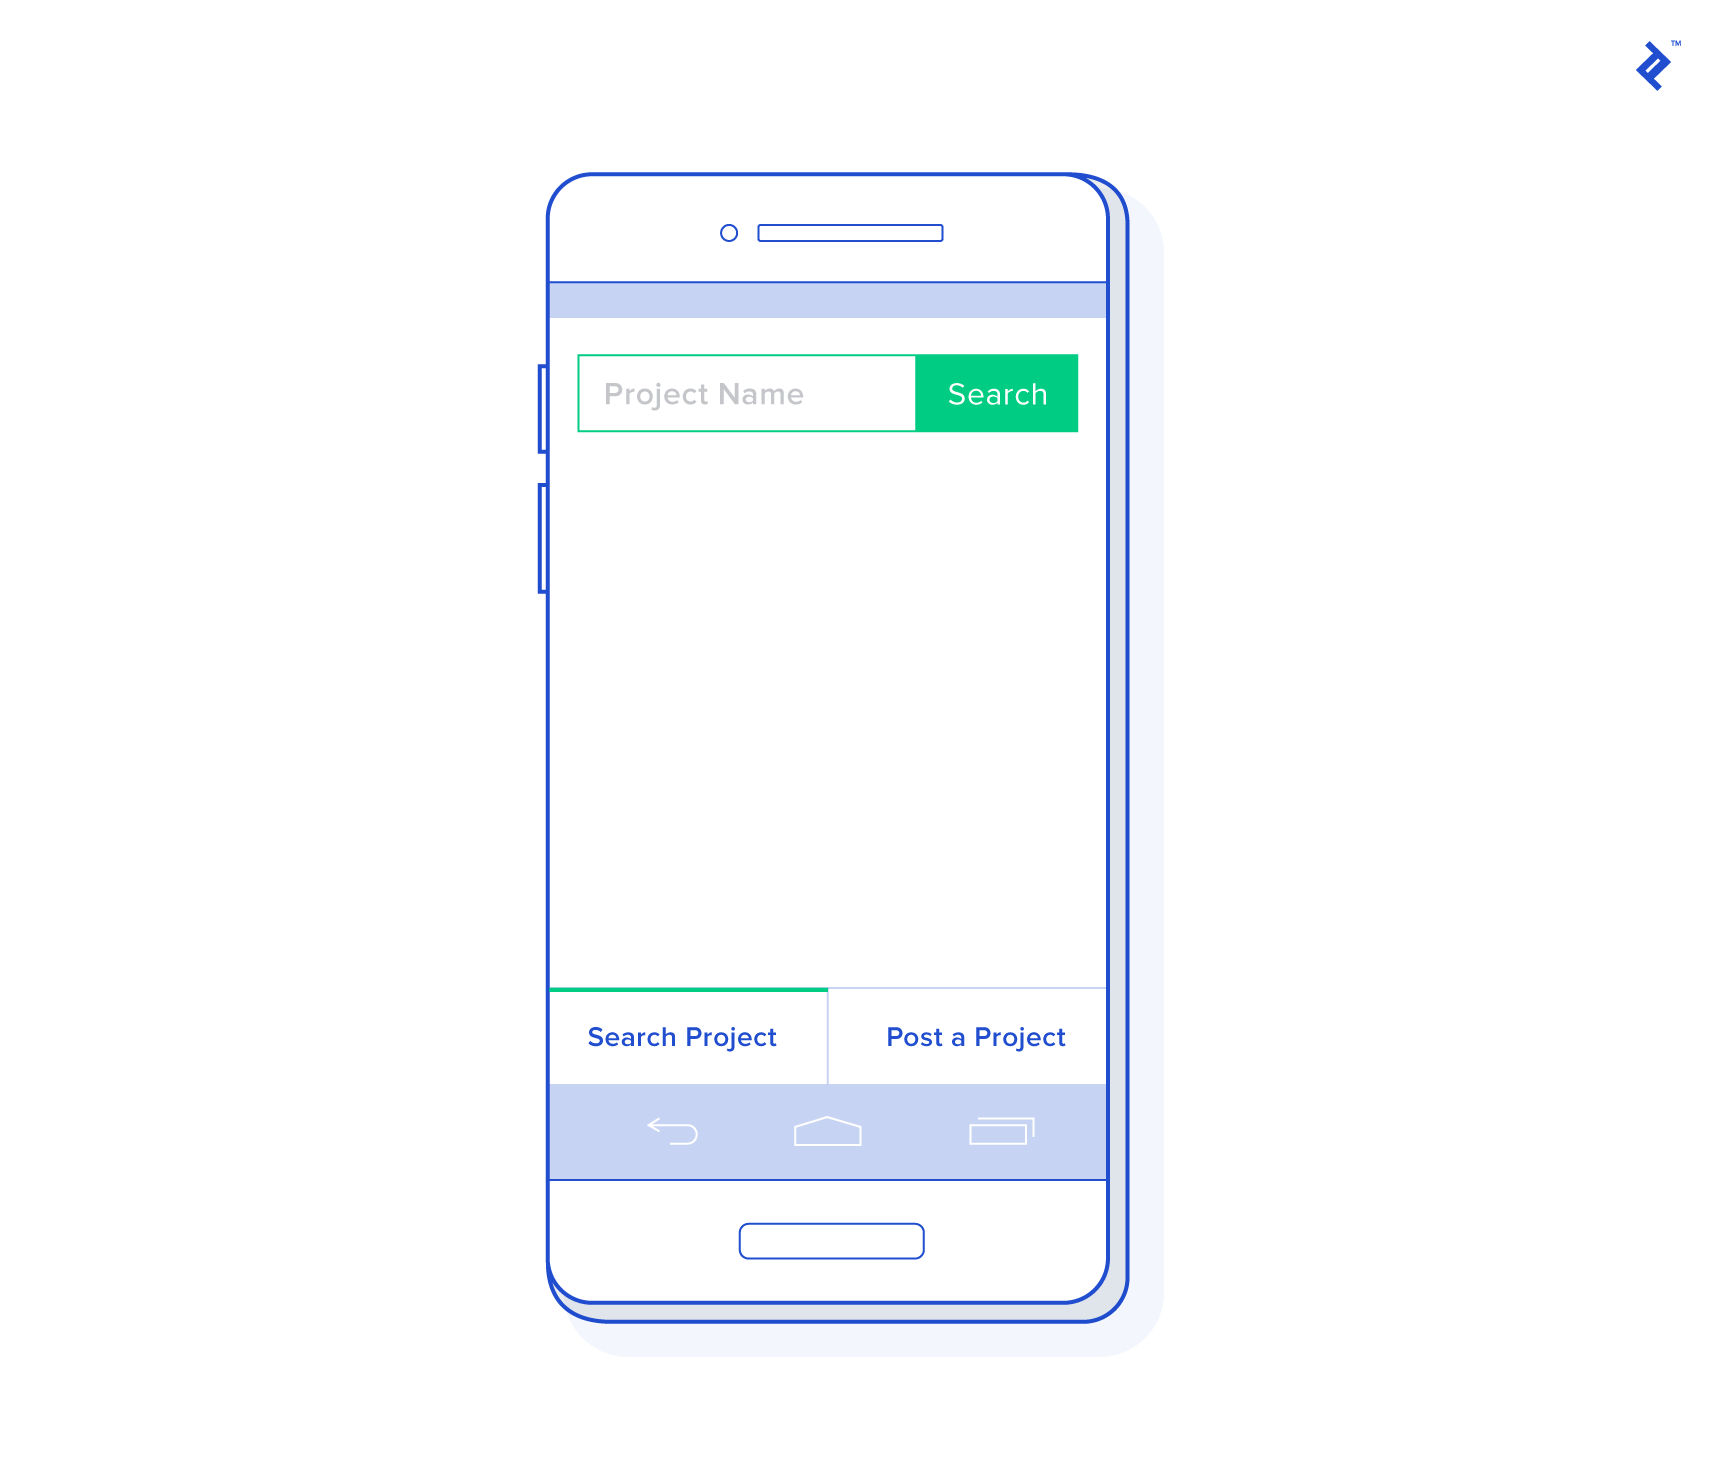
and another for posting new projects:

Currently, it’s a web app within a web view. Let’s leverage some native features. Local data storage is a common requirement. Here are some options:
- LocalStorage
- WebSQL
- IndexedDB
- Server-side storage accessed via web services
- Third-party plugins
LocalStorage is suitable for small amounts of data (3-10MB limit). IndexedDB is a better fit for larger datasets. WebSQL is deprecated and not universally supported. Web services align with the SPA model but fail offline, although PWAs and Service Workers can mitigate this.
Numerous third-party plugins extend Cordova’s core functionality. The File plugin allows interaction with the device’s file system. For this example, we’ll use SQLitePlugin for a local SQLite database:
| |
SQLitePlugin provides an API for interacting with the device’s SQLite database. Create a basic Storage Service:
| |
Retrieve the code for fetching and adding projects from GitHub. Add a reference to SQLiteStorageService.js in index.html above Controller.js and initialize it in your controller:
| |
The service.addProject() method utilizes navigator.geolocation.getCurrentPosition(). Cordova’s geolocation plugin retrieves the device’s location. You can even use navigator.geolocation.watchPosition() for location updates.
Finally, add event handlers to the controller for adding and fetching projects:
| |
Install the console and dialog plugins:
| |
The cordova.console plugin enables console.log() for debugging in emulators.
Debug Android apps via Chrome’s remote debugger. Connect your device, open Developer Tools, go to “More Tools” > “Inspect Devices,” select your device, and access the console. Safari offers similar functionality for debugging iOS apps on connected devices or emulators (enable Developer Tools in Safari Settings > Advanced).
The cordova.dialogs plugin enables native notifications. It’s common practice to override windows.alert:
| |
Call the overrideBrowserAlert function within the deviceready event handler.
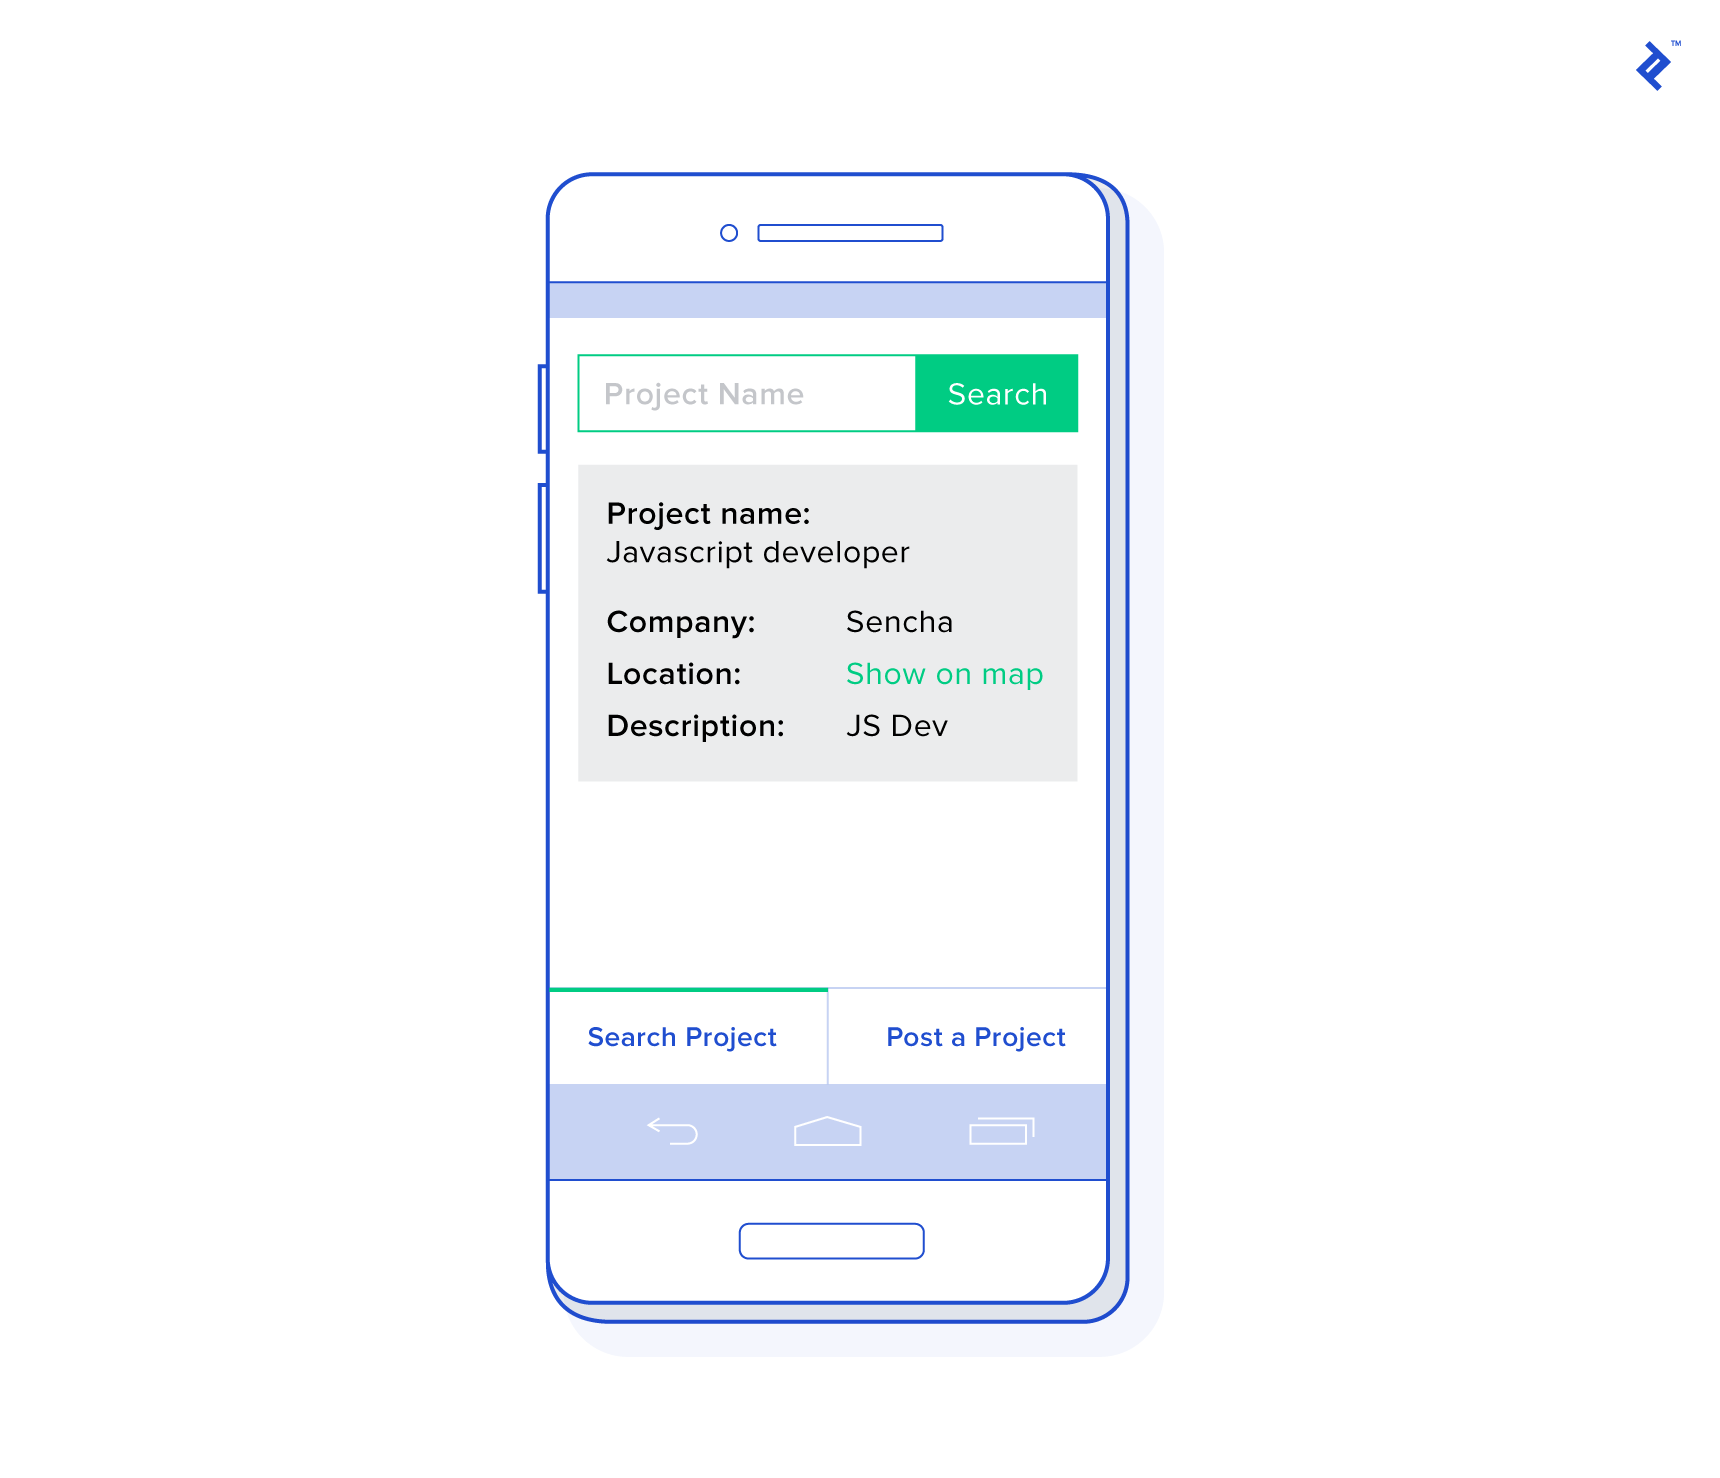
You can now add and view projects in the database. Selecting “Include location” fetches your location using the Geolocation API.
Let’s add an icon and splash screen. Include the following in your config.xml:
| |
Place a logo image in the www/img folder.
Your Own Cordova App
This tutorial provided a glimpse into Apache Cordova app development, highlighting its ability to leverage familiar technologies and expedite cross-platform development.
For production-ready applications, consider using an existing framework for structure, pre-built components, and a native-like feel. Noteworthy frameworks include Ionic, Framework7, Weex, Ratchet, Kendo UI, and Onsen UI.
Good luck building your Cordova applications!