Angular 6 has arrived, bringing notable changes to its CLI and service injection methods. This tutorial guides you through building your first Angular 6 application, or even an Angular/Firebase app, covering initial setup and the creation of a simple diary application.
Angular 6: A Primer
For those new to Angular, here’s a concise overview of its functionality.
Angular is a JavaScript framework designed for building single-page applications (SPAs) that work seamlessly on both desktop and mobile platforms.
The framework offers a comprehensive set of directives and modules, simplifying common web app features like navigation, authorization, forms, and reporting. It also includes packages for testing with the Jasmine framework and running those tests using Karma or Protractor.
Angular’s architecture revolves around components, templates, directives, and services. It has a built-in dependency injection mechanism for services and two-way data binding to link views with component code.
Angular utilizes TypeScript, a typed superset of JavaScript, which can be particularly helpful for developers familiar with typed languages.
Angular 6: What’s New?
Here’s a quick look at the new features in Angular 6:
- Synchronized major version numbers across framework packages (
@angular/core,@angular/common,@angular/compiler, etc.), CLI, Material, and CDK for clearer cross-compatibility. Now, you can easily determine package compatibility at a glance. - New
ngCLI commands:ng updatefor intelligent package upgrades, synchronizing dependencies (e.g., runningng update @angular/coreupdates all frameworks and RxJS). It also executes schematics if included in the package, automatically updating code for breaking changes.ng addfor adding new packages and running associated scripts.
- Services now reference their providing modules, a reversal from the previous approach where modules referenced services.
To illustrate this last change, consider this previous code structure:
| |
…which now becomes:
| |
These are known as tree-shakeable providers, enabling the compiler to eliminate unused services for smaller bundle sizes.
Angular 6 CLI
The ng command-line interface is a vital part of the Angular ecosystem, streamlining the development process.
The CLI simplifies initial app scaffolding, generates new components and directives, and facilitates building and running your app locally.
Setting Up an Angular 6 Project
Let’s dive into some practical coding.
First, ensure you have Node.js and npm installed.
Now, install the CLI:
| |
This installs the ng CLI command globally.
Next, generate the initial structure for your app using ng new:
| |
This creates a my-memories folder containing all the necessary files for your initial setup and installs the required packages. The optional --style=scss switch configures the compiler to process SCSS files into CSS, which we’ll need later.
After installation, navigate to cd my-memories and run ng serve. This initiates the build process and launches a local web server hosting your app at http://localhost:4200.
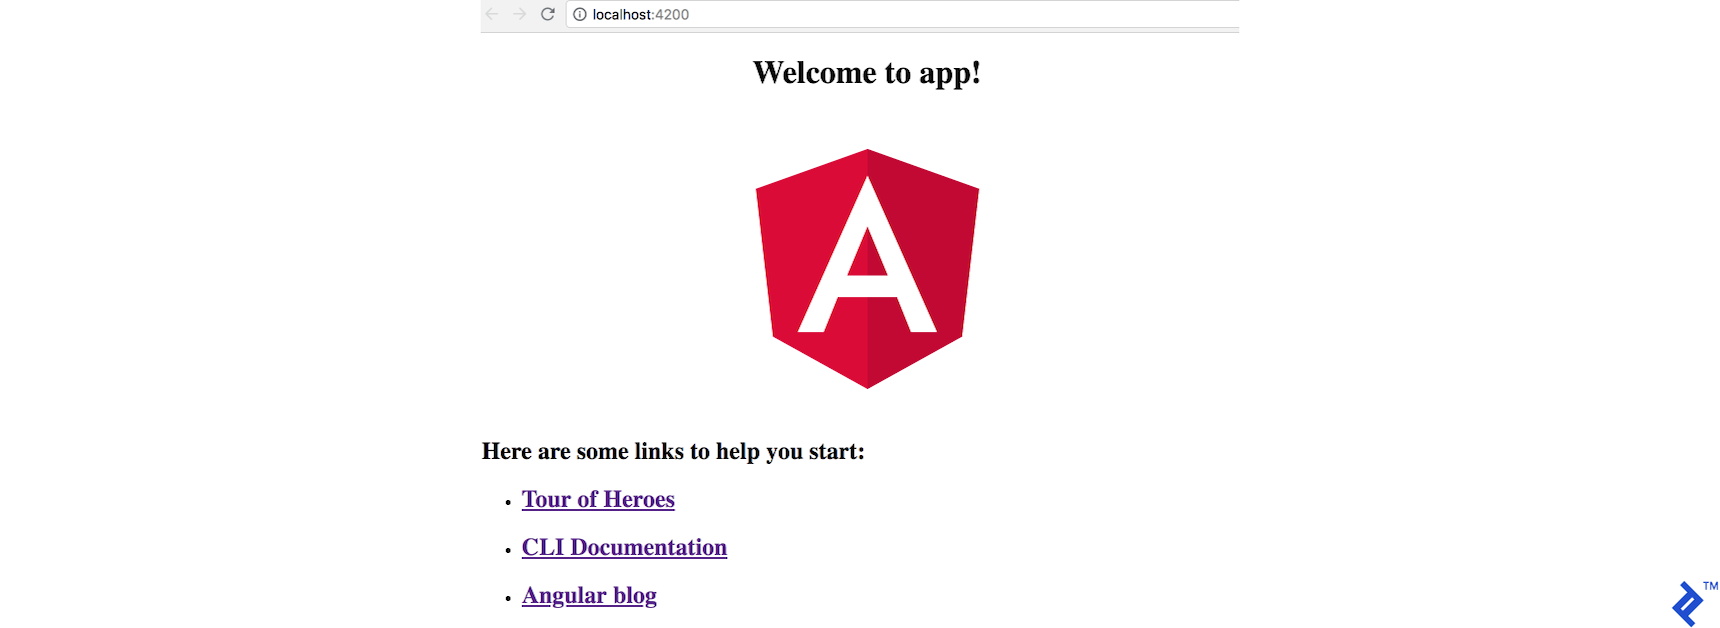
Behind the scenes, the CLI transpiles .ts (TypeScript) files into standard JavaScript, gathers dependencies from the node_modules folder, and delivers the output as a set of files served by a local web server on port 4200.
Project Files
If you’re unfamiliar with Angular’s project folder structure, the key takeaway is that all app-related code resides within the src folder. You’ll typically create modules and directives within this folder, following your app architecture (e.g., user, cart, product.)

Initial Configuration
With the initial setup in place, let’s make some adjustments.
Let’s explore the src folder. The starting point is index.html:
| |
Here, we see basic HTML and the <app-root> tag. This tag represents an Angular component and serves as the insertion point for your component code.
The corresponding app/app.component.ts file defines the component with the selector app-root, matching the tag in index.html.
This component is a decorated TypeScript class, in this case, holding a title property. The @Component decorator instructs Angular to apply the component’s behavior to the class. Besides the selector, it specifies the HTML template and stylesheets to use.
| |
Examining app.component.html, we find the {{title}} interpolation binding. This is where the magic of data binding happens. Angular renders the value of the title property from the component class and dynamically updates it whenever the value changes.
| |
Let’s modify the class’s title to 'My Memories!'.
| |
Observe how the compiler processes the change, and the browser refreshes to display the updated title.
This demonstrates that Angular 6’s ng serve monitors file changes and re-renders the application whenever modifications are detected.
To make coding smoother and avoid full page reloads for every change, we can leverage webpack’s Hot Module Replacement (HMR). HMR updates only the modified chunks of JavaScript or CSS, eliminating the need for complete refreshes.
Setting Up HMR
First, we need to configure the environment.
Create a file src/environments/environment.hmr.ts with the following:
| |
In src/environments/environment.prod.ts, add the hmr: false flag to the environment:
| |
Do the same in src/environments/environment.ts, adding the hmr: false flag:
| |
Next, modify the angular.json file:
| |
And under projects → my-memories → architect → serve → configurations:
| |
Now, update tsconfig.app.json to include the required type by adding this under compilerOptions:
| |
Next, install the @angularclass/hmr module as a development dependency:
| |
Configure it by creating a file src/hmr.ts:
| |
Finally, update src/main.ts to utilize the above function:
| |
Here, we wrap the bootstrap call in an anonymous function and check the environment.hmr flag. If true, we call the function defined in hmr.ts to enable hot module replacement; otherwise, we bootstrap as usual.
Now, running ng serve --hmr --configuration=hmr invokes the hmr configuration. Changes to files will be reflected without a full page refresh. The first --hmr is for webpack, while --configuration=hmr instructs Angular to use the hmr environment.
Progressive Web App (PWA)
To incorporate Angular 6 PWA support and enable offline loading, use the new CLI command ng add:
| |
Note that I’m including the version, as the latest at the time of writing was throwing an error. (You can try omitting it and see if ng add @angular/pwa works for you.)
Running this command triggers several changes in your project. The most important are:
- A reference to
manifest.jsonis added to theangular.jsonassets array, ensuring it’s included in the build output. Additionally,"serviceWorker": trueis enabled for production builds. - The
ngsw-config.jsonfile is generated with the initial configuration to cache essential files for the app. - A
manifest.jsonmeta tag is added toindex.html. - The
manifest.jsonfile itself is created with basic app configuration. - Service worker loading is implemented in the app module:
ServiceWorkerModule.register('/ngsw-worker.js', { enabled: environment.production })(note that the service worker is active only in production).
Now, when a user first visits the URL, the files are downloaded and cached. Subsequent attempts to access the URL without an internet connection will load the app from the cache.
Integrating the Material Angular 6 UI Library
With the initial setup complete, we can start building our app. To leverage pre-built components, let’s utilize the Angular 6 version of Material.
Install the material package using ng add:
| |
This adds new packages and some basic style configurations:
index.htmlnow includes the Roboto font and Material icons.BrowserAnimationsModuleis added to yourAppModule.- The indigo-pink theme is included in
angular.json.

You’ll need to restart ng serve or choose another prebuilt theme for the theme to take effect.
Basic Layout
To create the initial sidenav layout, we’ll use Material’s schematics. However, you’re welcome to use a different layout.
(In essence, schematics apply transformations to your project, allowing you to create, modify, or delete files as needed. In this scenario, we’ll use a schematic to generate a sidenav layout.)
| |
This generates a sidenav component with a basic setup, ready for customization.
It also includes the necessary modules in your app.module.ts.

Since we’re using SCSS, rename my-nav.component.css to my-nav.component.scss and update the styleUrls reference accordingly in my-nav.component.ts.
Now, let’s use the new component. In app.component.html, remove all the initial code, leaving only:
| |
Navigating back to the browser, you should now see:

Let’s customize the links to display only the two options we need.
First, create two new components:
| |
(The second command uses a Material schematic to generate a table.)
Next, update my-nav to configure the links and include the <router-outlet> for displaying content components:
| |
In app.component.html, update the content to have only the main <router-outlet> (remove <my-nav>):
| |
Next, define the routes in your AppModule:
| |
Note that MyNavComponent is set as the parent, with the two newly created components as children. This is because the <router-outlet> is placed within MyNavComponent. When navigating to those routes, the corresponding child component will be rendered in place of the <router-outlet>.
After these changes, running the app should display:

Building the App (A Memories Diary)
Let’s create the form for adding memories to our diary.
Import some Material modules and the forms module into app.module.ts:
| |
Then, in add-memory.component.html, add the form:
| |
We’re using a mat-card and adding two fields: a date input and a textarea.
Note the use of [(ngModel)]. This Angular directive will bind the memory.date expression and the memory property in the class to each other, as we’ll see later. ([(ngModel)] is syntactic sugar—a shortcut to perform two-way data bindingfor two-way data binding between the class and the view. This synchronizes changes made in the input fields with thememory.dateandmemory.text` properties in the component class.
In add-memory.component.ts, the code looks like this:
| |
Here, we initialize the memory property bound via ngModel. When AddMemoryComponent is instantiated, memory starts as an empty object. The ngModel directive then assigns input values to memory.date and memory.text, preventing potential “Cannot set property of undefined” errors.
Add the following styles to add-memory.component.scss:
| |
The line <pre> {{ memory | json }} </pre> displays the current state of the memory object in the view. In the browser, the current result should look like this:

The form is bound to the onSubmit function in the component class using (ngSubmit)="onSubmit()".
| |
Clicking the “Save me!” button logs the internal representation of the user input to the console:

Angular 6 Tutorial: Integrating Firebase
Next, let’s connect our project to Firebase to store our memories.
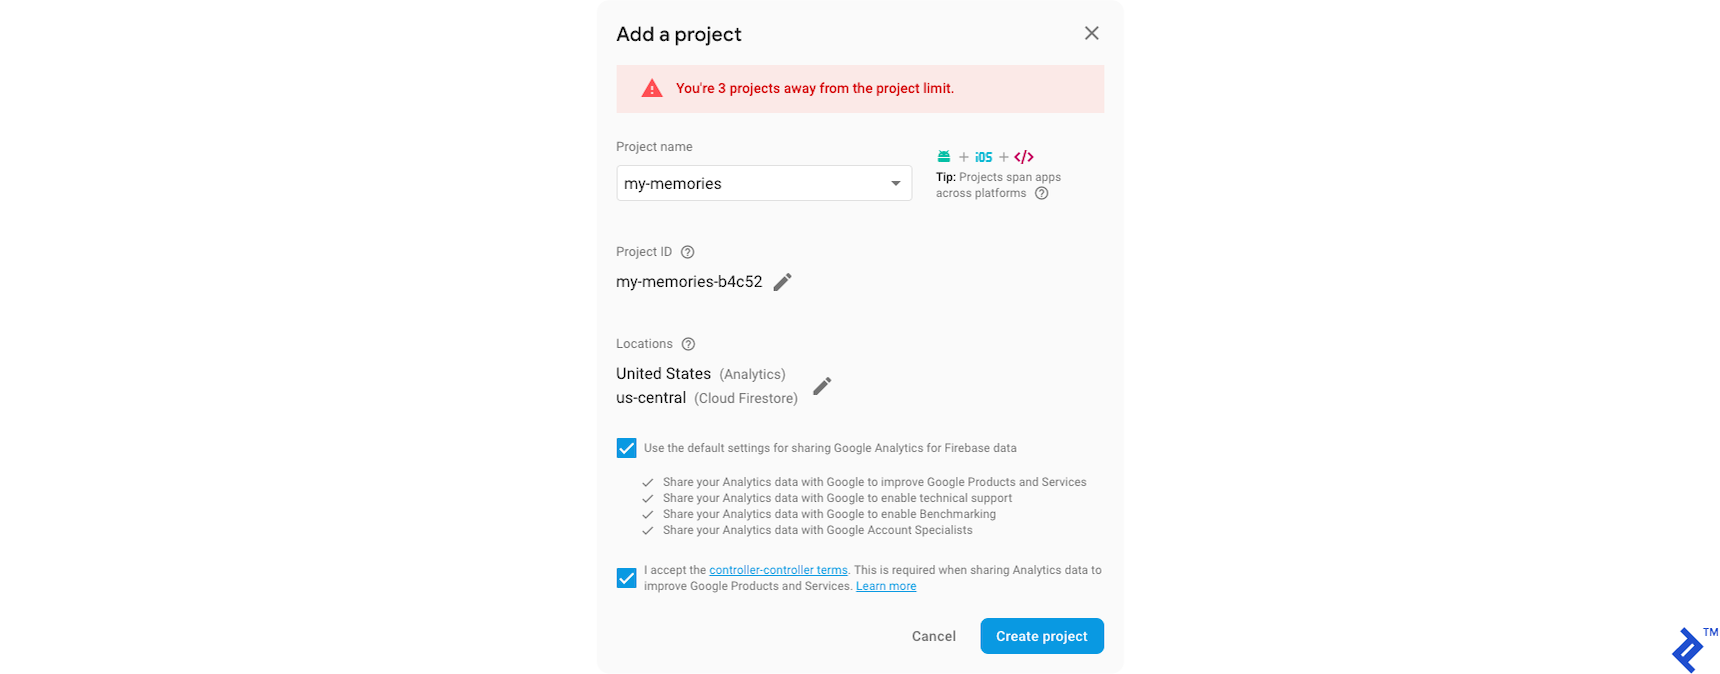
First, head over to the Firebase console and create a new project.
Next, install the firebase and angularfire2 packages:
| |
Add your Firebase configuration to each of these files:
/src/environments/environment.ts/src/environments/environment.hmr.ts/src/environments/environment.prod.ts
The configuration should look like this:
| |
You can find the necessary configuration details by clicking “Add Firebase to your web app” on your project’s overview page in the Firebase console.
Include the Firebase modules in your app.module.ts:
| |
In add-memory.component.ts, inject the database service into the constructor and save the form data to the database. Upon successful data push to Firebase, log a success message and reset the form model:
| |
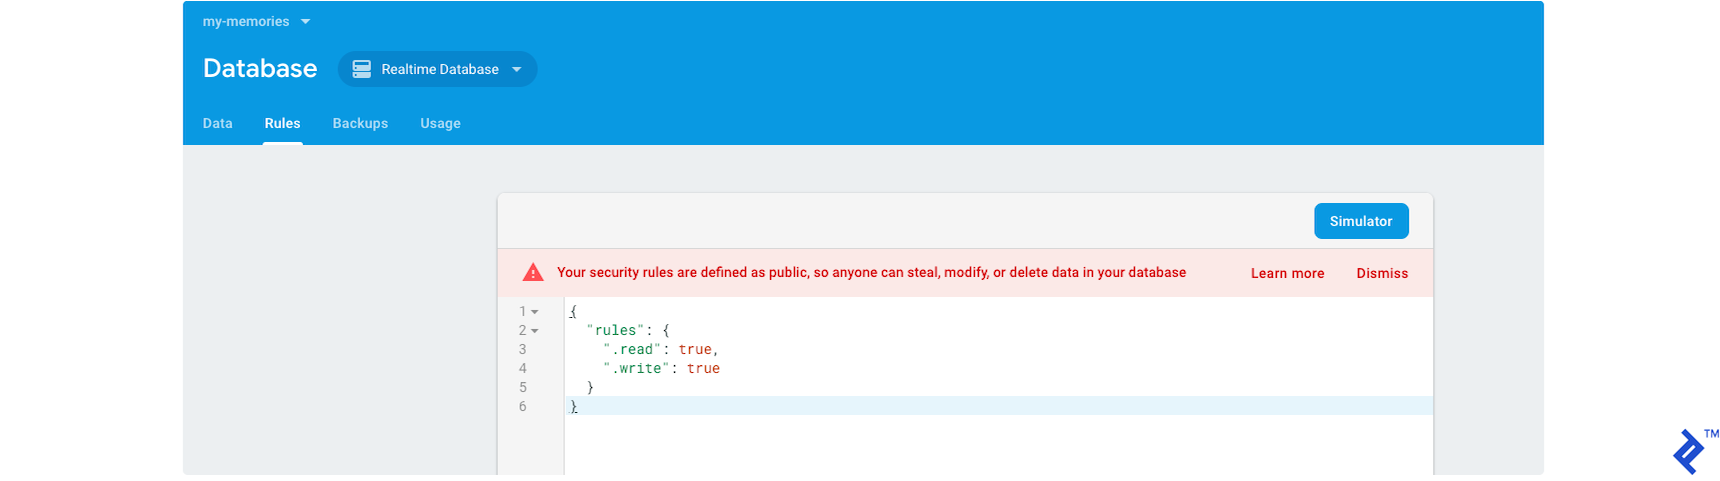
You’ll need to configure your database rules to allow public access for this example, enabling anonymous users to read and write data. Caution: This setup allows any user to modify your app data. Be sure to set up your rules accordingly before you go to production in a production environment.
Restart ng serve to apply the environment changes.
Now, when you click the save button in the browser, the memory is added to the database:

Let’s retrieve and display our memories in the Material table.
Recall that when we created the table using ng generate @angular/material:material-table --name=view-memories, a file named view-memories/view-memories-datasource.ts was automatically generated. This file contains placeholder data, so we’ll modify it to fetch data from Firebase.
In view-memories-datasource.ts, remove the EXAMPLE_DATA and initialize an empty array:
| |
Update the field names in getSortedData:
| |
In view-memories.component.html, change the column names to date and text to match our memory model. Since the date is stored in milliseconds, use the date pipe to format it for display. Remove [length]="dataSource.data.length" from the paginator, as data will be loaded asynchronously from Firebase:
| |
Rename view-memories.component.css to view-memories.component.scss and add the table style:
| |
In view-memories.component.ts, update the styleUrls to reflect the renaming and set displayedColumns to ['date', 'text']. Configure the table’s data source to fetch data from Firebase:
This code subscribes to the memories list and, upon data retrieval, instantiates the ViewMemoriesDataSource and populates its data property with the Firebase data.
| |
Firebase returns an Observable array in the style of ReactiveX.
Note the casting of this.db.list<ViewMemoriesItem>('memories')—the values from the 'memories' path—to ViewMemoriesItem, handled by the angularfire2 library.
We’ve also added an unsubscribe call within the onDestroy lifecycle hook of the Angular component for cleanup.
| |
Deploying to Firebase Hosting
Let’s deploy our app to Firebase Hosting to make it live. Install the Firebase CLI, which provides the firebase command:
| |
Log in using the Firebase CLI:
| |
You’ll be prompted to select your Google account.
Initialize the project and configure Firebase Hosting:
| |
Choose the “Hosting” option.
When asked for the public directory path, enter dist/my-memories. Respond “yes” to configure it as a single-page app (rewriting all URLs to /index.html).
Finally, when asked about overwriting dist/my-memories/index.html, choose “no.”
This creates the Firebase configuration files .firebaserc and firebase.json.
The final step is to run:
| |
This deploys your app to Firebase Hosting, providing you with a URL to access it. You can find my published demo at https://my-memories-b4c52.firebaseapp.com/view-memories.
Congratulations on completing the tutorial! I hope you found it insightful. You can explore more in-depth examples at the full code for it on GitHub.
Taking it One Step at a Time
Angular is a robust framework for building web applications, with a proven track record for projects of all sizes. Angular 6 continues this tradition.
Looking ahead, Angular aims to continuously improve and embrace new web paradigms like web components (Angular Elements). If hybrid app development piques your interest, check out Ionic, which leverages Angular as its foundation.
This tutorial covered the fundamentals of Angular, Material, and Firebase. For real-world applications, you’ll need to incorporate validation and adhere to best practices like utilizing services, creating reusable components, and more. Those topics will have to wait for another article. For now, I hope this has sparked your enthusiasm for Angular development!