Many applications implement login systems to allow users to preserve their data, maintain personal profiles, or access restricted content. Modern applications typically offer features like email verification, password resets, and multi-factor authentication to enhance security and user experience. While crucial, these features are complex to implement correctly and often detract from the app’s core functionality.
Users also find the registration process tedious, requiring them to manage numerous email and password combinations. This often leads to password reuse, posing significant security risks.
Single sign-on (SSO), commonly recognized as “login with social media” buttons, emerged to address these challenges. SSO simplifies the login process for users while reducing user friction for businesses. For developers, SSO delegates the complexities of user authentication to established identity providers like Facebook, Google, or Twitter. This simplifies development by reducing the code required and relying on the identity provider’s authentication process.
OpenID Connect (OIDC) and SAML are the protocols underpinning SSO. While SAML finds its niche in enterprise applications, OIDC, built on OAuth2, is favored by social identity providers. This article focuses on OIDC/OAuth2 for SSO implementation.
This Flask login tutorial provides a step-by-step guide to integrating an SSO login button into a Flask application. We’ll be using SimpleLogin as the identity provider and Requests-OAuthlib to streamline OAuth integration. For those interested in a from-scratch implementation, refer to Implement SSO Login – the raw way.
By the end of this tutorial, you will have a Flask application with the following:
- A homepage featuring login buttons
- A user information page displaying user details like name, email, and avatar, accessible after successful login
The complete code for this tutorial is available on flask-social-login-example repository.
A live demo can be accessed at here. Feel free to experiment with the code on Glitch.
Step 1: Setting Up the Flask App
Begin by installing flask and Requests-OAuthlib. Consider using virtualenv or pipenv for environment isolation.
pip install flask requests_oauthlib
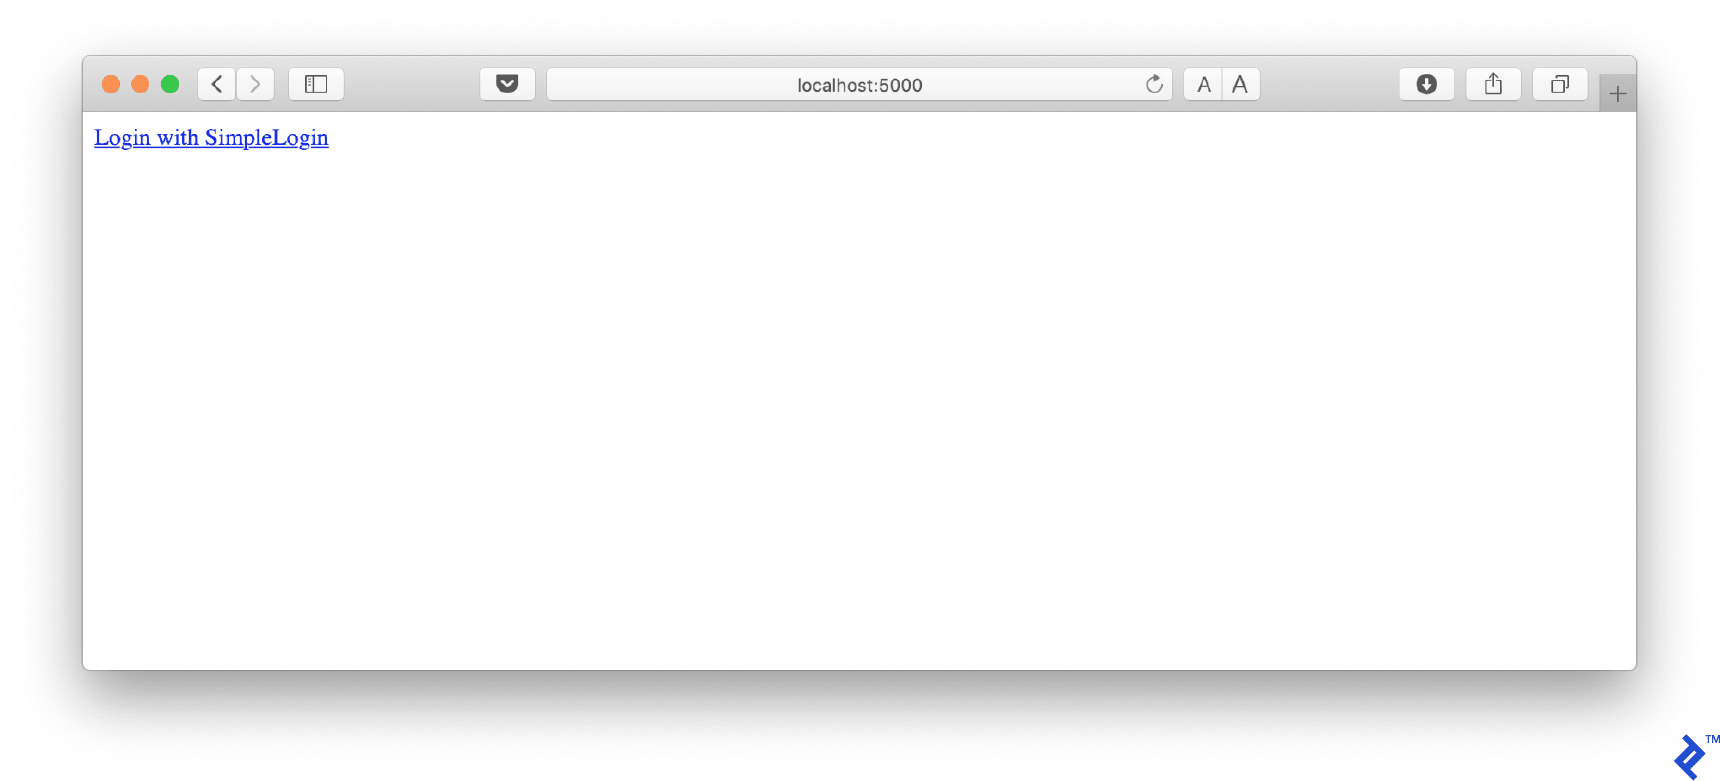
Create app.py and define the route for displaying the login button on the homepage:
| |
Run the application to ensure everything functions correctly:
| |
Accessing http://localhost:5000 should now display the homepage. The complete code for this step is available at step1.py.
Step 2: Obtaining Identity Provider Credentials
With numerous identity providers available, this tutorial will utilize SimpleLogin due to its user-friendly developer experience. The code remains adaptable to other OAuth2 providers. (Full disclosure: I am a co-founder of SimpleLogin, which influenced this choice.)
Create an account on SimpleLogin and navigate to the Developer tab to create a new app.
Within the app details page, locate and copy your AppID and AppSecret. These values represent the OAuth client-id and client-secret and should be stored securely as environment variables. This approach enhances security and represents the third factor in the The Twelve Factors.

| |
In your app.py file, add the following lines to retrieve the client id and client secret from environment variables:
| |
Additionally, include the following OAuth URLs at the top of app.py. These URLs are available on the OAuth endpoints page.
| |
To avoid setting up SSL for now, configure Requests-OAuthlib to permit plain HTTP:
| |
As before, the code for this step can be found at step2.py.
Step 3: Implementing Login Redirection
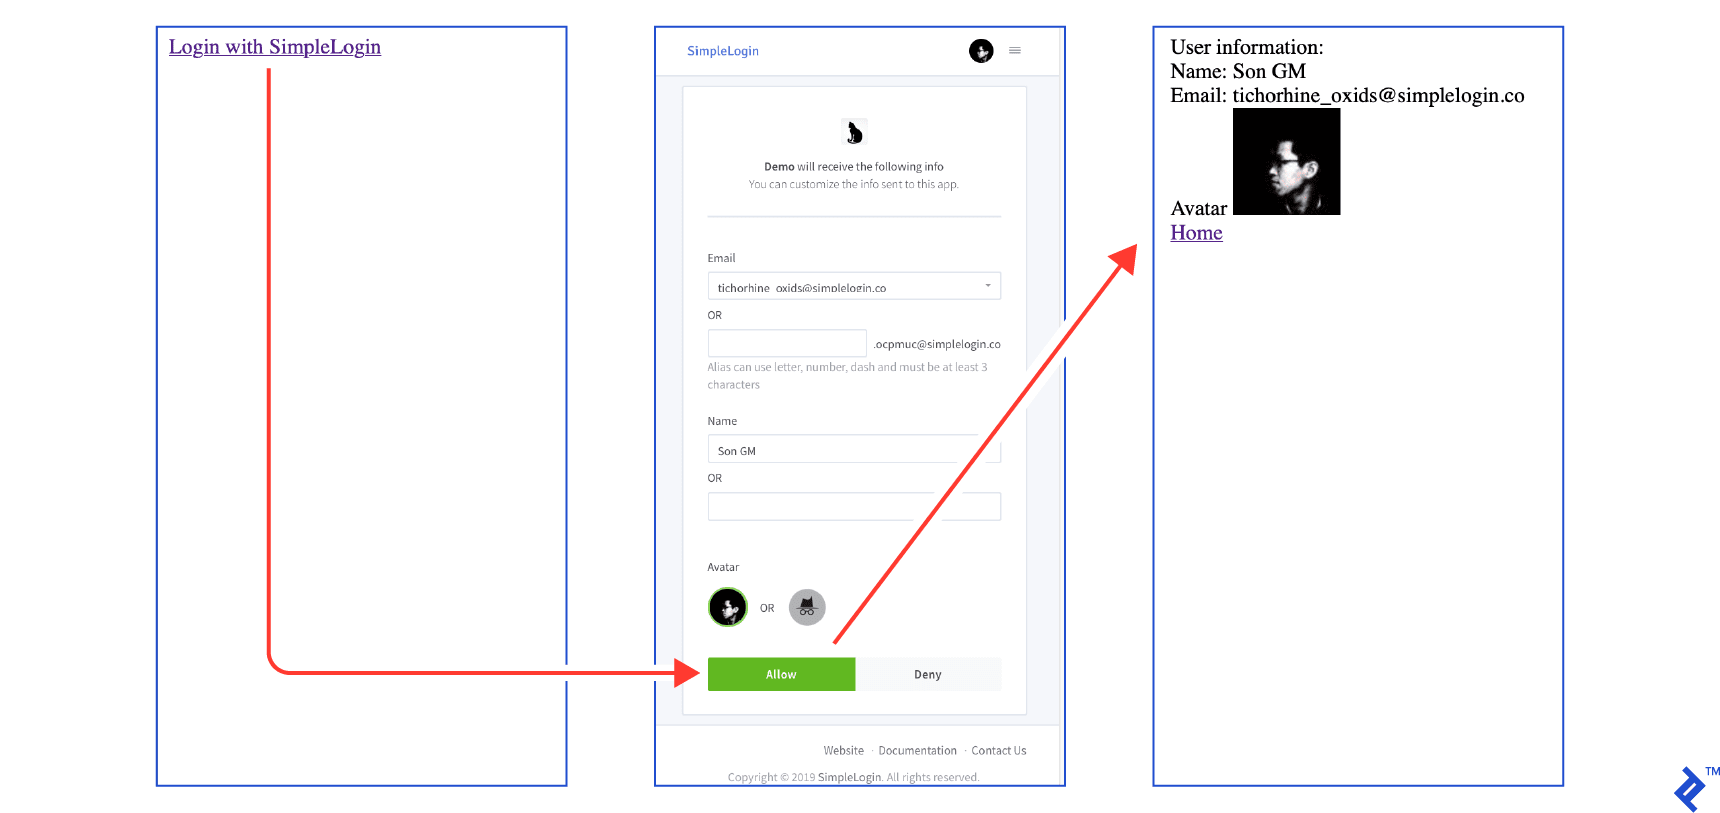
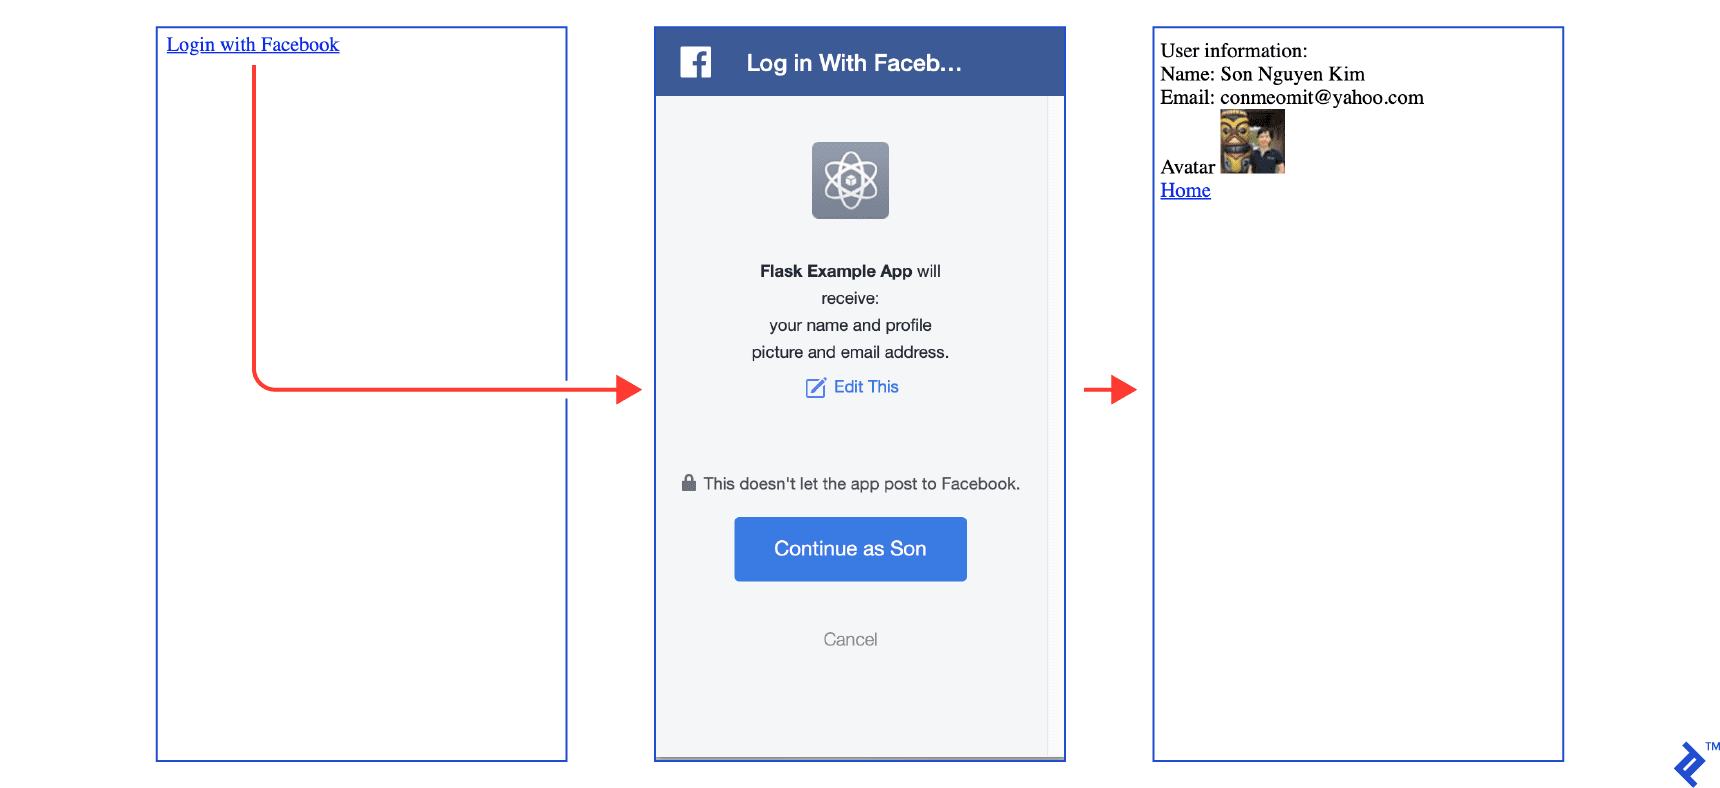
When a user clicks the login button:
- They are redirected to the identity provider’s authorization page. This page prompts the user to grant your app access to their information.
- Upon user approval, they are redirected back to your application with a
codeparameter in the URL. This code is then exchanged for anaccess token, granting access to user information from the provider.
Therefore, two routes are required: a login route to redirect users to the identity provider and a callback route to handle the code exchange for an access token and display user information.
| |
Clicking the login button should initiate the following flow. The complete code for this step is available at GitHub at step3.py.
Integrating Facebook Login
Integrating Facebook, Google, or Twitter login involves additional complexities like SSL configuration and scope management, exceeding this tutorial’s scope.
Beyond its complex UI, Facebook integration is further complicated by the requirement for HTTPS when running locally, as the latest Facebook SDK disallows plain HTTP. Using Ngrok provides a convenient solution for obtaining a quick HTTPS URL.
Step 1: Creating a Facebook App
Go to https://developers.facebook.com and create a new app.
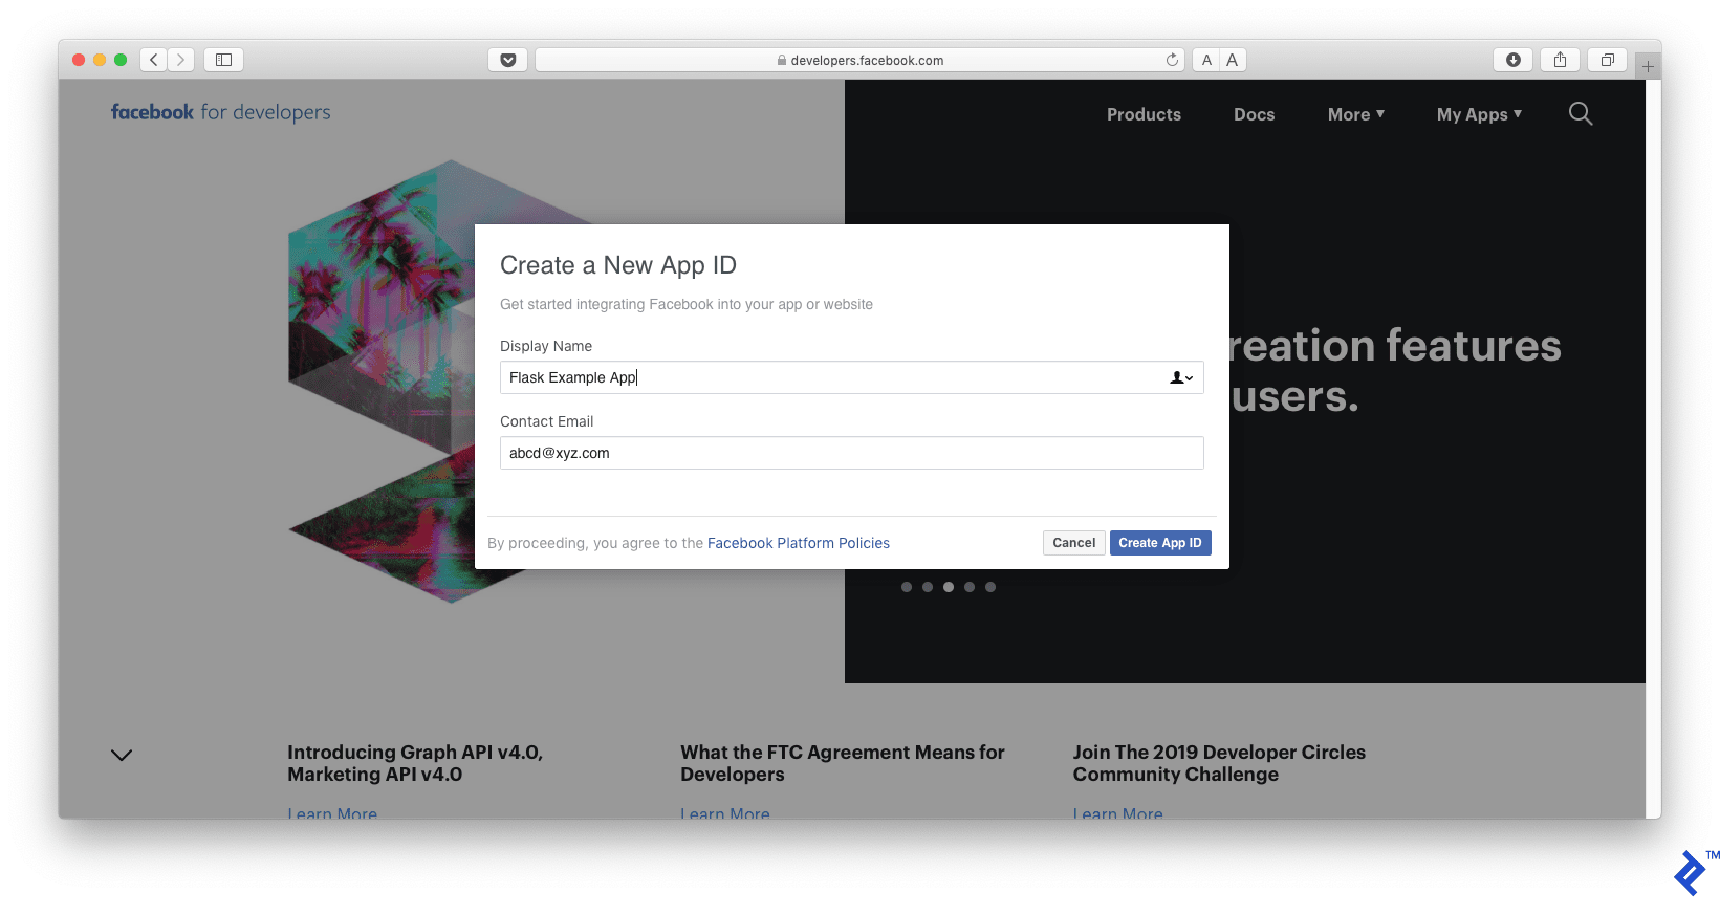
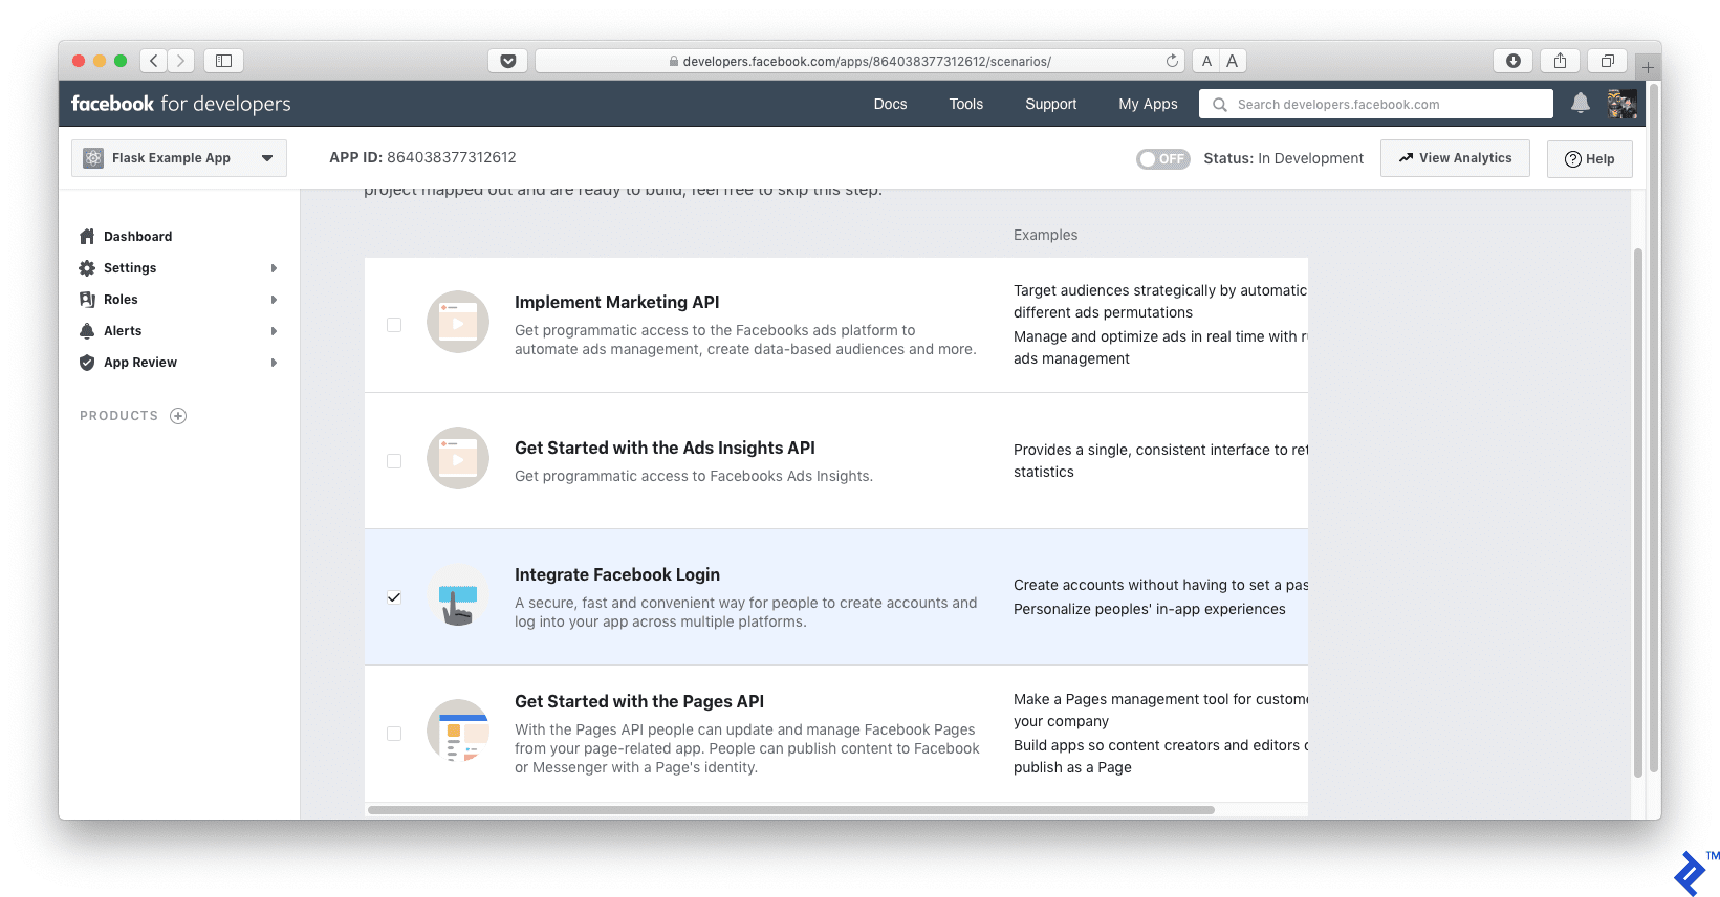
Select “Integrate Facebook Login” on the following screen.
Step 2: Obtaining Facebook OAuth Credentials
Navigate to “Settings/Basic” on the left side menu and copy your App ID and App Secret, representing the OAuth client-id and client-secret, respectively.
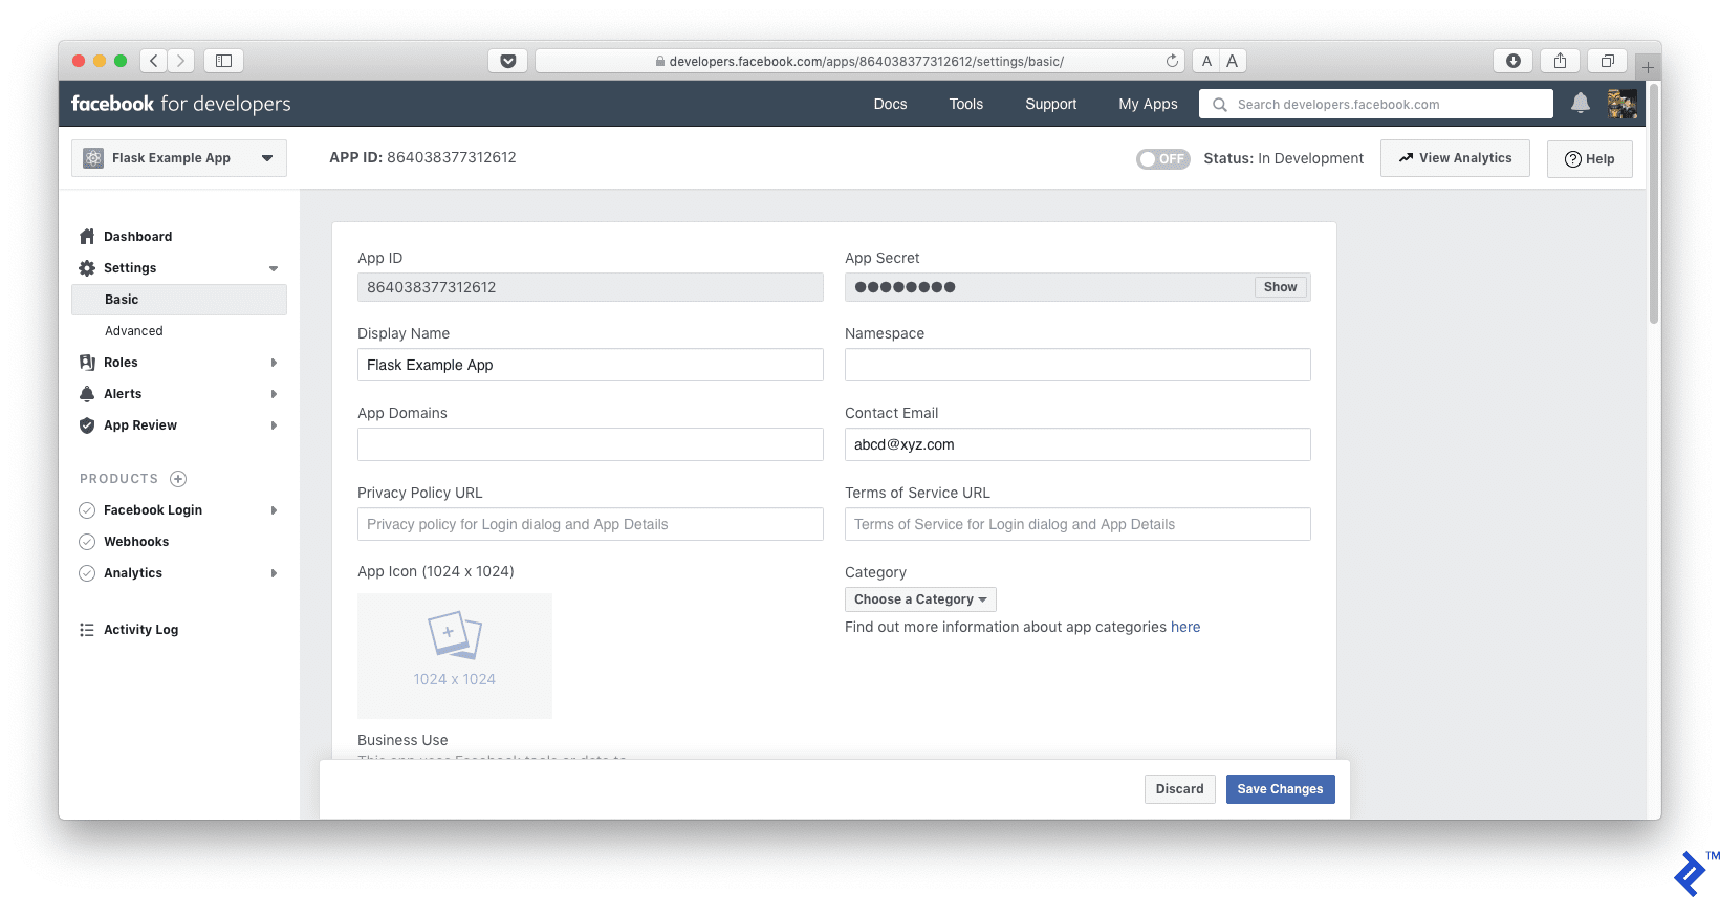
Update the client-id and client-secret values in your code.
| |
Update the AUTHORIZATION_BASE_URL and TOKEN_URL with the Facebook-specific endpoints:
| |
Modify the homepage code as follows:
| |
Step 3: Configuring Login and Callback Endpoints
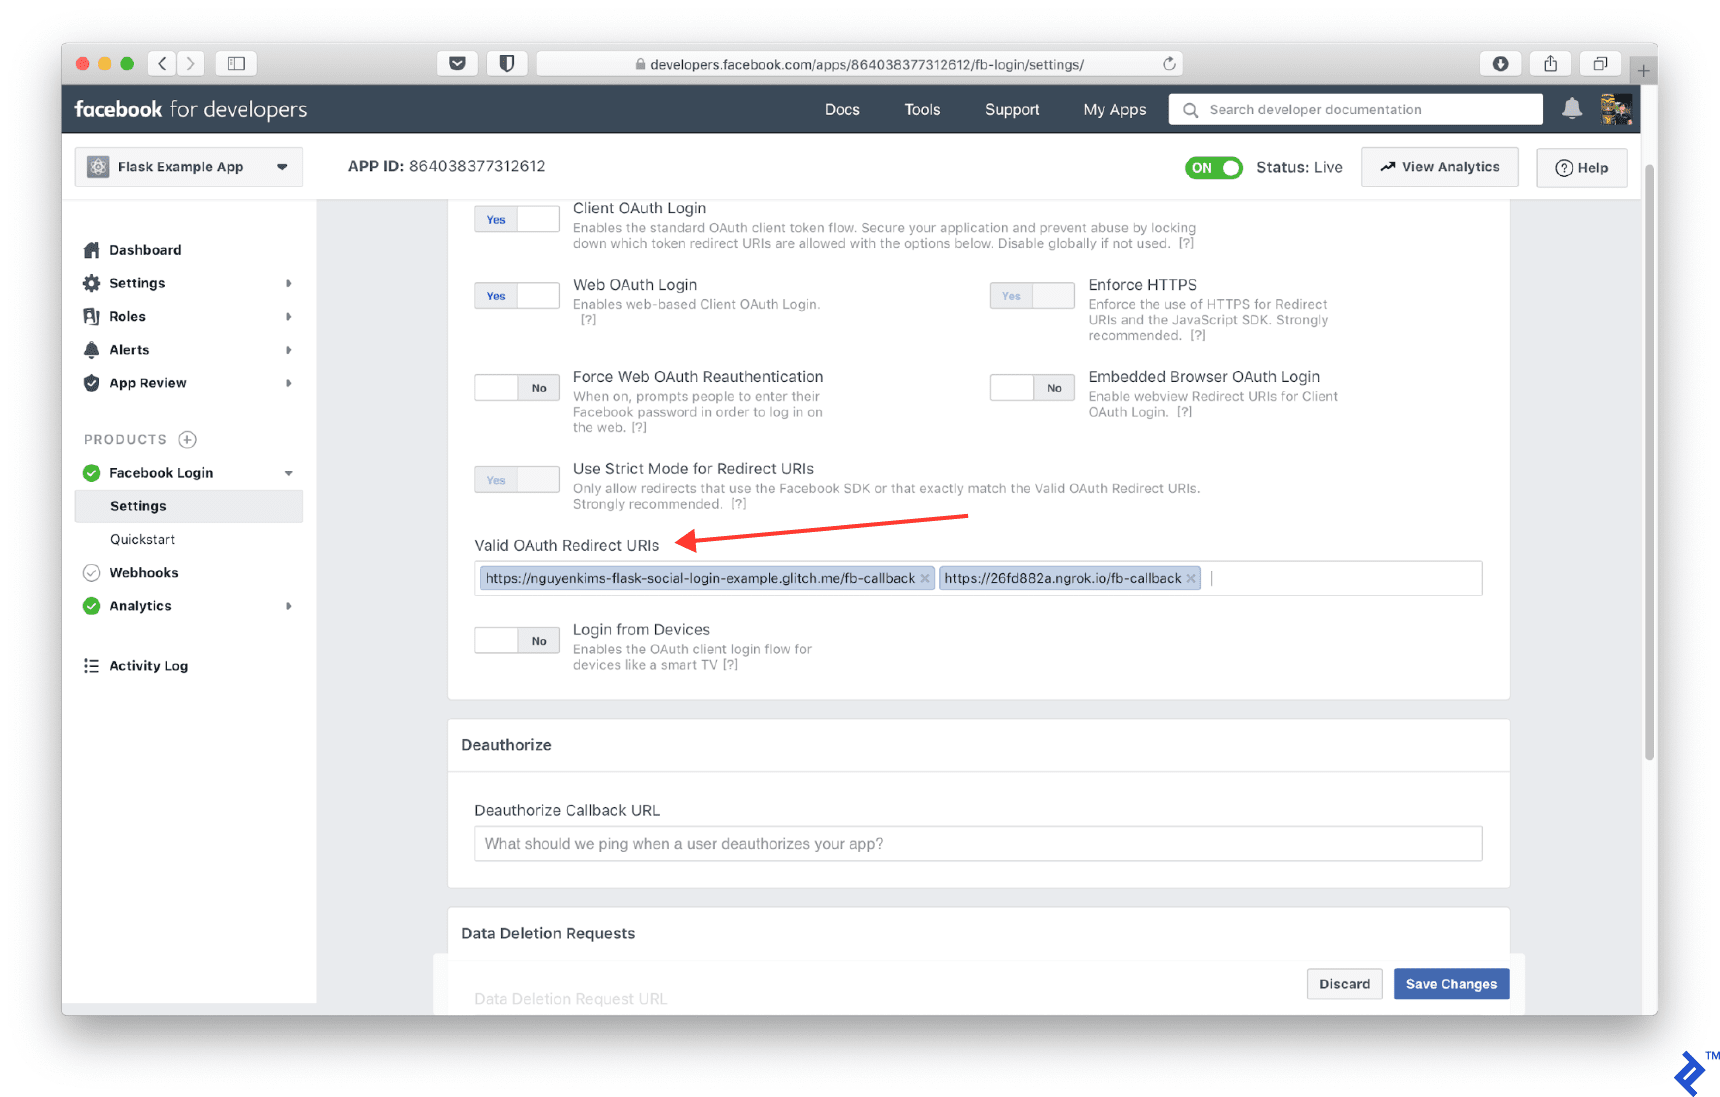
If you’re using ngrok to expose your local server, for example, with ngrok http 5000, ensure that the current URL reflects the ngrok URL.
| |
Add this URL to your Facebook Login/Settings under Valid OAuth Redirect URIs.
To access user email addresses, include email in the scope:
| |
The callback route requires modifications to address a Facebook compliance requirement:
| |
You should now be able to complete the Facebook login flow.
The complete code for Facebook integration is available at facebook.py.
Conclusion
Congratulations on successfully integrating SSO login into your Flask application!
For simplicity, this tutorial omits other important OAuth concepts like scope and state that are crucial for preventing cross-site request forgery attacks. Storing user information in a database, which was not covered here, is another important consideration for real-world applications.
Remember that production environments require HTTPS. Thankfully, services like Let’s Encrypt make this process straightforward.
Best of luck with your future OAuth endeavors!