This tutorial explains how to create a React Native app capable of real-time QR code scanning and content display upon detection using React Native’s CLI Quickstart.
(Note: If you encounter any setup issues, refer to the React Native Getting Started page and select the “React Native CLI Quickstart” option, as the “Expo CLI Quickstart” is the default at the time of writing.)
Why Choose React Native for a Scanner?
React Native is a powerful framework leveraging React’s principles to enable rapid, cross-platform development of responsive user interfaces. Facebook, Airbnb, Uber, and many others have already embraced it for their latest apps.
Understanding React Native Camera
React Native Camera (RNCamera) is the leading component for integrating camera functionality in React Native apps. It simplifies interaction with native OS features through straightforward functions, eliminating the complexity of native code. RNCamera offers support for:
- Taking photos
- Recording videos
- Face detection
- Barcode scanning
- Text recognition (Android only)
Importantly, use the updated RNCamera component instead of the deprecated RCTCamera to ensure access to the latest updates.
Note: React Native Camera heavily relies on the Expo camera module, and going back and forth between the two is quite straightforward.
Building Your First App with RNCamera
Before diving into the React Native QR scanner, let’s install the necessary dependencies.
Installing RNCamera’s Dependencies
The setup requires at least JDK version 1.7 (likely already installed) and, for Android, buildToolsVersion above 25.0.2. (Refer to a more detailed and up-to-date list in the docs for confirmation.)
Begin by creating a new React Native project:
| |
Deploy the initial version of our React Native QR scanner example on your phone:
| |
Your screen should resemble this:
Now, install the react-native-camera package using the recommended “Mostly automatic install with react-native” option, as it proves to be the most efficient among others like Mostly automatic install with CocoaPods and Manual install:
| |
Include the following permissions in android/app/src/main/AndroidManifest.xml:
| |
Set the dimension strategy in android/app/build.gradle to avoid errors, as it lacks a default and you’ll get an error if you don’t define it:
| |
Note: The dimension strategy is typically set to general, as shown above. You can opt for mlkit if you wish to use MLKit for text/face/barcode recognition.
After installation, use run-android to integrate the new dependencies:
| |
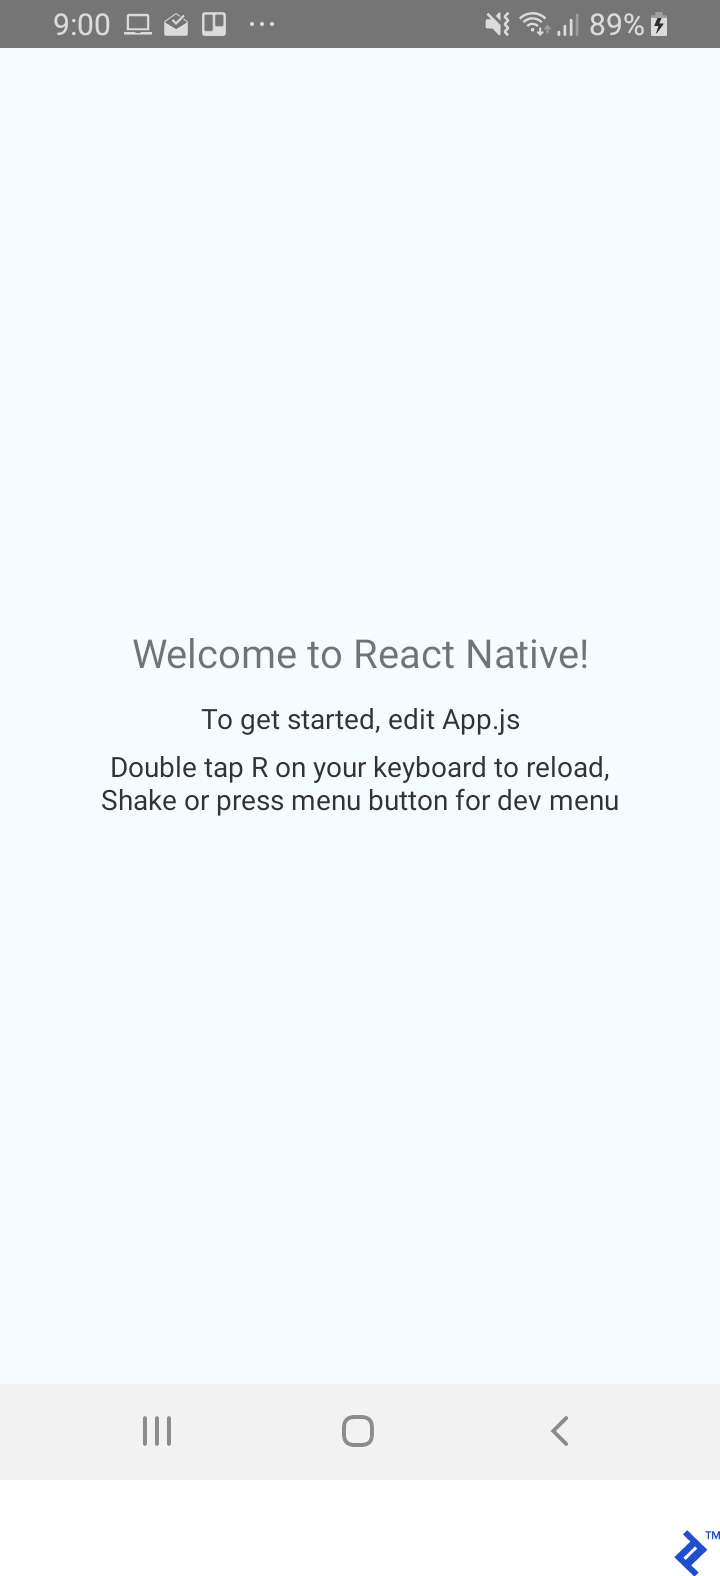
A successful installation will display the familiar React Native welcome screen on your device or simulator.
Setting Up the Camera
Start by modifying App.js to import RNCamera:
| |
Next, adjust the render function to incorporate the imported RNCamera. Note the style attribute applied to the camera for full-screen display, ensuring visibility:
| |
After this step, your interface should feature a full-screen camera, as depicted below:
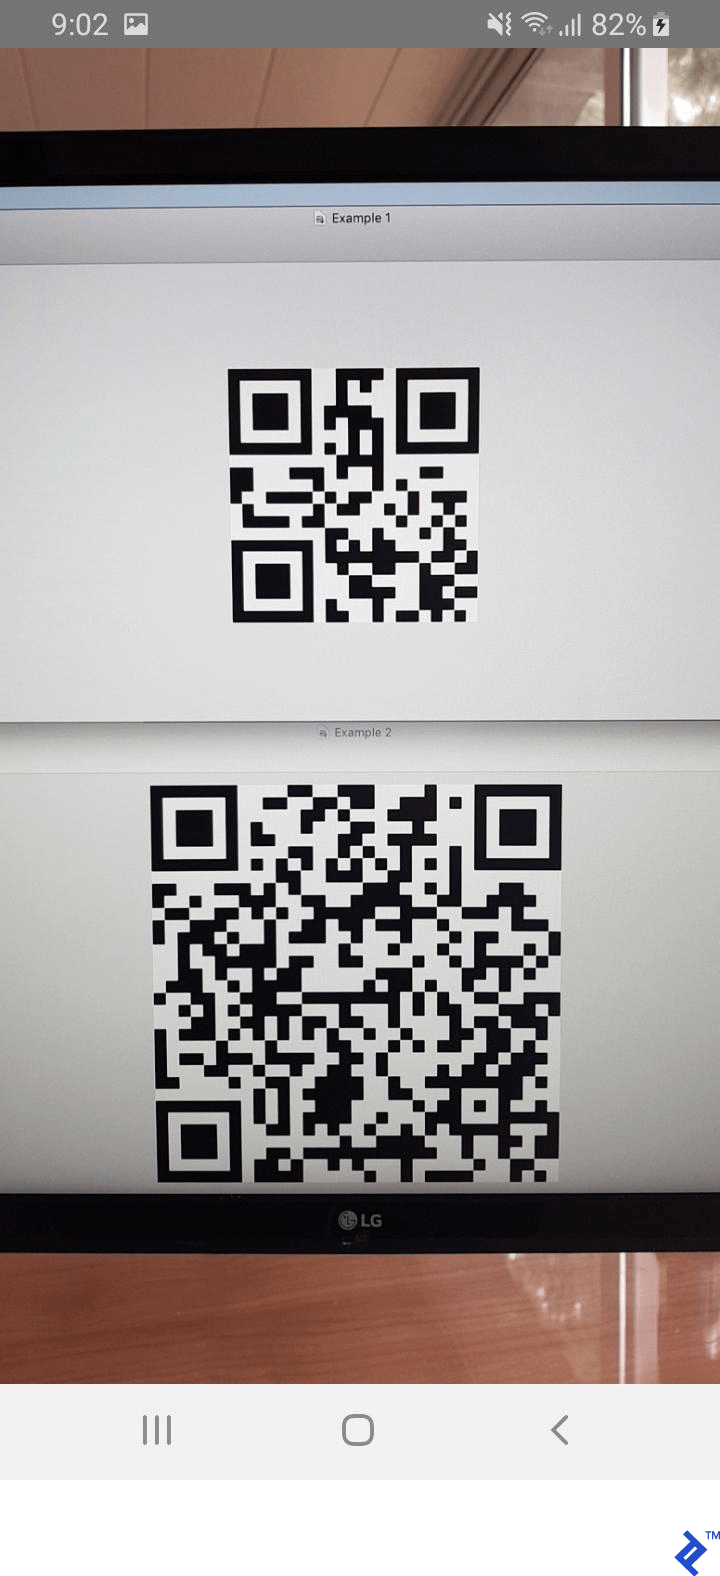
Although our React Native barcode scanner can now detect barcodes (as seen with our test QR codes displayed on the monitor), it cannot yet interpret their content. Let’s employ RNCamera’s algorithm to decipher the information embedded within them.
Extracting Barcode Data
To read barcode information, we’ll utilize the onGoogleVisionBarcodesDetected prop. This prop allows us to call a function and extract the necessary data. We’ll add this to the <RNCamera> component and link it to a barcodeRecognized function for processing. Note that onGoogleVisionBarcodesDetected returns an object containing the barcodes property, which holds an array of all detected barcodes within the camera’s view.
Note: The onGoogleVisionBarcodesDetected QR code technology is specific to Android. For a cross-platform approach, consider onBarCodeRead, which supports one barcode at a time. Using it as a fallback is left as an exercise for the reader.
Here’s the updated <RNCamera> component with onGoogleVisionBarcodesDetected:
| |
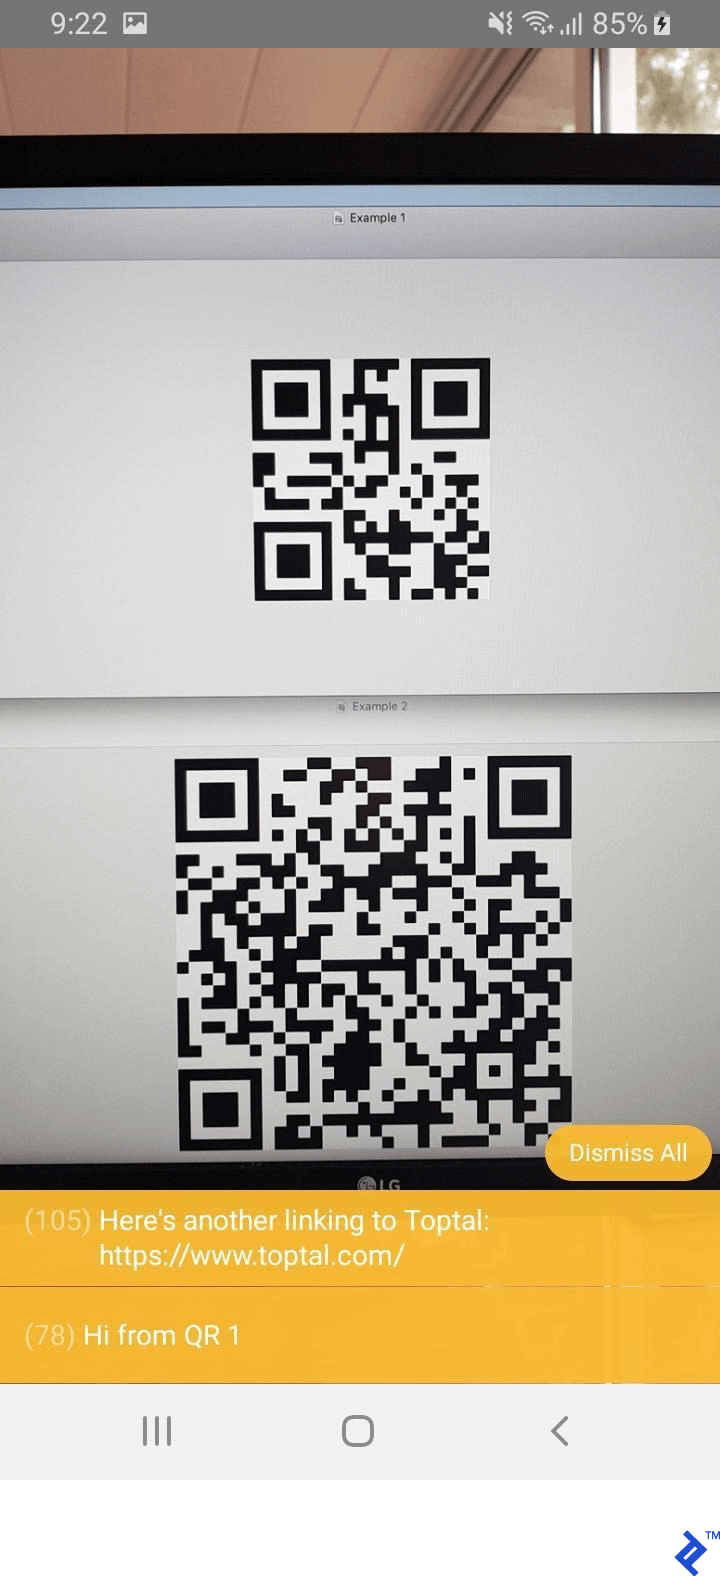
Now, we can manage the barcodes within App.js using the function below, which will provide a notification when a barcode is detected and should present its content on the screen:
| |
Here’s how it appears in action:
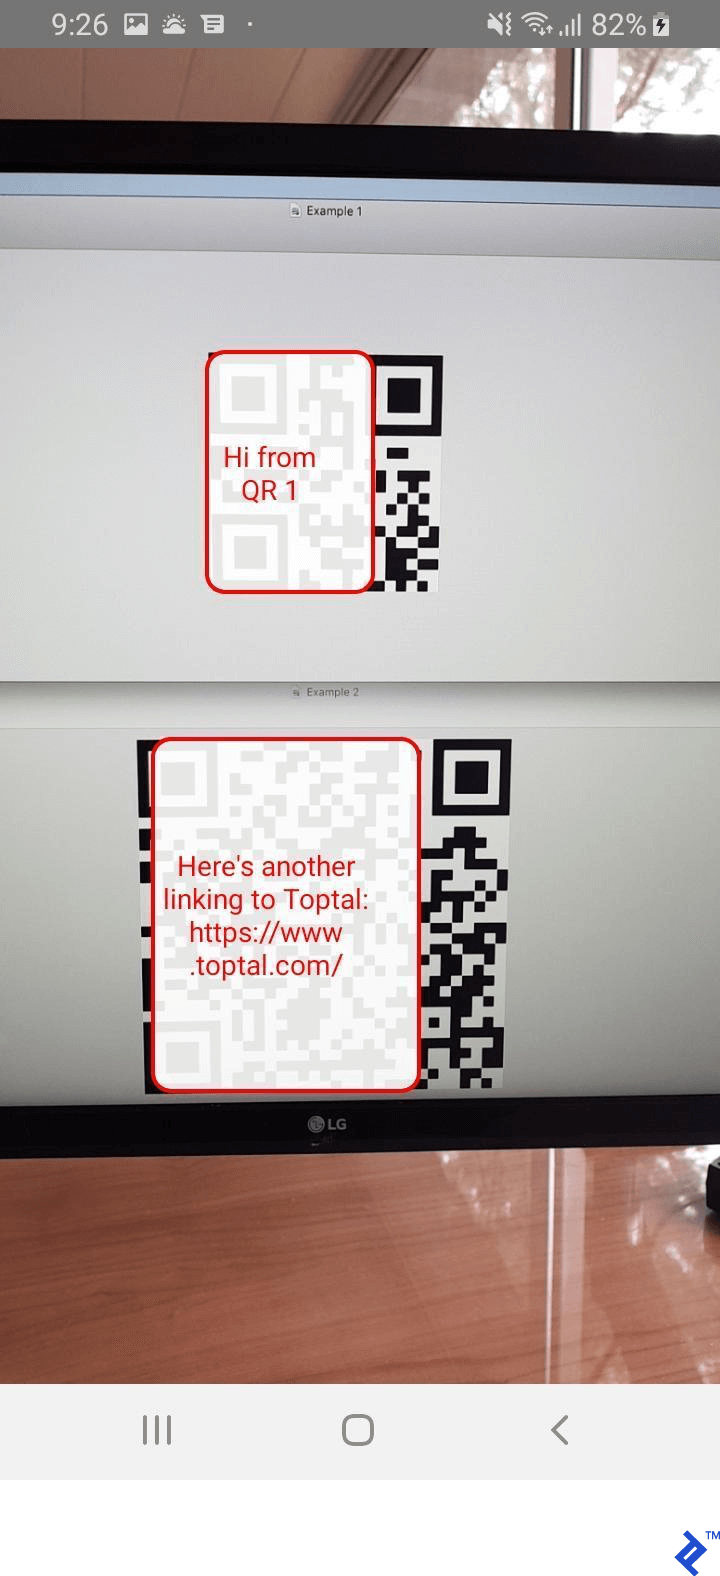
Implementing Barcode Overlays
While the previous screenshot displays the barcode’s content, it lacks clarity regarding which message corresponds to each barcode. To address this, we’ll delve into the barcodes data returned by onGoogleVisionBarcodesDetected to precisely locate each barcode on the screen.
First, we’ll store the recognized barcodes in the state for access and overlay rendering based on their data. Here’s the modified function:
| |
We need to introduce a state object initialized with an empty array of barcodes to prevent errors in our render functions:
| |
Now, let’s create the renderBarCodes function, which we’ll place inside the <RNCamera> component:
| |
This function will take the recognized barcodes from the state and display them on-screen:
| |
Note that the mapping points to renderBarcode, responsible for rendering each barcode. Some basic styling has been applied for easy identification:
| |
Each recognized barcode possesses:
- A
boundsproperty indicating its on-screen location, used for overlay positioning - A
dataproperty revealing the encoded information - A
typeproperty specifying the barcode format (2D, QR, etc.)
Using these three parameters in the render function yields the following outcome:
Cross-platform Deployment Considerations
RNCamera abstracts native camera module components into a universal, cross-platform language. However, certain features might be platform-specific or require different implementations. Before you begin, consult the documentation to confirm platform compatibility for your intended features. Additionally, thorough testing on various devices after implementation is crucial to guarantee product robustness, particularly for edge cases.
Conclusion
This tutorial provided a glimpse into augmented reality development by guiding you through building a basic QR code scanner in React Native, now functional on your device or simulator. Feel free to leave a comment for any questions or requests!