Google Tag Manager (GTM) offers immense power for managing website tags and tracking codes, but mastering it can be challenging.
 Source
This comprehensive guide is designed to unlock GTM’s full potential. We’ll explore its core components: tags, triggers, and variables. We’ll then walk through setting up GTM on your website, enabling you to create, manage, and deploy these elements expertly. Whether you’re a business owner, marketer, or developer, this guide caters to your needs.
Source
This comprehensive guide is designed to unlock GTM’s full potential. We’ll explore its core components: tags, triggers, and variables. We’ll then walk through setting up GTM on your website, enabling you to create, manage, and deploy these elements expertly. Whether you’re a business owner, marketer, or developer, this guide caters to your needs.
Table of contents
- What is Google Tag Manager (+What is it used for)?
- Benefits of using Google Tag Manager
- How to create a GTM account
- How to add Google Tag Manager to your website
- Advanced features to track using GTM
What is Google Tag Manager used for?
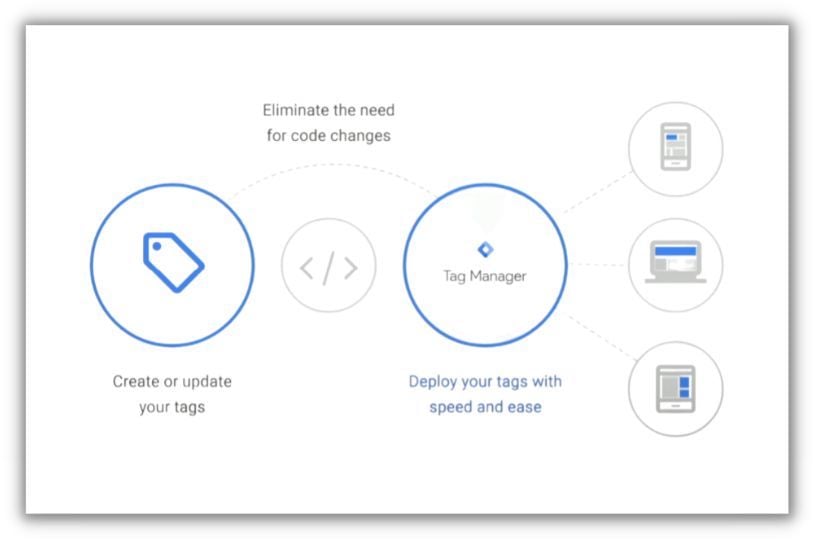
Google Tag Manager (GTM) is a free tool from Google that empowers website owners to manage and implement marketing tags—code snippets or tracking pixels—without modifying website (or mobile app) code. This is achieved by installing a single container code snippet within the source code. Subsequently, all other tags can be handled and deployed through the GTM interface. This eliminates the need for developer intervention for every tag installation, granting marketers greater flexibility and control over their digital marketing strategies. Google Tag Manager’s three core components are:
- Tags: These code snippets execute on a page or mobile app, serving various purposes. Most GTM tags send measurement data from your site to a third party, such as the Google Analytics tag or Google Ads conversion tag.
- Triggers: These conditions determine when a tag should execute. For example, a trigger can activate a tag when a specific page is viewed or a button is clicked.
- Variables: These provide supplementary information that GTM might require for tags and triggers to function correctly. For instance, if a trigger is set for a particular URL, the URL itself acts as the variable. For a deeper understanding of Google Tag Manager, check out this video:
Benefits of using Google Tag Manager
Why choose Google Tag Manager? Consider these advantages:
- Efficiency and speed: GTM streamlines the process of adding or updating tags, eliminating the need for code changes on the website. This speeds up deployment times and accelerates marketing campaign launches.
- Flexibility: GTM empowers digital marketers to configure and deploy tags tailored to their specific requirements, without relying on developers.
- Error reduction: GTM’s debugging feature ensures tags function correctly before going live, minimizing errors.
- Version control: GTM automatically generates a new version with every modification. If issues arise, reverting to a previous version is straightforward.
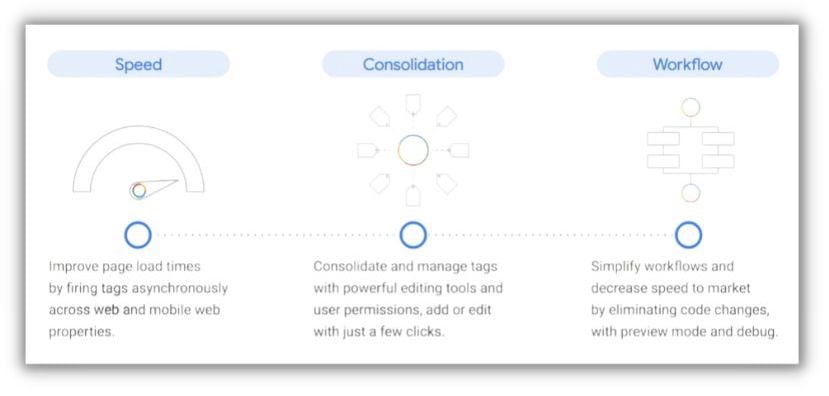
- Improved site performance: GTM facilitates asynchronous tag firing, preventing slow-loading tags from affecting website loading speed.
- Consolidation and organization: GTM maintains clean and organized website code by centralizing all tags within a single location.
How to create a Google Tag Manager account
Follow these steps to create a GTM account:
Visit the Google Tag Manager homepage: Begin by going to the Google Tag Manager homepage (tagmanager.google.com).
Create an account: Click “Start for free” (for new users) or “Create Account” (if you’re logged in with a Google account).
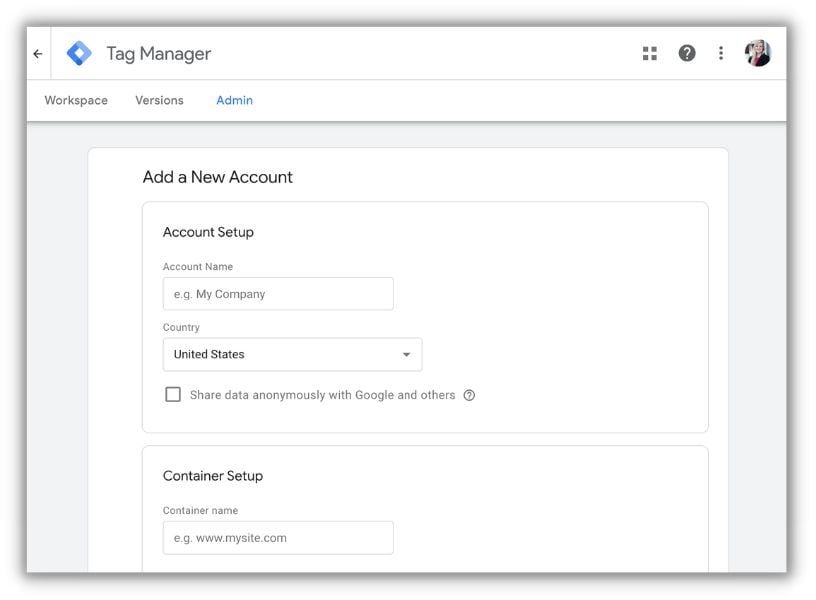
Enter account details: Provide your account name (typically your company name) and select your country.
Set up a container: Create a container for your website by entering its name and choosing where you’ll use Tag Manager (Web, iOS, Android, or AMP).
Accept Terms of Service: Review and accept the Google Tag Manager Terms of Service.
Your GTM account is ready: Your GTM account is now active, and you’ll be directed to your GTM Workspace. Alternatively, follow the steps in this video:
How to install Google Tag Manager on your website
After creating your GTM account, install it on your website using these steps:
Access the GTM code: In your Google Tag Manager account, you’ll find a popup window displaying the Google Tag Manager code snippets. These two snippets need to be added to your site.
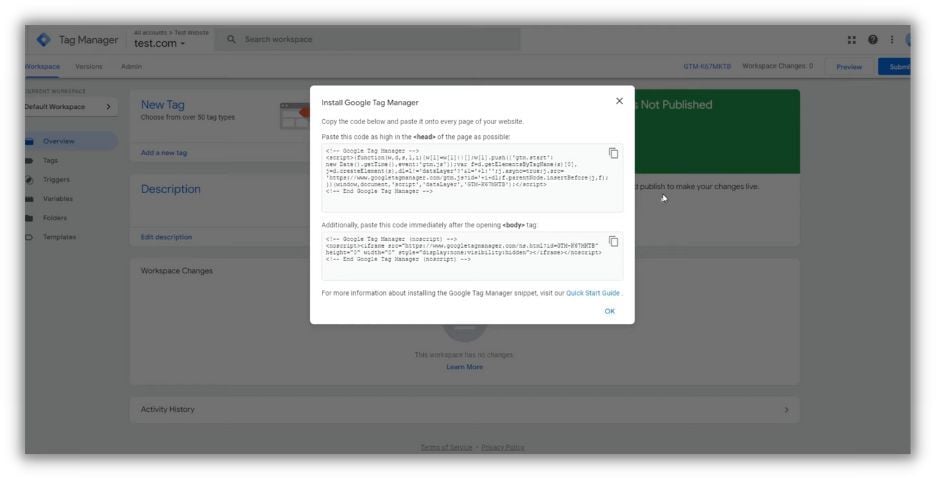
Install the first code snippet: Paste the first snippet as high as possible within the
section of your page. This enables Tag Manager to load synchronously and participate in page rendering.Install the second code snippet: Paste the second snippet immediately after the opening
tag on each page of your site. This ensures Tag Manager functionality even if JavaScript is disabled in the user’s browser.Update your website: Save your changes and publish your website after pasting the codes in their respective locations.
Verify the Installation: Use GTM’s preview mode or the Tag Assistant Chrome extension to confirm correct installation. You should see the GTM container ID when visiting your site. Remember, managing tags through Tag Manager requires adding and configuring them within the GTM interface. GTM won’t automatically take over hardcoded tags on your site. Watch a comprehensive video tutorial here:
What should I track in Google Tag Manager?
Here are some advanced Google Tag Manager features for effectively tracking business information.
Data layer and its usage
The data layer is a JavaScript object commonly used in tag management systems, including GTM, to securely transfer information from your website to your tag manager container. Serving as a central data repository on your site, GTM can access it to read values and track changes. For ecommerce stores, tracking purchase details is crucial for understanding customers and making informed business decisions. This is where the data layer, a special container holding vital information, comes in. The code snippet you provided demonstrates how the data layer captures specific conversion event details, such as a purchase.
 In this code, the window.dataLayer object is initialized (if not already present) as an array. The push() method adds a JavaScript object containing key-value pairs related to the purchase event to the array.
The ‘event’ key, set to ‘conversion’, indicates a conversion event being tracked. The ’email’ key represents the associated email address, while the ‘visitorType’ key specifies a customer. The ‘order’ key holds the value 1234, potentially representing an order ID or another relevant identifier.
For more granular tracking in ecommerce, like enhanced ecommerce tracking, Google recommends a specific data layer structure. This structure enables comprehensive ecommerce event tracking, providing powerful analytics and insights to optimize your online store’s performance.
In this code, the window.dataLayer object is initialized (if not already present) as an array. The push() method adds a JavaScript object containing key-value pairs related to the purchase event to the array.
The ‘event’ key, set to ‘conversion’, indicates a conversion event being tracked. The ’email’ key represents the associated email address, while the ‘visitorType’ key specifies a customer. The ‘order’ key holds the value 1234, potentially representing an order ID or another relevant identifier.
For more granular tracking in ecommerce, like enhanced ecommerce tracking, Google recommends a specific data layer structure. This structure enables comprehensive ecommerce event tracking, providing powerful analytics and insights to optimize your online store’s performance.
Custom HTML Tags
Custom HTML tags in GTM are particularly valuable for executing tags not included in GTM’s built-in templates or customizing existing templates beyond their default capabilities. Imagine you want to integrate a custom chatbot JavaScript code from a third-party service into your website. Here’s how:
In your GTM workspace, navigate to “Tags,” click “New” to create a new tag.
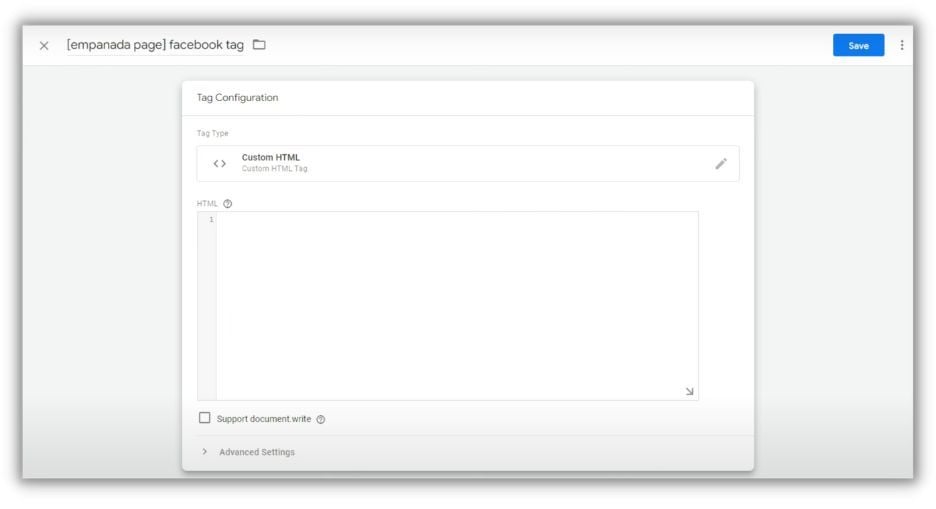
Under “Tag Configuration,” select “Custom HTML.”
Paste your third-party JavaScript code into the provided HTML text area.
Define the trigger for this tag (e.g., “All Pages”).
Save and publish the tag. Once published, this tag will inject your custom HTML (the chatbot JavaScript code in this case) based on the defined trigger conditions. This allows effortless management and deployment of custom scripts across your site directly from GTM. Learn more about these features in this video tutorial:
Get started with Google Tag Manager
By centralizing your tagging and tracking through Google Tag Manager, you can optimize your workflow, boost efficiency, and minimize the risk of errors associated with manual code modifications. With features like the data layer and custom HTML tags, GTM grants unparalleled flexibility for tracking virtually any user interaction on your site. As we’ve covered, setting up GTM involves creating an account, installing it on your website, understanding its core elements (tags, triggers, variables), and leveraging features like the data layer and custom HTML tags. While it may initially seem complex, practice makes GTM an indispensable part of your digital marketing toolkit. To delve deeper into GTM, explore these valuable resources:
- Google’s Official Tag Manager Help Center
- Google Analytics Academy – Tag Manager Fundamentals
- Google Tag Manager Community on Reddit Mastering Google Tag Manager requires time, patience, and consistent practice. However, the capabilities it unlocks make it a worthwhile endeavor. Happy tagging!