WordPress, despite its long-standing presence in the digital realm, has a history of prioritizing backward compatibility. This approach, while ensuring a vast number of existing WordPress sites remain operational, often hinders newer versions from fully utilizing the latest PHP features. Consequently, many WordPress developers find themselves in a WordPress bubble, hesitant to embrace modern front-end technologies and stuck in outdated practices.
Embracing Modern Development in WordPress
The good news is that adopting a modern development workflow for WordPress is entirely achievable. The WordPress Roots stack provides a suite of tools to facilitate this transition, bringing your development process into the modern era:
- Sage: A starter theme for building contemporary WordPress themes.
- Bedrock: A modern WordPress boilerplate for streamlined development.
- Trellis: A tool for managing deployment and provisioning across different environments.
Additionally, the Roots team is actively developing two more tools: Acorn, a plugin development framework, and Clover, a plugin boilerplate. Though still in their alpha stages, these tools hold great promise for the future of WordPress development.
Demystifying the Roots Stack
Initially known as the Roots theme, this robust HTML5 starter theme aimed to provide a cleaner foundation for WordPress websites. Evolving over time, it transformed into a comprehensive toolkit encompassing modern web technologies. This evolution encouraged developers to stay abreast of the latest front-end advancements.
Today, Roots has blossomed into a continuously expanding suite of tools, empowering developers to create superior WordPress websites. By addressing the complete development cycle, from development and staging to production, Roots encourages developers to break free from the limitations of the traditional WordPress bubble.
Let’s delve into the three core tools offered by Roots:
Roots Sage 9
Roots Sage 9, the culmination of years of refinement, represents the latest iteration of a meticulously maintained WordPress starter theme. Originally launched as “Roots” in 2011, Sage has undergone significant transformations, incorporating best practices and modern development workflows.
Sage’s strength lies in its adoption of the MVC (Model-View-Controller) pattern, effectively separating views and controllers. This separation promotes code reusability, as views remain independent of data sources. Sage 9’s controller, unlike traditional URL-based routing systems, utilizes a template-based approach, seamlessly integrating with WordPress’s URL routing mechanism.
While Sage 9 offers numerous advantages for experienced developers, its complexity might pose a challenge for beginners. Mastering its features, such as dependency management, code versioning, a novel project structure, and strict coding standards, requires a significant learning curve. However, for seasoned developers, Sage 9 provides an unparalleled head start.
Ben Word, a developer from the Roots team, aptly describes Sage as a “starter theme,” not a theme framework. Avoid frequent updates or creating child themes. Think of it as the foundation for new projects, offering a significant advantage over traditional starter themes.
Exploring Sage’s File and Folder Structure
Sage’s file and folder structure deviates from the conventions of other starter themes, such as Underscores, and even its predecessor, Sage 8:
| |
In addition to these core files, Sage incorporates configuration files for code editors and IDEs, ensuring a smooth development experience.
Here’s a concise overview of Sage 9’s prerequisites:
- WordPress >= 4.7
- PHP >= 7.1.3 (with php-mbstring enabled)
- Composer
- Node.js >= 8.0.0
- Yarn
Bedrock: Supercharging WordPress
Bedrock can be likened to a powerful enhancement for WordPress, taking it to the next level. While Sage elevates theme development, Bedrock enhances the entire WordPress installation.
Through a modernized project boilerplate, Bedrock improves folder structure and security, relocating configuration files from the web root. It introduces configuration and environment files, and facilitates robust dependency management, encompassing plugins and themes.
In essence, Bedrock functions as a self-contained WordPress project, automating the installation of core files and essential plugins.
Unraveling Bedrock’s File Structure
Bedrock’s file structure, with its distinct separation of web, configuration, and dependency files, might seem unfamiliar at first:
| |
Beyond these essential files, Bedrock includes several other less prominent but equally important files.
Here are Bedrock’s fundamental requirements:
- PHP >= 7.1
- Composer
Trellis: Streamlining Deployment
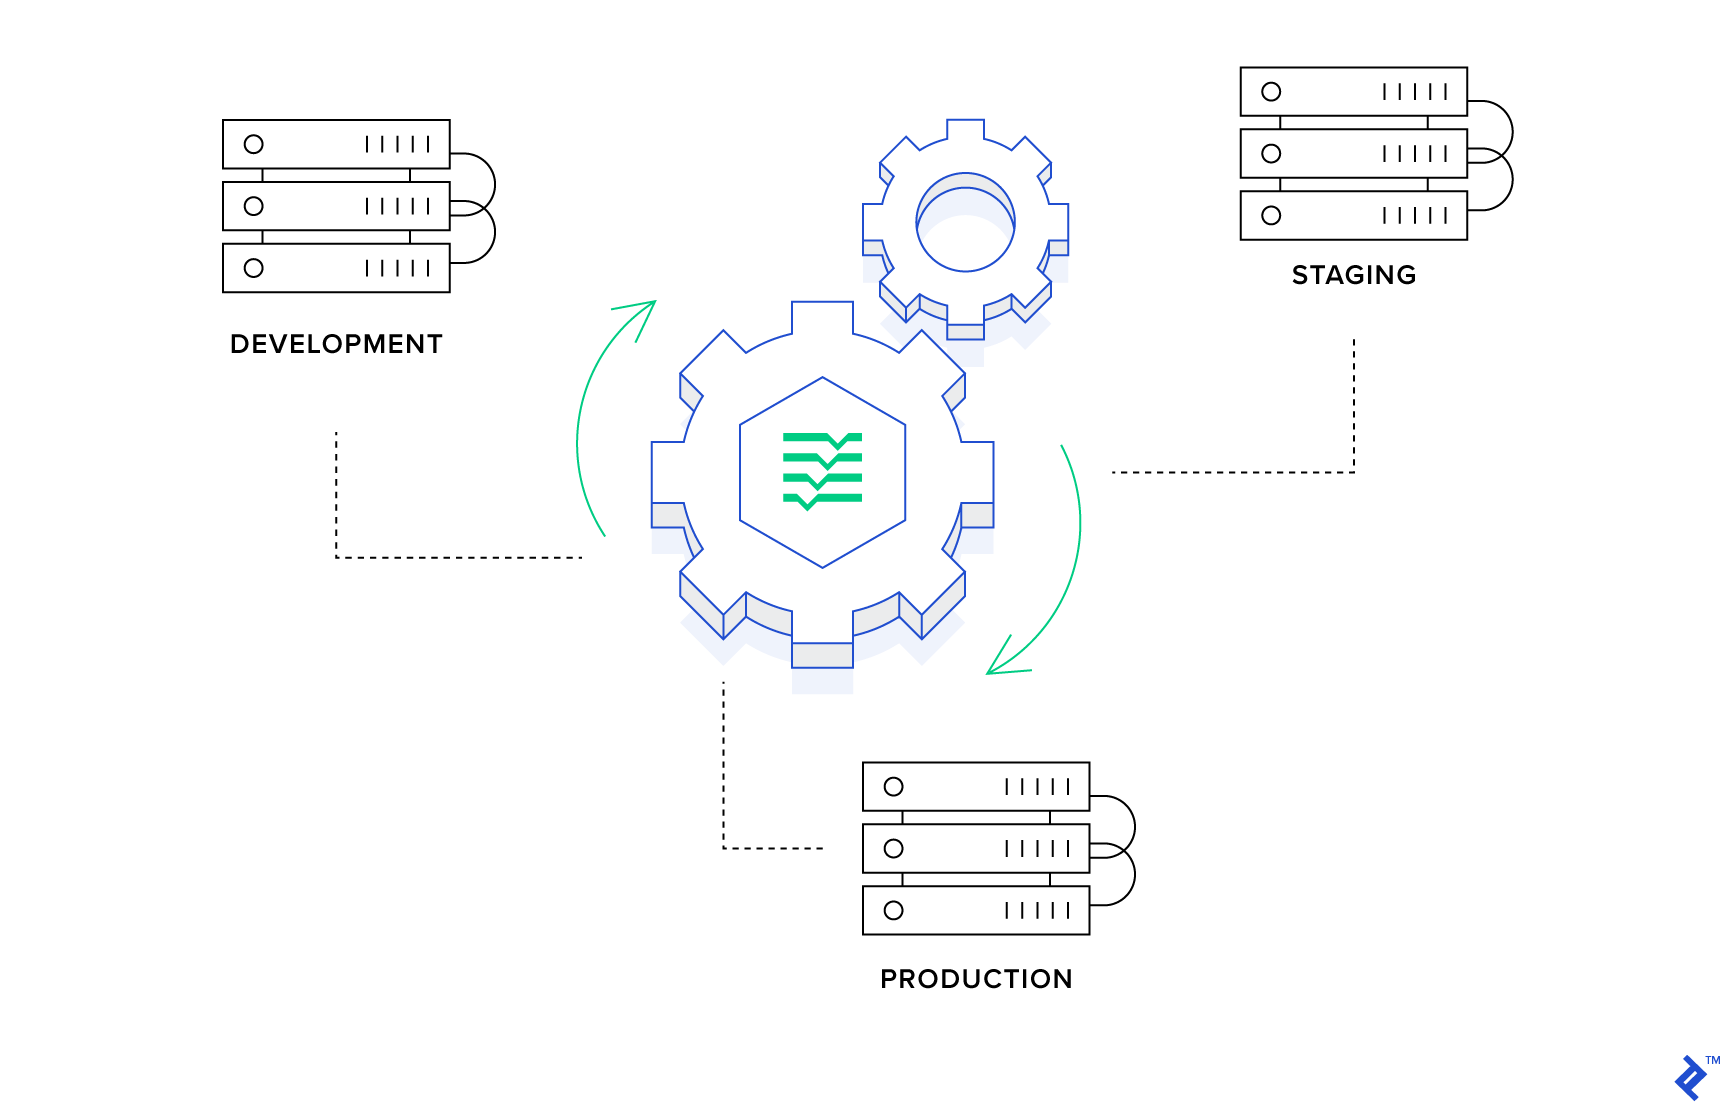
Trellis serves as a robust modern LEMP stack, bridging the gap between development, staging, and production servers. By promoting “development & production parity,” Trellis ensures consistent behavior across environments, allowing for confident deployments.
Trellis leverages Vagrant for local development, enabling the creation of a virtual machine with a modern environment through a simple vagrant up command. Provisioning and deployment to staging and production environments are managed using Ansible playbooks, which are YAML files containing instructions for Ansible.
Navigating Trellis’s Recommended Folder Structure
Trellis proposes a straightforward folder structure comprising two subfolders:
| |
While customizable, adhering to this structure is generally recommended.
Essential Trellis Requirements
- Composer
- Virtualbox >= 4.3.10
- Vagrant >= 2.1.0
Why Embrace the Roots Stack?
Switching to a more intricate stack like Roots might seem daunting, but the advantages it offers are undeniable. Let’s explore the compelling reasons to consider this transition.
Freedom from Framework Constraints
Unlike many starter themes that impose specific CSS frameworks, Sage embraces framework agnosticism. During installation, you can choose to include Bootstrap 4, Bulma, Foundation, Tachyons, Tailwind CSS, or opt for a clean slate to incorporate your preferred framework.
PRO TIP: On Windows, the message “TTY mode is not supported on Windows platform” might prevent automatic configuration during installation. To circumvent this, manually execute these commands within the theme folder:
| |
Embracing a Modern Build Process
Sage’s integration of Webpack streamlines asset management, eliminating the need for manual compilation, concatenation, and minification of JavaScript and CSS code. It optimizes images, detects errors, and manages external libraries, simplifying the build process to a single command: yarn build or yarn build:production for production-ready assets.
Utilizing Modern PHP and Requirements
While WordPress supports PHP versions as old as 5.2.4 for backward compatibility, it’s crucial to note that older PHP versions (<= 7.0) have reached their end of life. This lack of support exposes websites to security vulnerabilities and performance issues.
Both Sage and Bedrock necessitate a modern PHP version (7.1 or later, with 7.3 being the preferred choice). Sage 9, in particular, adheres to PSR-2 coding standards, promoting cleaner, more maintainable code, especially beneficial in collaborative environments.
Enhanced Dependency and Package Management
The Roots stack leverages Composer for managing dependencies and packages, including WordPress core, plugins, and themes. While this might present challenges for users of third-party WordPress management tools, it provides greater control and simplifies rollbacks to previous versions when needed. Additionally, Sage employs Yarn as a package and dependency manager for application code and to initiate the build process.
Elevating Template Files
Sage addresses WordPress’s lack of a dedicated templating engine by incorporating Laravel’s Blade, adhering to the DRY (Don’t Repeat Yourself) principle.
Consider the default single.blade.php template file, a model of conciseness:
| |
Blade’s elegant syntax enhances code readability and enforces a clean separation between views and controllers, minimizing PHP code within template files.
Furthermore, Blade’s template inheritance feature allows for the creation of base layout templates (e.g., /resources/views/layouts/app.blade.php) that define common website elements. This promotes code reusability and reduces redundancy across template files.
Introducing Browsersync
Sage’s inclusion of Browsersync, launched using yarn start, facilitates synchronized browser testing during development. This powerful tool automatically injects changes made to front-end assets into your browser session, streamlining the development workflow.
Effortless and Secure WordPress Deployment
Trellis excels in providing zero-downtime deployments for WordPress. Upon deployment, Trellis clones the repository, runs composer install, and updates the symlink to the current release, ensuring that live production files are never directly modified.
Deploying Bedrock-based sites with Trellis is remarkably straightforward, requiring minimal configuration.
Potential Drawbacks
The primary challenge of adopting the Roots stack, besides the initial learning curve, is the need for a Trellis-compatible hosting provider. This requirement often excludes budget-friendly shared hosting options and necessitates careful consideration when selecting a hosting provider.
Getting Started with the Roots Stack
Setting up a new WordPress project with Trellis, Bedrock, and Sage is a straightforward process, achievable with a few command-line instructions.
To begin, install Trellis in your desired directory (e.g., example.com):
| |
Next, install Bedrock in the /site/ subfolder:
| |
Finally, install and build Sage:
| |
Deploying Your Project
Deploying to staging or production environments is incredibly simple with Trellis, assuming proper configuration. Execute the following command from the example.com/trellis/ folder:
| |
Rolling back a deployment is equally effortless:
| |
Setting Up Your Development Environment on Windows
While numerous tutorials focus on Linux or MacOS for setting up the Roots stack, particularly Trellis, Windows users might encounter challenges due to Ansible’s unavailability on Windows and Vagrant’s performance limitations.
Previously, the official Trellis documentation for Windows recommended running Ansible within the Vagrant virtual machine. However, this approach has been superseded by the integration of WSL (Windows Subsystem for Linux), offering a more robust and reliable solution.
For detailed, step-by-step instructions on setting up Trellis on Windows using WSL, refer to the comprehensive documentation: Windows Setup, Windows Setup: Sage, and Windows Setup: Trellis.
Now, go forth and code with confidence!