I’m a big fan of email remarketing. Using highly focused nurture sequences, we can gently guide potential customers away from a place of casual disinterest and towards becoming paying customers. Because of this, I’ve always been disappointed that Google Ads’ single inbox placement, Gmail ads (formerly known as “Gmail Sponsored Promotions”), couldn’t be used in remarketing campaigns.
I always thought, those little snippets of text sitting atop the social and promotions tab would be the perfect addition to my existing Search/Display remarketing and email campaigns. Emails sent to a specific audience are a great addition to any email marketing strategy, an effective way to reach potential and current customers in a familiar space that’s (relatively) free from ads. Such a shame. That is, until November 2017, when Google finally gave the green light to Gmail remarketing. Now that it’s here, it’s high time you all started using it. In this guide, we’ll explore how you can expand your remarketing efforts into the inboxes of your target audience. Here’s what you’ll learn:
- How Gmail remarketing is different from your typical remarketing campaigns
- A step-by-step guide on how to set up Gmail remarketing in your Google Ads (formerly AdWords) account
- Best practices for Gmail ads First, let’s cover the basics.
What Exactly is Remarketing?
In its simplest form, remarketing is a general term for showing ads to people who have previously visited your site, used your mobile app, or interacted with your business offline. That’s a pretty wide range of activities. Remarketing allows you to personalize not only intent (determined by search terms) but also actual actions making it one of the most powerful tools in a marketer’s arsenal. Whether you’re an ecommerce site, a local lead generation company, a complex SaaS startup, or a multinational corporation trying to reach every internet user within two thousand miles of Minneapolis: remarketing can significantly boost your PPC performance.
Google offers a variety of ways for advertisers to increase sales, recover lost leads, and boost brand awareness, such as:
- Standard Ads – Display Network banner ads that appear when your potential customers are browsing other websites.
- Dynamic Ads – Standard ads on steroids. Dynamic remarketing lets you show website visitors ads featuring the exact products they viewed.
- RLSA – Remarketing Lists for Search Ads let you increase bids on the Search Network for users who have previously completed a specific action on your website.
- Video – Remind potential customers about your business with a friendly video that plays before or during their viewing experience. And now, you can add Gmail to the list! Still a little unclear? Here’s a quick example of how remarketing works.
Remarketing in Action
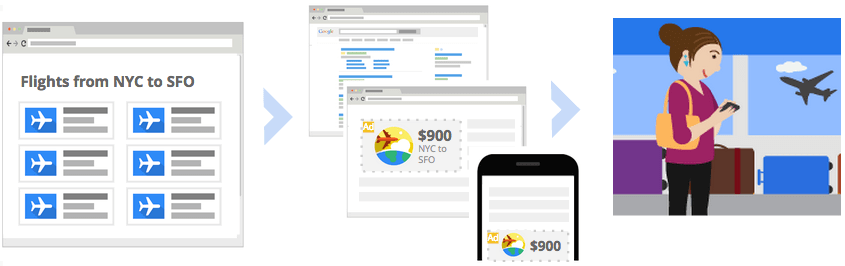
Please note that the following is entirely made up and in no way reflects my actual work habits. Imagine this: I’m just a regular twenty-something trying to get through the workday, and I’ve decided to spend my morning browsing for new sneakers. I head over to the New Balance website, specifically to their super cool “Made in the USA” page, where I spot these beauties:
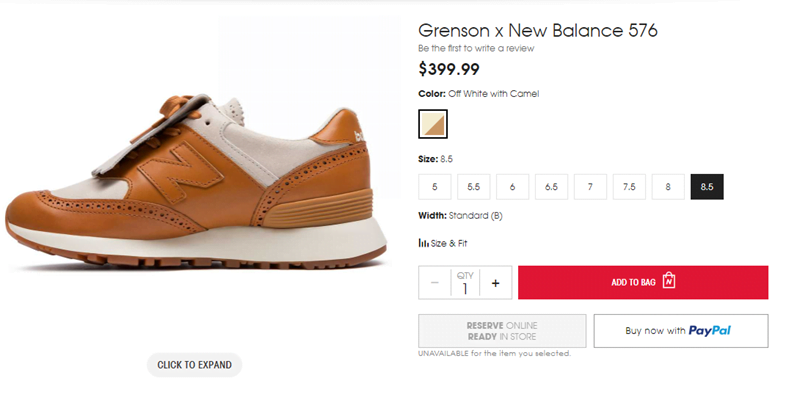
For the purpose of this hypothetical situation, I wear a size 8.5 sneaker. Now, after admiring these for a good while and even adding them to my cart, I decide to get back to work (fine, maybe read some sports news). I am, after all, a responsible adult, with no need for fancy new sneakers. After watching a few highlight reels, out of the corner of my eye, I notice the words “New” and “Balance” in red. My gaze shoots up; I see those gorgeous sneakers again, and suddenly my mind is racing…
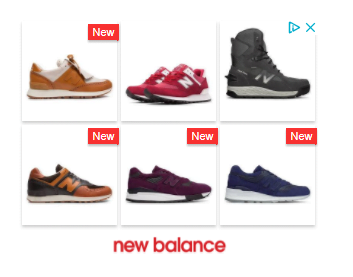
“Hey, those sneakers look familiar.” “$399 isn’t even that much for those.” “They’re basically an investment in my style.” “Now where did I put my credit card?” And that, my friends, is the power of remarketing.
So, What Makes Gmail Remarketing Different?
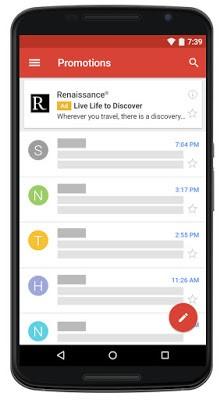
On the Display Network, there are so many ads vying for attention that yours can easily get lost in the shuffle (or end up in a terrible spot on a shady website); video remarketing, while effective, can be seen as interruptive. Gmail remarketing turns two sections of the Gmail inbox - the Social and Promotions tabs - into prime locations for your remarketing ads.

If your product or service involves a longer sales cycle, you’re likely using some type of email nurture program; if your emails are landing in one of these secondary tabs, they might be going unnoticed. Gmail remarketing allows you to push your message above the fold, into a special section of the inbox. It’s a very exclusive placement (there are only two spots) that can be used to capture brand new leads or, in our case, persuade existing prospects to make a purchase.
Let’s Break Down a Gmail Ad
Gmail ads are unique among Google Ads creative formats in that they have two distinct forms, each made up of multiple customizable elements. A collapsed Gmail ad can include:
- Your logo
- The name of your company
- Subject line
- Short, 100-character description
- Display URL Here’s an example of what they look like:

When it comes to remarketing, make sure your subject line and description relate to a) how familiar a potential customer is with your brand and b) the next step you want them to take. The level of subtlety is completely up to you. If you’ve used remarketing before, this is nothing new (think back to that New Balance banner ad). Now for the main attraction. The expanded Gmail ad is much more visually appealing than its collapsed counterpart. Think of it as a way to incorporate larger, more captivating Display creative into your remarketing funnel:
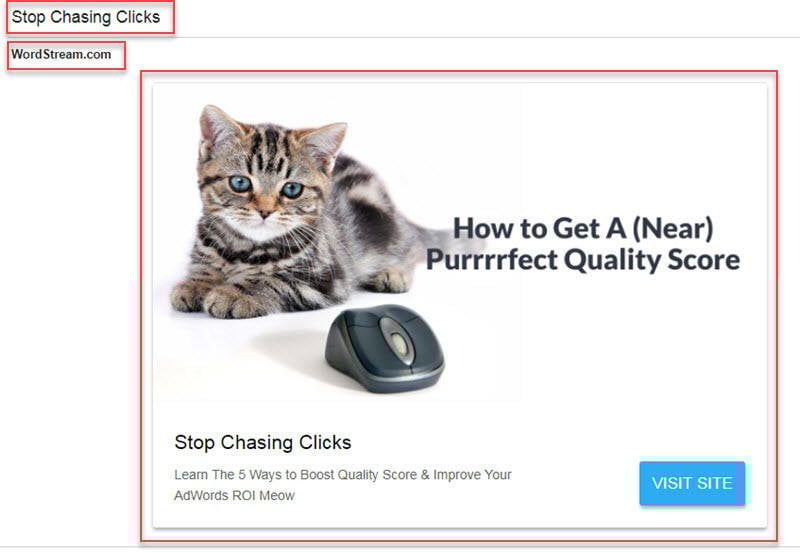
There are a few other formats available (single or multi-product promotions, catalogue creative), but generally, when you see a Gmail ad, its expanded creative will appear as a single, static image. Expanded Gmail ads are made up of:
- Headline
- Description
- Business Name
- Image
- Call-to-action button With so many customizable elements, creating Gmail ad creative can be a bit of a project. This, to some degree, is what prevented many smaller businesses from incorporating Gmail ads into their PPC strategy. However, the ability to extend remarketing into the inbox has completely changed that perception. Now there’s no reason not to give it a shot. Now, let’s get down to business.
Email Remarketing with Gmail Ads: A Step-by-Step Guide
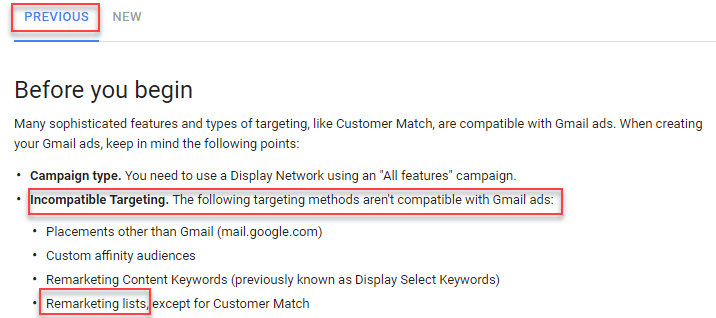
First and foremost: to utilize Gmail ads for remarketing, you’ll need to be using the new Google Ads interface. This is due to the fact that remarketing is not supported for Gmail ads in the previous user interface.
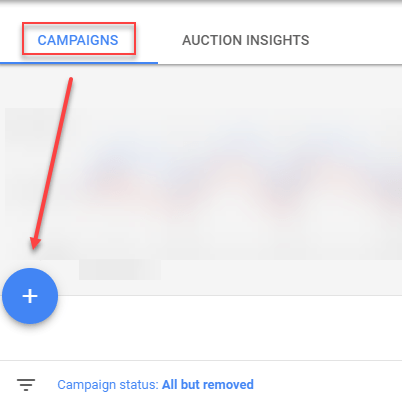
Oh well. Once you’ve signed in to AdWords, navigate to the campaign page and click the large blue plus sign:
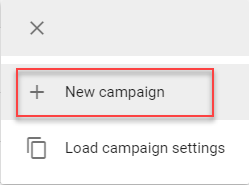
Then choose “New Campaign”:
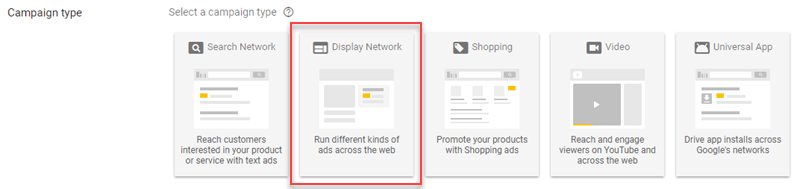
You’ll then be given the option of selecting from five different campaign types. Because Gmail inboxes are “technically” part of the Display Network, you should select the second option:
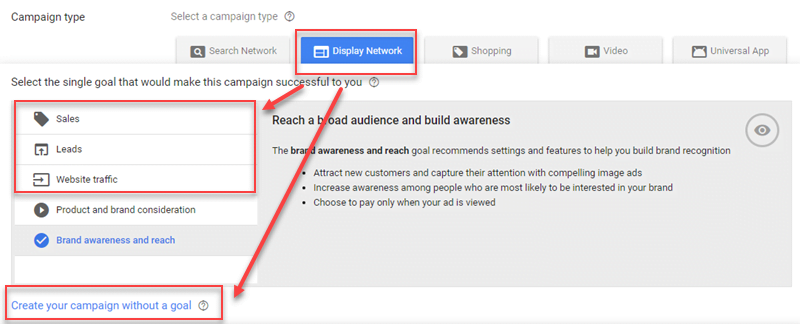
This is where you’ll have to make your first decision. You’ll be given a list of campaign goals to choose from after clicking “Display Network” (you can also choose not to choose one). Sales, leads, website traffic, brand consideration, and reach are the available goals. Only sales, leads, website traffic, and the option with no goal are compatible with Gmail ads.
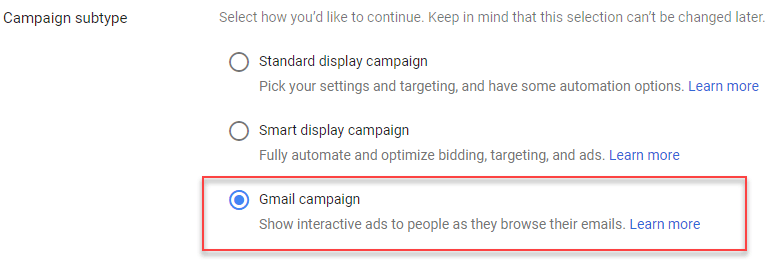
Once you’ve decided which campaign best suits your company and remarketing strategy, use the radio buttons to select “Gmail campaign” as your campaign subtype and enter your website’s URL to move on to the next step of Gmail remarketing campaign creation:
Everything above the fold should look familiar: it’s the same settings interface you’d see when creating any other type of Google Ads campaign. Enter your budget, bids, scheduling, and so on, then scroll down to the ad group creation menu. This is where things start to get interesting. Ideally, you have a plethora of remarketing lists ready to go; however, if this is not the case, create your remarketing lists, making sure to have separate lists for each important action on your website. While an “all site visitors” list is not without its uses, it pales in comparison to more specific alternatives (such as creating separate lists for visitors to your /blog page and /pricing page; this will allow you to target your offer more effectively).
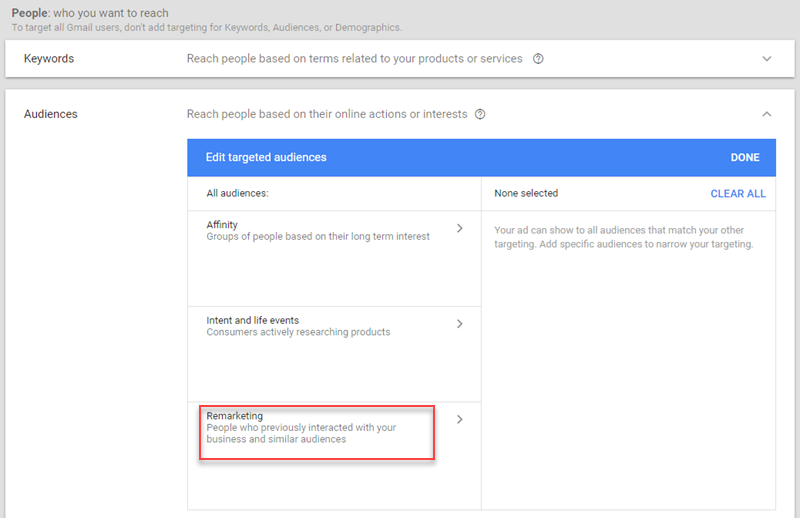
You can currently use Gmail ads to remarket to the following groups:
- Combined Audiences
- Website Visitors
- Customer Lists Choose the remarketing list you want to use for a specific ad set, then click “Done.”
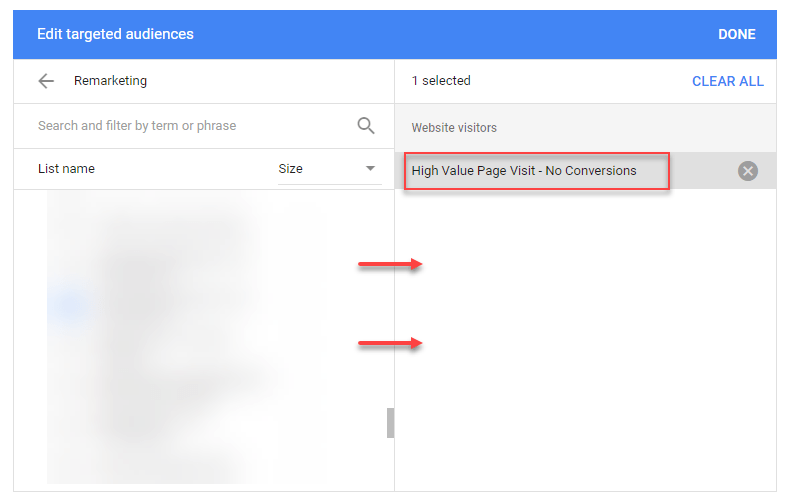
If you have a particularly large list, you should definitely divide it into multiple ad groups.
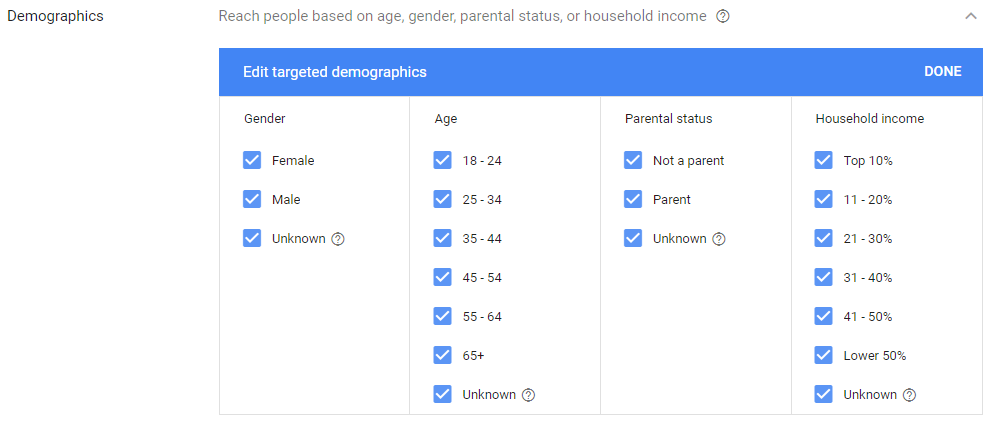
While this may appear to be a huge hassle, having the ability to delve into target demographics will allow you to test copy and creative based on gender, age, parental status, or household income; if you understand what motivates your target audience, this can be a very valuable feature. Before we get into ad creation, there is one more step: you must modify the automated targeting feature. Automated targeting, as its name implies, assists you in finding new customers by mysteriously expanding your targeting (presented as a positive feature). This is not beneficial for our purposes (you know, remarketing).
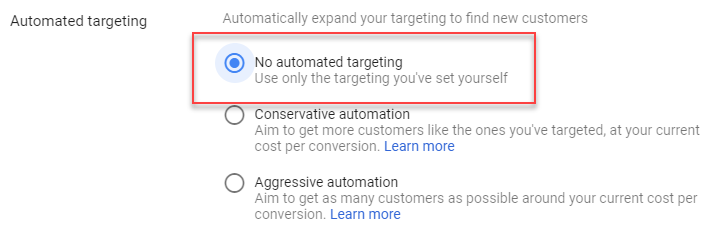
As a result, you should select “No automated targeting” before proceeding to create your Gmail remarketing ad.
Creating Your Gmail Remarketing Ad
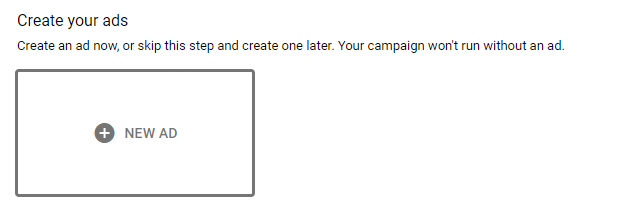
For this example, let’s imagine we are an artisanal pancake mix and syrup company based in the rugged foothills of Mount Washington. We want to use remarketing ads to cross-sell delicious syrup to customers who have previously purchased our ancient grain pancake mix. To begin, click the “+ New Ad” button to access your Gmail ad creation options:
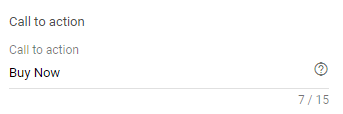
You’ll notice a lot of blank fields; ignore them for now and scroll down to the “More Options” button. Select “Custom teaser” and “Call to action.”
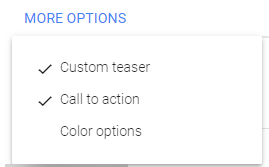
This will allow you to use different copy in your collapsed and expanded Gmail ads, as well as personalize your CTA button copy. Useful stuff. Enter subject and description lines for your collapsed Gmail remarketing ad in the new “Custom teaser” fields. These should be appealing enough to persuade a potential customer to click on your visually appealing expanded ad. Something along the lines of…

Perfect. Scroll back up to the top of the ad creation interface and fill in the required information about your company as well as your expanded ad copy.
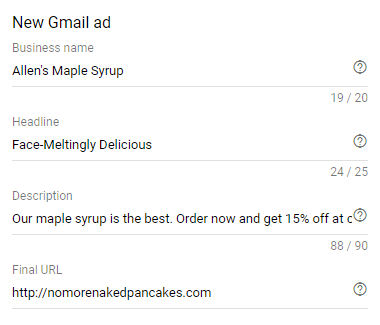
The business name and final URL are straightforward, but the headline and description require some serious thought. You’ve already persuaded your prospect to click on the ad creative; now you must persuade them to take the next step and visit your website. Provide something enticing (such as a discount code, free download, or account audit) to re-engage your prospect. Because you’ll be writing corresponding button copy in a moment, you don’t need to use the description line for a CTA. It’s now time to upload your ad creative. Click the small grey pencil icon.
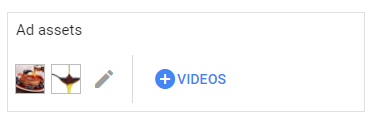
You can browse your website for visual assets to use, upload new images, or use stock photos from here. Regardless of which option you choose, you should upload at least two images: one company logo and one “marketing image” to be the main attraction.
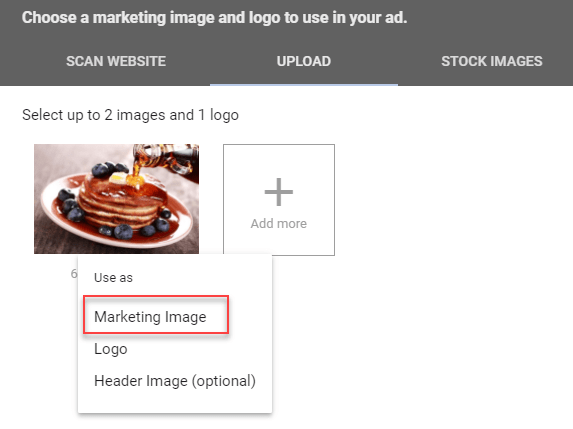
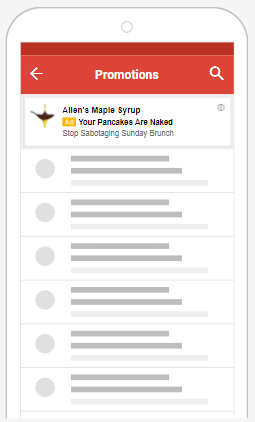
Simply type in your CTA button copy once the images have been uploaded and cropped accordingly:
And there you have it: your Gmail remarketing ad is complete! You can use the preview feature to see how the ad will look collapsed and expanded on both mobile and desktop devices. Here’s what we came up with for those pancake customers we want to sell syrup to…
And…
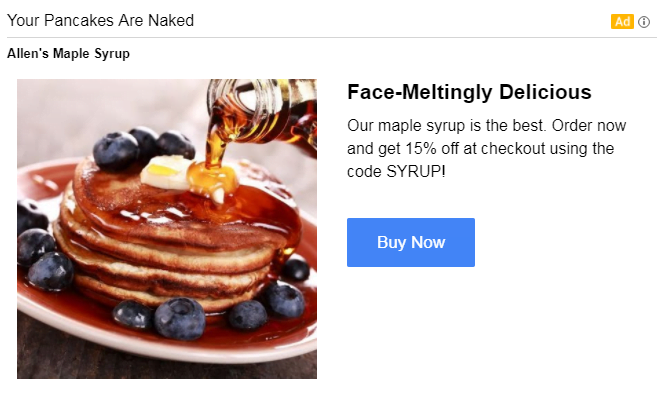
Simply click “Create Campaign” once you’re happy with your ad creative, and your inbox remarketing campaign is ready to launch!
To Wrap Things Up
You already understand the value of remarketing: Gmail ads provide you with a powerful new way to reach prospects and existing customers in their inboxes, giving you another channel through which to generate sales and raise brand awareness. Use what you’ve learned in this guide to create assets that work in tandem with your existing AdWords and email nurture funnels by utilizing the power of Gmail ad remarketing.