Please note: This document is currently being reviewed and some information may be out of date.
Security
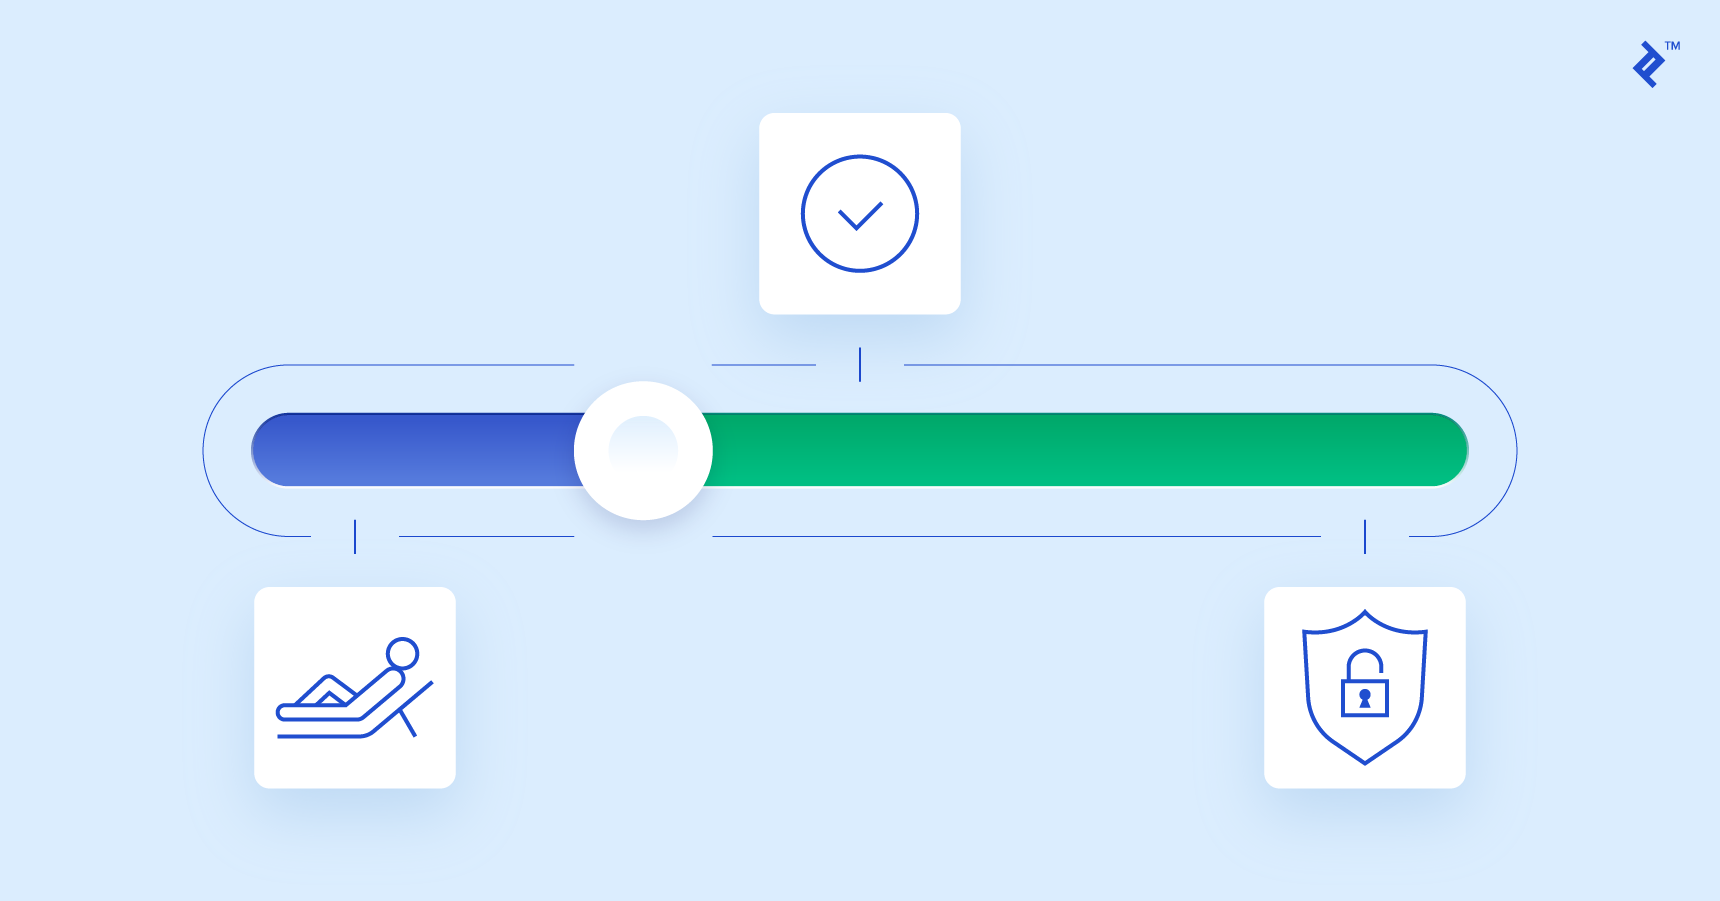
Convenience and security are often at odds, a truth that holds true for systems both physical and digital, ranging from securing the entrance to a building to safeguarding online banking platforms. Engineers constantly strive to strike the ideal balance between these two, often prioritizing one over the other based on the specific context. When new threats emerge, security typically takes precedence, even if it means compromising convenience. The next step involves exploring ways to regain some of that convenience without significantly undermining the newly enhanced security. This cycle is a continuous one.
Let’s delve into the current landscape of REST security and illustrate its implementation through a practical Spring security tutorial.
REST, which stands for Representational State Transfer, emerged as a streamlined alternative to the complex world of Web Services. These traditional services were burdened with extensive specifications and rigid formats, relying on standards like WSDL for service description and SOAP for message formatting. REST, in contrast, adopts a minimalist approach, requiring no such specifications. Describing a REST service can be as simple as using a plain text file, and the choice of message format is flexible, with options like JSON, XML, or even plain text. This simplicity also extends to REST service security, where no strict standard dictates a particular authentication method.
While REST services intentionally avoid rigid specifications, one key principle stands out: statelessness. This means the server does not retain any client-specific information between requests, with sessions being a prime example. Each request is treated as if it’s the client’s first interaction. However, many REST implementations still rely on cookie-based authentication, a practice inherited from traditional website architectures. This approach clashes with REST’s stateless nature, raising security concerns. Despite this, session cookies remain widely used, highlighting how convenience often trumps security considerations in the pursuit of simplicity. Compared to the robust WS-Security standard used in Web Services, REST’s simplicity makes creating and using services exceptionally easy, resulting in a significant gain in convenience at the expense of security. This trade-off leaves REST susceptible to vulnerabilities like session hijacking and cross-site request forgery (XSRF).
To eliminate client sessions from the server, alternative methods like Basic or Digest HTTP authentication have been explored. Both rely on an Authorization header to transmit user credentials, with some level of encoding (HTTP Basic) or encryption (HTTP Digest). However, they inherited the same weaknesses seen in traditional websites: HTTP Basic, with its easily reversible base64 encoding, necessitated the use of HTTPS, while HTTP Digest relied on outdated and insecure MD5 hashing.
Some implementations turned to arbitrary tokens for client authentication. This approach, while appearing promising, lacked standardization. Each service provider developed their own methods for token content, encoding, and encryption. Integrating with services from different providers became cumbersome, demanding extra effort to accommodate varying token formats. In contrast, established methods like session cookies, HTTP Basic, and HTTP Digest benefited from widespread developer familiarity and native support in browsers, frameworks, and programming languages.
JWT Authentication
JSON Web Token (JWT) addresses the standardization gap in token-based authentication for the web, not just for REST. Currently a draft standard under the designation RFC 7519, JWT offers a robust yet simple solution for secure authentication. Similar to other tokens, JWT enables the secure exchange of authenticated user identities between identity providers and service providers (which may be separate systems). Moreover, JWTs can carry user claims, such as authorization details. This eliminates the need for service providers to consult databases or external systems to verify user roles and permissions with every request, as this information is readily available within the token.
Here’s how JWT security works:
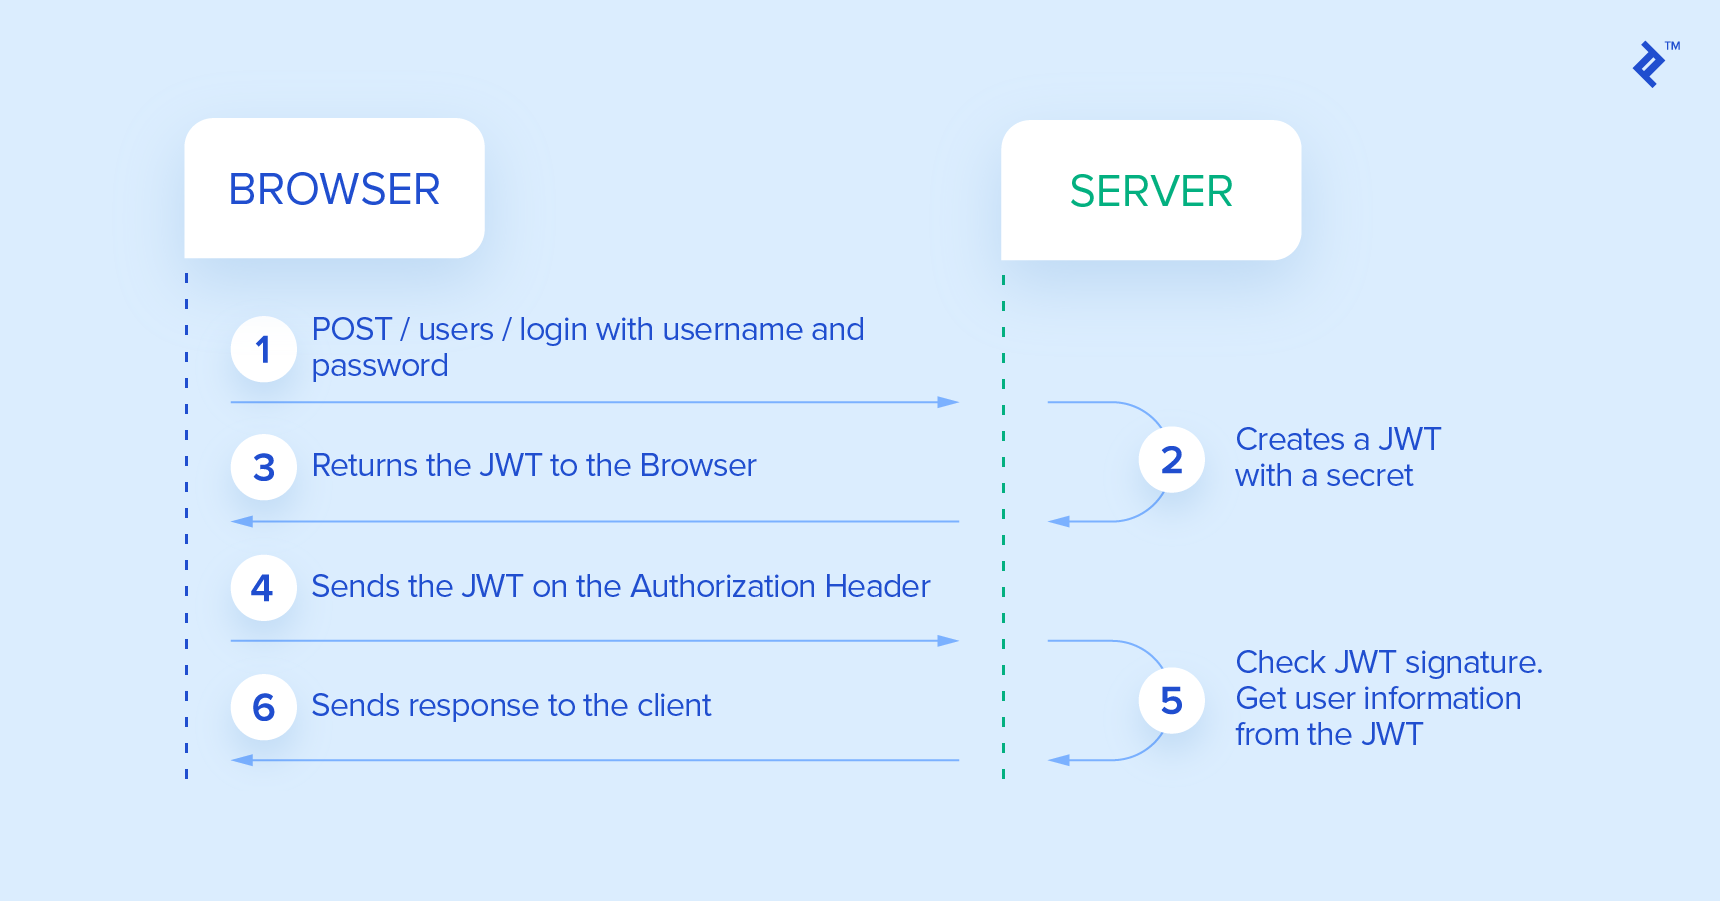
- The client initiates a login by submitting their credentials to the identity provider.
- The identity provider verifies the provided credentials. Upon successful verification, it retrieves the user’s data and generates a JWT containing user details and permissions for accessing services. The identity provider also sets an expiration time for the JWT, which can be indefinite.
- The identity provider signs and, if necessary, encrypts the JWT before sending it back to the client as a response to the initial credential request.
- The client stores the received JWT for a duration determined by the expiration time set by the identity provider. This duration can be limited or unlimited.
- For all subsequent requests to the service provider, the client includes the stored JWT in the
Authorizationheader. - With each request, the service provider extracts the JWT from the
Authorizationheader. The provider then decrypts the JWT, if necessary, and validates its signature. If the validation is successful, the provider extracts the user data and permissions embedded within the token. Using solely this information, without needing to consult databases or the identity provider, the service provider can either grant or deny the client’s request. For this process to work seamlessly, the identity and service providers must have a shared understanding of the encryption method used, ensuring that the service provider can verify the signature and decrypt the identity information if encrypted.
This approach offers a high degree of flexibility while maintaining security and ease of development. By adopting this method, integrating new server nodes into the service provider cluster becomes straightforward. These nodes only need the capability to verify JWT signatures and decrypt the tokens, which is achieved by providing them with a shared secret key. This eliminates the need for complex processes like session replication, database synchronization, or inter-node communication, exemplifying the core principles of REST.
The key distinction between JWT and other arbitrary tokens lies in the standardization of the token’s content. Another recommended practice involves transmitting the JWT within the Authorization header using the Bearer scheme. The header should adhere to the following format:
| |
REST Security Implementation
REST services necessitate a different authorization approach compared to traditional, multi-page websites.
Instead of redirecting users to a dedicated login page when they request a secured resource, REST servers aim to authenticate all requests using information provided within the request itself, specifically the JWT token. If authentication fails, redirecting to a login page doesn’t align well with the RESTful approach. Instead, the REST API returns a 401 (Unauthorized) HTTP status code, signaling to the client that authentication is required. Based on this response, the client, such as a web browser, can then prompt the user for their credentials, for example, by displaying a login form.
In contrast, after successful authentication on a traditional multi-page website, users are redirected, often using a 301 (Moved Permanently) HTTP status code, typically to a homepage or the page that initially triggered the authentication process. Again, this redirection-based approach doesn’t fit well within the REST paradigm. Instead, upon successful authentication, the REST API proceeds with the original request as if the resource were not protected. It then returns a 200 (OK) HTTP status code along with the expected response body.
Spring Security Example
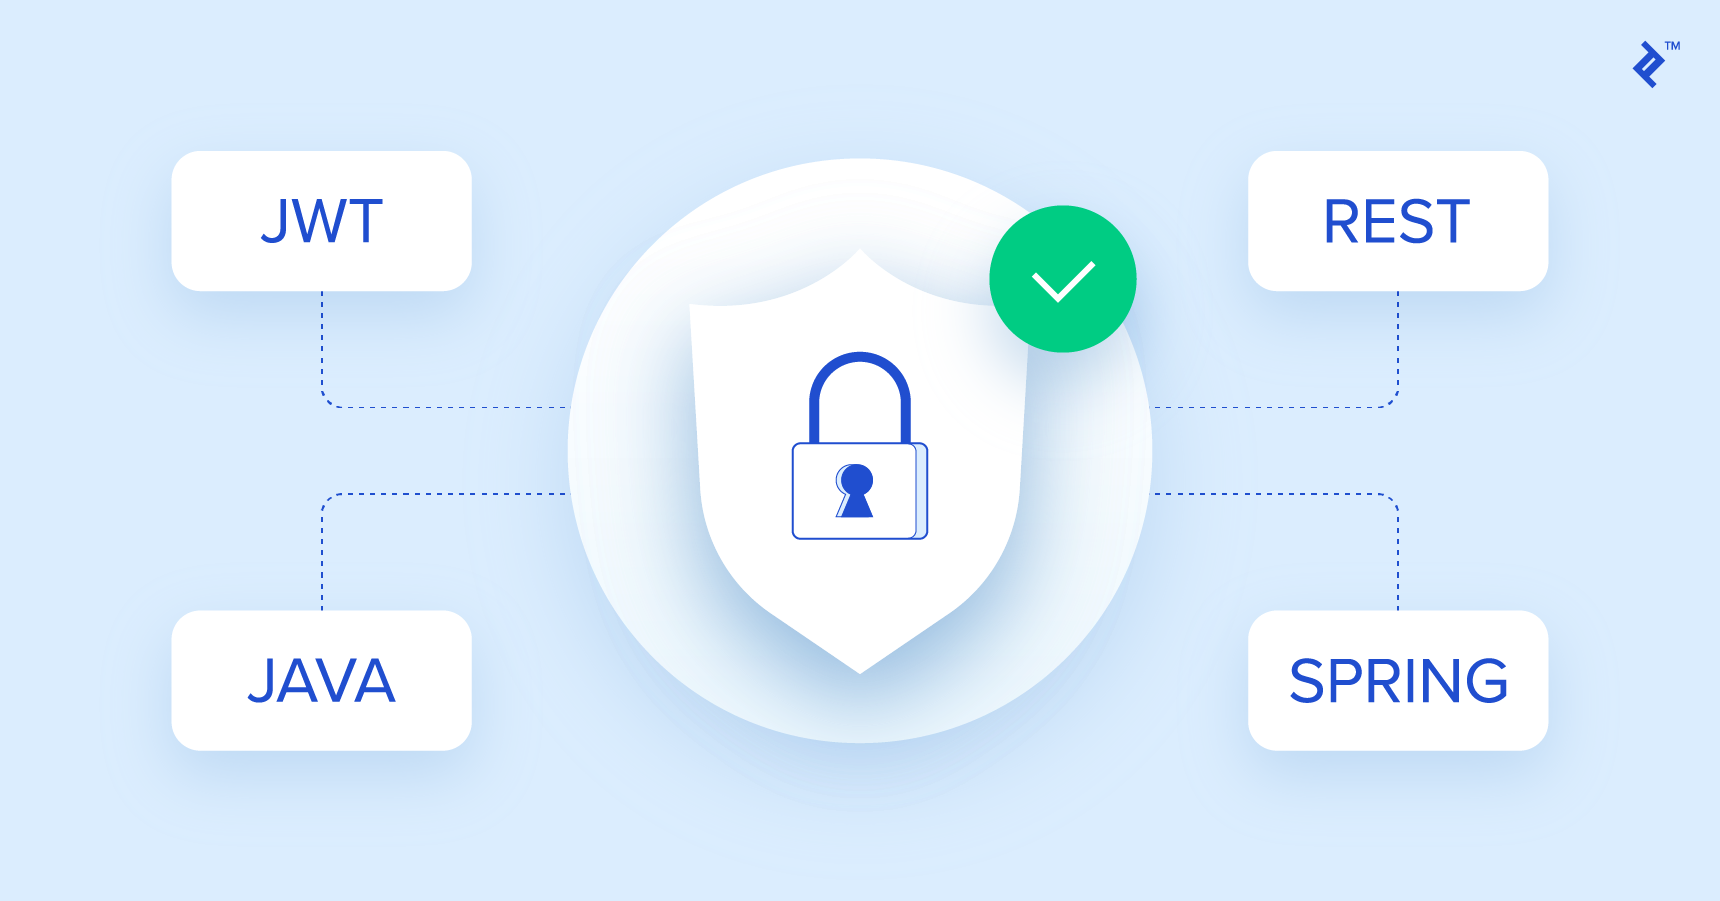
Let’s now explore how to build a JWT-based REST API using Java and Spring, aiming to leverage as much of Spring Security’s default behavior as possible.
Spring Security provides numerous ready-to-use classes for traditional authentication mechanisms like session cookies, HTTP Basic, and HTTP Digest. However, native JWT support is currently absent, requiring some custom implementation. For a more in-depth explanation, refer to the official Spring Security documentation.
We begin with the standard Spring Security filter definition in web.xml:
| |
It’s important to ensure the Spring Security filter is named precisely springSecurityFilterChain for the remaining Spring configuration to function correctly.
Next, we define the Spring beans related to security in XML. To make the XML more concise, we set the default namespace to security by adding xmlns="http://www.springframework.org/schema/security" to the root element. The remaining XML configuration appears as follows:
| |
- (1) This line activates annotations
@PreFilter,@PreAuthorize,@PostFilter, and@PostAuthorizeon any Spring beans within the application context. - (2) Here, we define the login and signup endpoints, excluding them from security checks. This allows even unauthenticated users to access these operations.
- (3) This section defines the filter chain applied to all incoming requests. We include two important configurations: a reference to the entry point and a setting to disable session creation (
stateless). Since we’re using tokens for each request, we don’t need Spring Security to manage sessions. - (4) CSRF protection is disabled as our token-based approach is immune to such attacks.
- (5) Our custom authentication filter is plugged into Spring’s predefined filter chain, positioned before the form login filter.
- (6) This declares our authentication filter. Because it extends Spring’s
AbstractAuthenticationProcessingFilter, we must define it in XML to wire its properties, as auto-wiring doesn’t apply in this case. The filter’s functionality will be explained in detail later. - (7) The default success handler provided by
AbstractAuthenticationProcessingFilterisn’t suitable for REST because it redirects the user to a success page. We override it here with our custom handler. - (8) This section declares the authentication provider that our filter will use to authenticate users. This provider is created by the
authenticationManager.
Let’s now delve into the implementation of the specific classes declared in the XML above. Spring will handle the wiring of these classes for us. We’ll start with the simplest ones.
RestAuthenticationEntryPoint.java
| |
As explained earlier, this class overrides Spring’s default redirect behavior and returns a 401 (Unauthorized) HTTP status code when authentication fails.
JwtAuthenticationSuccessHandler.java
| |
This override removes the default behavior after a successful authentication, which typically involves redirecting the user to a specific page. You might wonder why we don’t need to override AuthenticationFailureHandler. This is because the default implementation won’t perform a redirect if no redirect URL is configured. So, by simply not setting a redirect URL, we achieve the desired behavior.
JwtAuthenticationFilter.java
| |
This class serves as the entry point for our JWT-based authentication. The filter extracts the JWT token from the request headers and then delegates the authentication process to the injected AuthenticationManager. If the token is not found, the filter throws an exception to halt further request processing. We also override the behavior for successful authentication because the default Spring flow would stop the filter chain and initiate a redirect. As explained earlier, we need the entire filter chain to execute, including generating the response.
JwtAuthenticationProvider.java
| |
We utilize Spring’s default AuthenticationManager in this class. However, we inject our custom AuthenticationProvider, which handles the actual authentication logic. To achieve this, we extend the AbstractUserDetailsAuthenticationProvider class. This extension requires us to return a UserDetails object based on the authentication request, which, in our case, is the JWT token wrapped in the JwtAuthenticationToken class. If the token is invalid, we throw an exception. Conversely, if the token is valid and successfully decrypted by JwtUtil, we extract the user details, including their roles, directly from the token without needing to access the database. The JwtUtil class will elaborate on the extraction process.
JwtUtil.java
| |
The JwtUtil class is responsible for parsing the JWT token into a User object and generating a token from a User object. Thanks to the use of the jjwt library library, which handles all the JWT operations, the implementation is straightforward. In this example, we store the username, user ID, and user roles within the token. We could include more data or enhance security, such as adding token expiration. The AuthenticationProvider utilizes the token parsing functionality, as demonstrated earlier. Unsecured REST endpoints for login and signup, which don’t require authentication or a token, invoke the generateToken() method. This method generates the token, based on the user’s information, which is then sent back to the client.
Conclusion
Traditional security mechanisms like session cookies, HTTP Basic, and HTTP Digest, though compatible with REST services, come with inherent drawbacks. JWT provides a timely and superior alternative, especially with its status nearing an IETF standard.
JWT’s key strengths are its stateless and, therefore, scalable approach to user authentication and its use of up-to-date cryptography for security. Embedding user claims, such as roles and permissions, within the token itself provides significant advantages in distributed systems where the server handling the request might not have direct access to the authentication data source.