Real-time communication between web browsers is now possible with WebRTC. Though relatively new and still in draft form, its API, coupled with the fact that WebRTC is not supported by all major web browsers yet, (and among the ones that do, some of them do not support every feature of this technology), makes it seem challenging to use for critical applications. However, that might not be entirely true!
Since its introduction by Google in May 2011, WebRTC has found its place in many modern web applications. As a core element of most modern web browsers, it allows web applications to seamlessly leverage its capabilities to enhance user experience in various ways. From video streaming and conferencing applications that operate without clunky browser plugins to leveraging peer-to-peer (P2P) networks without routing every bit of data through a server, WebRTC unlocks a world of possibilities.
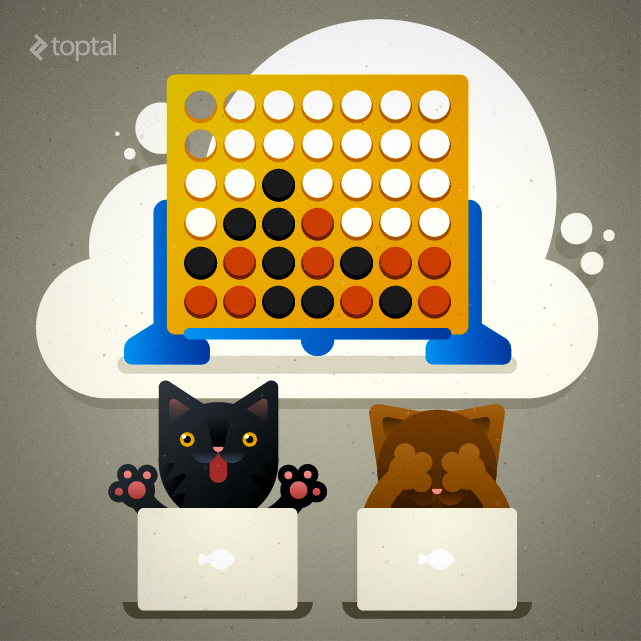
This article explores how to build a simple P2P web game of Connect Four using WebRTC. We’ll navigate the complexities and inconsistencies of WebRTC implementations using a powerful JavaScript library called PeerJS.
Transmitting Data with WebRTC
Before diving in, it’s crucial to understand that WebRTC isn’t limited to audio and video streaming. It also supports P2P data channels. These channels come in two forms: reliable and unreliable. As the names suggest, reliable channels guarantee message delivery and order, while unreliable channels offer no such assurances.

What’s more, WebRTC data channels require minimal infrastructure setup beyond what a typical WebRTC peer connection needs: a signaling server for connection coordination, a STUN server for public identity resolution, and optionally, a TURN server to relay messages if a direct connection can’t be established (e.g., both peers behind NATs). If these acronyms sounds familiar, that’s because WebRTC cleverly reuses existing technologies whenever possible.
This opens up a plethora of use cases for WebRTC, including multiplayer games, content delivery, file sharing, and more. All of this without relying on an intermediary server, resulting in reduced latency.
In our simple web game, we’ll utilize a data channel between two web browsers to exchange player moves.
Introducing PeerJS
PeerJS simplifies WebRTC implementation in your browser, providing a clean, consistent, and elegant API around it. It plugs various holes in WebRTC implementation of earlier browsers. For instance, in Chrome 30 and earlier, only unreliable data channels were supported. If configured to use reliable data channels, PeerJS would employ a shim for those older browsers. While not as efficient as native reliable channel implementations, it would still function.
PeerJS simplifies peer identification, using unique IDs for each peer. These IDs can be self-selected by the peer or generated by a server. While WebRTC promises peer-to-peer communication, a server is still needed as a connection broker and for signaling. PeerJS provides an open-source implementation of this connection broker server PeerJS Server (using Node.js) if you prefer not to use their cloud-hosted version (currently free but with limitations).
Connect Four Goes Peer-to-Peer
Let’s create a simple Node.js/Express application to demonstrate.
| |
This application will host the PeerJS Server and serve a single page containing a main menu and a 7-by-6 Connect Four grid, along with front-end assets.
Setting up the PeerJS Server
Hosting our own PeerJS Server is straightforward. The official repository on GitHub even offers one-click deployment to Heroku.
In our case, we’ll instantiate ExpressPeerServer in our Node.js application and serve it at “/peerjs”:
| |
The PeerJS Client
With the PeerJS Server running, let’s move to the client side. As mentioned, PeerJS identifies peers with unique IDs, either generated automatically by PeerServer or chosen when instantiating Peer objects.
| |
The id can be omitted, letting the server generate a unique one. PeerServer ensures ID uniqueness. The second argument, options, is an object containing key (the API key for cloud-hosted PeerServer), or host, port, path, etc., for self-hosted servers.
| |
To establish a connection between two PeerJS peers, one must know the other’s ID. In our Connect Four implementation, the game initiator will share their peer ID with their opponent. With the destination peer ID, peer.connect(destId) initiates the connection:
| |
Both the Peer object and the DataConnection object from peer.connect(destId) emit useful events. We’ll focus on the ‘data’ event of the DataConnection object and the ’error’ events of both.
Sending data is simple with conn.send(data):
| |
While overkill for our purpose, PeerJS transmits data after BinaryPack encoding, allowing for strings, numbers, arrays, objects, and even blobs to be communicated.
Receiving data involves listening for the ‘data’ event on conn:
| |
That’s the gist of it!
Game Logic
The first player (game initiator) receives their peer ID from PeerJS, which they share with their opponent. Once the opponent joins using this ID, the first player can make a move.
In Connect Four, the only move is dropping a disc into a chosen column. We’ll communicate this move as an array: [‘move’, columnIndex], where columnIndex is the 0-based index of the chosen column.
When a player clicks a column:
| |
After sending the move data, we update the local game state, checking for wins or draws.
On the receiving end:
| |
We then update the local game state and check for a win or draw.
Note the sanity checks on incoming data. This is crucial in WebRTC games without a central server validating moves.
For brevity, UI update code snippets are omitted. The complete client-side JavaScript can be found here.
Putting It All Together
Our simple page has two sections: a visible main menu and a hidden game grid.
| |
We’ll use Bootstrap for basic styling.
Clicking “Start” reveals the game grid and the player’s peer ID, which they can share.

The second player enters this ID and clicks “Join” to start the game.

Testing the Game
Try the the example application or clone the repository from GitHub, install dependencies, and run locally:
| |
Once the server’s running, open http://localhost:5000 in your browser, start a game in one tab, and join from another (or a different WebRTC-capable browser) using the peer ID.
Open your browser’s console for debug information, as verbose logging is enabled for the PeerJS client.
Troubleshooting
If the game doesn’t work, there are two likely reasons.
Your browser may not support the necessary WebRTC APIs. Try a different WebRTC-enabled browser.
If you’re behind a restrictive network, WebRTC might be blocked. A TURN server could help, but it’s not implemented here. So, if both players are behind NATs, it won’t work.
Wrapping Up
Despite being relatively new and with implementations still maturing, WebRTC offers exciting possibilities. Libraries like PeerJS abstract away the complexities, making the technology accessible.
Hopefully, this PeerJS-based game tutorial helps you get started with WebRTC and build amazing real-time, peer-to-peer web applications.