The Volt framework for Ruby is designed specifically for data-rich applications. Both the server and client sides are written in Ruby, then compiled to Javascript via OPAL. This allows developers to build very dynamic applications without needing to write any Javascript. As a Ruby enthusiast, I find this framework to be very appealing.
Front-end Javascript frameworks like Angular.js, Backbone.js, and Ember.js have gained popularity for their ability to make web applications more dynamic. However, these frameworks are most effective when used with a back-end application, and are often paired with web frameworks like Ruby on Rails and Django.
The Ruby framework Volt, on the other hand, is capable of handling both the back-end and a dynamic front-end. It allows developers to build applications quickly since both functionalities are tightly integrated into its core. Volt is structured similarly to an MVVM architecture and leverages the benefits of data bindings.
One of Volt’s most impressive features is its built-in real-time functionality. Building real-time applications can be quite complex, often involving technologies like AJAX-polling, web sockets, Server-Sent Events (SSE), or even external services, which adds complexity and potential costs. Unlike other frameworks, Volt maintains a persistent connection with the server through web sockets. This eliminates the need for separate Ajax requests for every action, allowing changes to be instantly pushed to all clients without any configuration.
Building a Chat Application with Volt
This Ruby framework tutorial will guide you through the process of building a real-time application using Volt. We’ll create a chat application, a classic example of real-time functionality, to showcase Volt’s capabilities.
First, let’s install Volt and MongoDB. We won’t cover the MongoDB installation process in detail:
| |
| |
(create dbpath)
| |
We can now create our first application, which we’ll name ‘chat’. This can be done with a few simple commands:
| |
The document structure shares similarities with Rails, but Rails users will notice an additional ‘Component’ folder within the ‘app’ folder. This ‘Component’ folder contains other folders such as assets, controllers, models, and views.
A Component is a self-contained section of the app. When you navigate within a Component, all pages render without requiring a full page reload since all necessary files are loaded with the initial HTTP request. Visiting a page in a different Component will trigger a new HTTP request, causing the page to reload. For this example, we will work within the default ‘main’ component.
Let’s start the server by running the command ‘volt server’ in the console and view it in the browser by navigating to localhost:3000:
| |
Don’t forget to start MongoDB in the console as well:
| |
Volt provides several default pages, including ‘Home’ and ‘About’, which you can customize. You’ll also notice a login button in the top right corner. Volt integrates user functionality through the ‘volt-user-templates’ gem, which provides out-of-the-box user registration and authentication.
Getting Started
Let’s begin building our application. We won’t be needing the ‘About’ page, so we can delete the following: the file located at ‘app/main/views/main/about.html’, the about action in ‘app/main/controllers/main_controller.rb’, the ‘/about’ route in ‘app/main/config/routes.rb’, and the corresponding nav link in ‘app/main/views/main/main.html’.
| |
Now, let’s display a list of all registered users:
| |
This code will list all registered users on the homepage. Notice that the code within the double curly braces {{ }} is Ruby code that gets executed, allowing us to iterate through the user collection and display each user.
The ‘users’ variable represents the collection containing all users. It’s important to note that attributes are accessed by prefixing them with an underscore ‘_’. To enable this, we need to add a line of code to the top of the ‘main_controller.rb’ file:
| |
Volt provides several collection models accessible from the controller, each storing information in a different location. The ‘store’ collection model saves data in the data store, and we’re instructing the controller to utilize it (currently, MongoDB is the only supported data store). Now, let’s create a few users to see how it looks.
Currently, the page simply lists registered users. Let’s enhance this by allowing users to select another user to message, hiding the logged-in user from the list (as they can’t message themselves), displaying the list only to authenticated users, and showing a ’landing’ page to non-authenticated users:
| |
Volt.user retrieves the current logged-in user or returns nil if no user is logged in.
The ’e-click’ attribute enables us to bind a specific method from the controller to be executed when the element is clicked.
Attributes And CSS
All attributes prefixed with ’e-’ act as event binders in Volt. For example, ’e-submit’ can be added to a form to define the action triggered on the controller upon form submission. We’ll add the selected user’s ID to the parameters to identify the selected user and apply an ‘active’ class for styling purposes.
Now, let’s create the ‘select_conversation’ method within the controller:
| |
That’s it! If you refresh the page, you’ll notice the URL updates each time you click on a user’s name. Additionally, the ‘active’ class is being added to the element. Let’s add some CSS to make this visually apparent (we’ll include CSS for elements we’ll add later):
| |
| |
| |
Now, let’s create a form on the right side for sending messages:
| |
This code first checks if a user is selected before displaying the form. If a user is selected, it retrieves all messages from the current conversation (the conversation with the selected user) using a controller method we’ll define shortly. At the bottom, a form is displayed for sending new messages.
The input value is an attribute we’re defining within the page collection model, as we don’t want this data stored in the data store. Let’s define the ‘current_conversation’ and ‘send_message’ methods in the controller:
| |
The ‘send_message’ method adds a new message to the collection if the message isn’t blank (we’re checking inline for simplicity). Then, it clears the input field by setting page._new_message to an empty string. It’s recommended to add this line to the end of the select_conversation method as well.
The ‘current_conversation’ method queries the _messages collection for messages exchanged between the selected user and the current user.
Wrap Up With Real-Time Notifications
To complete our application, let’s implement a notification system to notify users when they receive new messages.
We’ll introduce a new collection called _notifications and create a new notification after each message is sent:
| |
We also need to clear notifications after a user selects a conversation and views new messages, so we’ve added that logic to the select_conversation method.
Let’s add a notification counter next to the user’s name:
| |
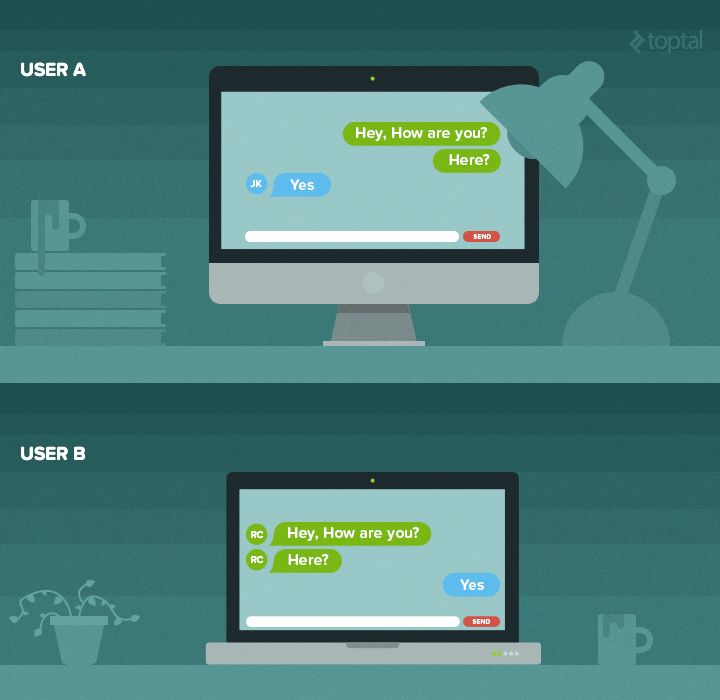
Our application is now complete. You can open multiple browser windows and test Volt’s real-time capabilities.
Volt Is Definitely Worth A Try
While Volt might not yet be as mature or robust as other established Ruby frameworks, it’s a framework worth exploring and learning.
I encourage you to experiment with Volt using the steps outlined in this tutorial. Keep an eye on its development as Volt shows great promise, even in its current beta stage.
With many new features in development, Volt has the potential to become a favorite among developers for their next Ruby project, thanks to its innovative features and ease of use.