Adding visuals like images, photos, or illustrations can significantly enhance the appeal of your posts or page content. This guide will demonstrate how to upload images to your WordPress posts or pages.
Gutenberg Block Editor
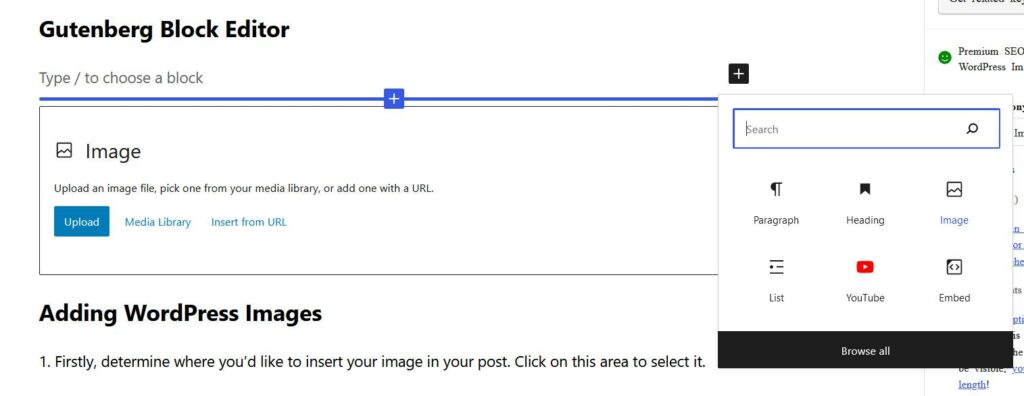
With the introduction of WordPress’s new editor experience (Gutenberg Block Editor), you need to click the ‘+’ button and search for the ‘image’ block, as shown in the screenshot below. Then, click on ‘upload’ or ‘media library’ to either add a new image or select an existing one from your site.
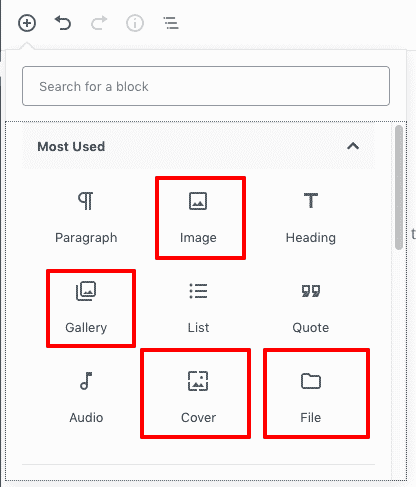
There are at least five distinct ways to incorporate photographs into your content using the default Gutenberg blocks. You have four dedicated image blocks at your disposal: Image, Gallery, Cover, and File. Additionally, there’s a versatile block called Media & Text.
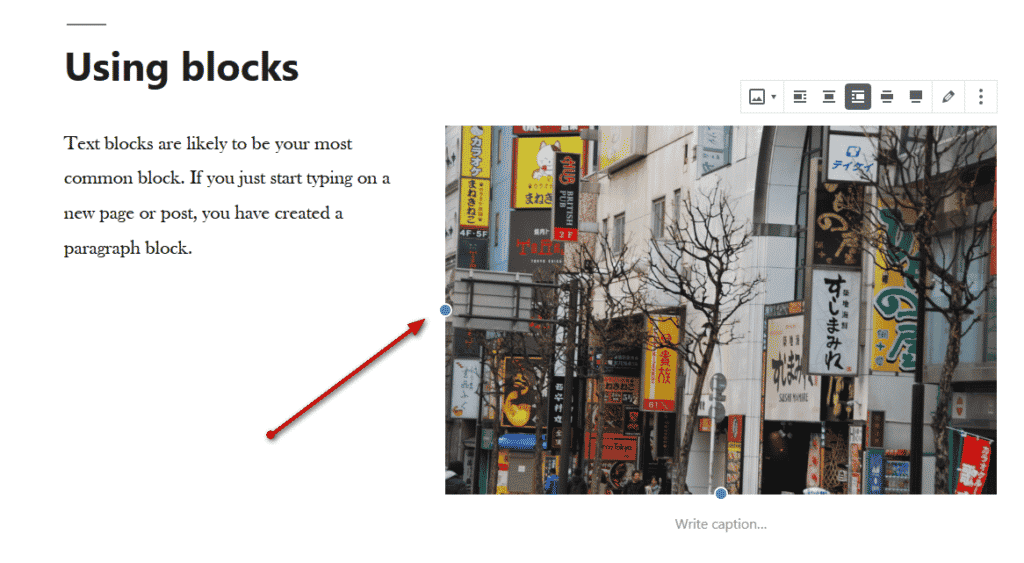
If you choose not to indent your image, you can control its width by selecting either “Wide” or “Full Width.” The “Wide” option will make your image slightly wider than your text blocks, while “Full Width” will expand it to increase throughout your screen. Keep in mind that these settings might be influenced by your chosen theme.
A convenient feature allows you to seamlessly insert an image directly from your computer without needing to select a block. Simply position your mouse cursor where you want the picture to appear and open a folder containing along with your photographs. Then, drag and drop your selected image onto the page or post.
The image settings on the right side allow adjustments to the image’s dimensions by specifying pixel width and height or by using percentages. This section also allows you to input ALT text, create a link, or apply custom CSS classes.
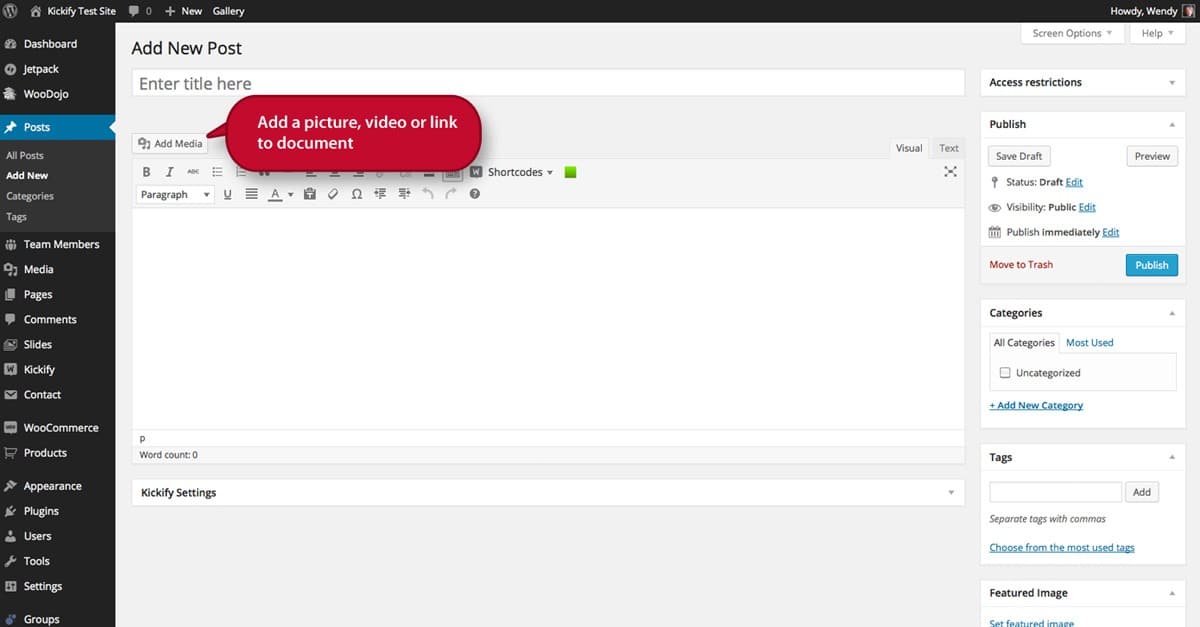
Adding WordPress Images (Classic Editor)
1. Begin by deciding where in your post you want to place the image. Click on that specific location to select it.
2. Above the Post editor (toolbar), you’ll find an Add Media button. Click this button to reveal the Insert Media box.
3. Your WordPress site utilizes a media library for storing all your media files, including images and videos. This box gives you the option to either upload a new file or use an existing file an existing one from your media library. To upload a new image, click the Select files button. Locate the picture you wish to use and click “Open.”
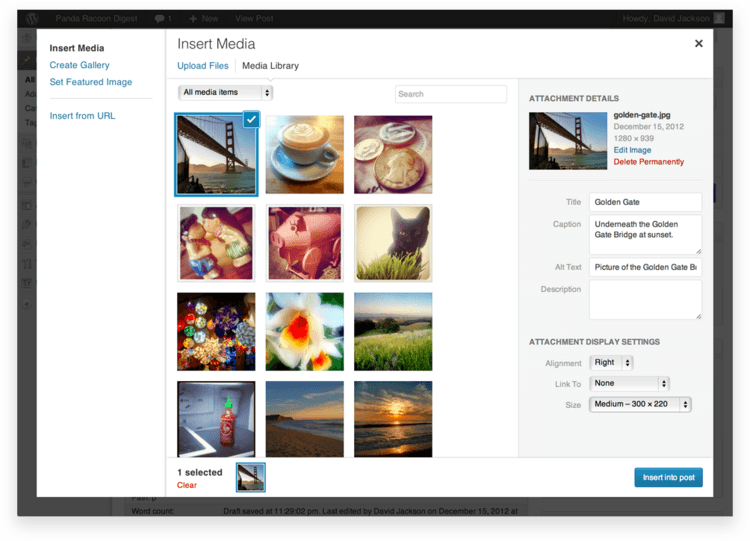
4. Once uploaded, your image will appear in the media library. On the right side of the box, you’ll find the attachment details for this image. You can modify the Title, Caption, Alt text, and Description here. Additionally, you can customize the image’s alignment (options include center, left, or right), the link destination for the inserted image, the actual URL, and the image size.
More Steps Adding WordPress Images To Posts Or Pages
5. Ensure the image has a checkbox next to it and then click the Insert into post button. You should now see the image added to your post.
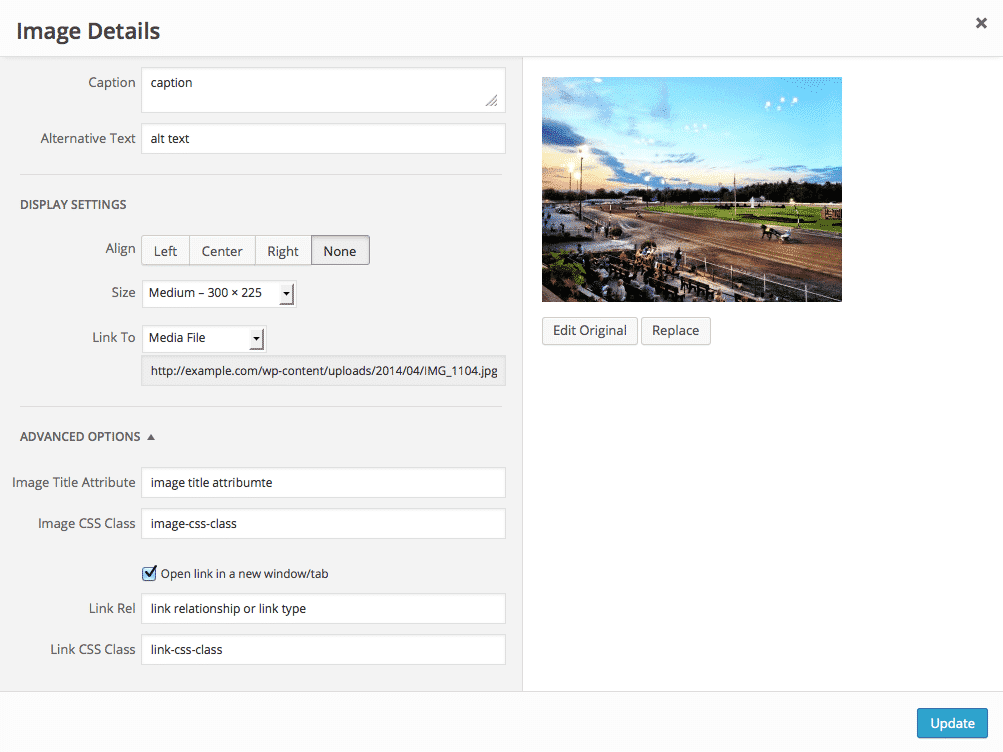
6. Clicking on the image within your post will reveal two boxes in its upper left corner. The first is an image icon. Clicking this icon opens a box for editing the image details. Here, you can resize the image using percentages (a convenient resizing method) or update attributes like the title, alternative text, caption, and link URL. You also have the option to remove the link or have it point directly to the image file.
7. Clicking the advanced settings tab displays the image file’s URL on your site, its actual dimensions in pixels, and its CSS Class. Additionally, you can find settings for styles and image properties that control padding around the image.
8. Back at the image within your post, you’ll notice a second icon in the upper left corner. Clicking this icon will remove the picture from the post.
9. Clicking the Add Media button again brings up the familiar Insert Media box. You’ll notice options for creating a gallery and setting the featured image on the left side of this box. Once you have more images in your media library, you can easily add a complete gallery to your post.
Your WordPress theme might utilize the post’s featured image. Select the desired image as your featured image and return to the post editor. Preview your post to see the added image.