In this guide, we’ll explore how simple it is to incorporate JSON web token (JWT)](https://jwt.io/introduction/) authentication into your [Angular 6+ single-page application (SPA). First, let’s cover some fundamentals.
What Are JSON Web Tokens, and Why Use Them?
Put simply, they offer convenience, compactness, and security. Let’s break it down:
- Convenient: Authentication with a JWT after login involves setting a single HTTP header, easily automated via a function or subclass.
- Compact: A JWT is just a base64-encoded string with header fields and an optional payload, usually under 200 bytes even when signed.
- Secure: JWTs can be signed with RSA public/private keys or HMAC using a shared secret, ensuring origin and validity.
Essentially, JWT provides secure and efficient user authentication and API endpoint call verification without needing custom data parsing or encryption.
Application Theory

Let’s see how this works in practice. Imagine a Node.js server hosting our API and an Angular 6 SPA todo list. Consider this API structure:
/auth→POST(submit username and password for authentication and receive a JWT)/todos→GET(fetch user’s todo list items)/todos/{id}→GET(retrieve a specific todo item)/users→GET(get a list of users)
We’ll build this app soon, but first, let’s focus on the theoretical interaction. A simple login page lets users enter credentials, sent to the /auth endpoint on form submission. The Node server authenticates the user (e.g., database lookup, external service query) and ultimately returns a JWT.
Our example JWT will contain reserved and private claims. Reserved claims are standard JWT key-value pairs for authentication, while private claims are specific to our app:
Reserved Claims
iss: Token issuer. Usually the server’s FQDN, but any recognizable value works.exp: Token expiry (seconds since Unix epoch).nbf: Not valid before timestamp (optional, sets a validity start time).
Private Claims
uid: Logged-in user’s ID.role: Logged-in user’s role.
This information, base64-encoded and signed with HMAC using the shared key todo-app-super-shared-secret, might look like this:
| |
This string validates the login, identifies the user, and even indicates their role(s).
Storing this JWT in localStorage or sessionStorage is common practice but not mandatory. How you handle the token is up to you, as long as it’s accessible for future API calls.
Subsequent API calls from the SPA to protected endpoints simply include the token in the Authorization header.
| |
Note: While common, JWT doesn’t mandate this method; you could append it to the URL or use a cookie.
Upon receiving the JWT, the server decodes it, verifies consistency with the HMAC secret, checks expiry (exp, nbf), and can even validate the issuer (iss).
Once validated, the JWT’s information can be utilized. For example, uid identifies the requesting user, and role can control endpoint access permissions (database lookups might be necessary depending on security requirements).
| |
Building a Simple Todo App
To proceed, ensure you have recent versions of Node.js (6.x+), npm (3.x+), and angular-cli. For Node.js (which includes npm), follow the instructions here. Then install angular-cli using npm (or yarn):
| |
Without delving into Angular 6 boilerplate, I’ve created a Github repository with a sample todo app to demonstrate adding JWT authentication. Clone it:
| |
The command git checkout pre-jwt switches to a release without JWT implemented.
Inside, you’ll find two folders: server (Node API server) and client (Angular 6 app).
The Node API Server
Let’s install dependencies and start the API server.
| |
The following links should return JSON data (currently hardcoded for userID=1 without authentication):
- http://localhost:4000: Node server test page
- http://localhost:4000/api/users: List of users
- http://localhost:4000/api/todos: Tasks for
userID=1
The Angular App
Similarly, install dependencies and start the client app’s dev server.
| |
Note: Downloading dependencies might take some time.
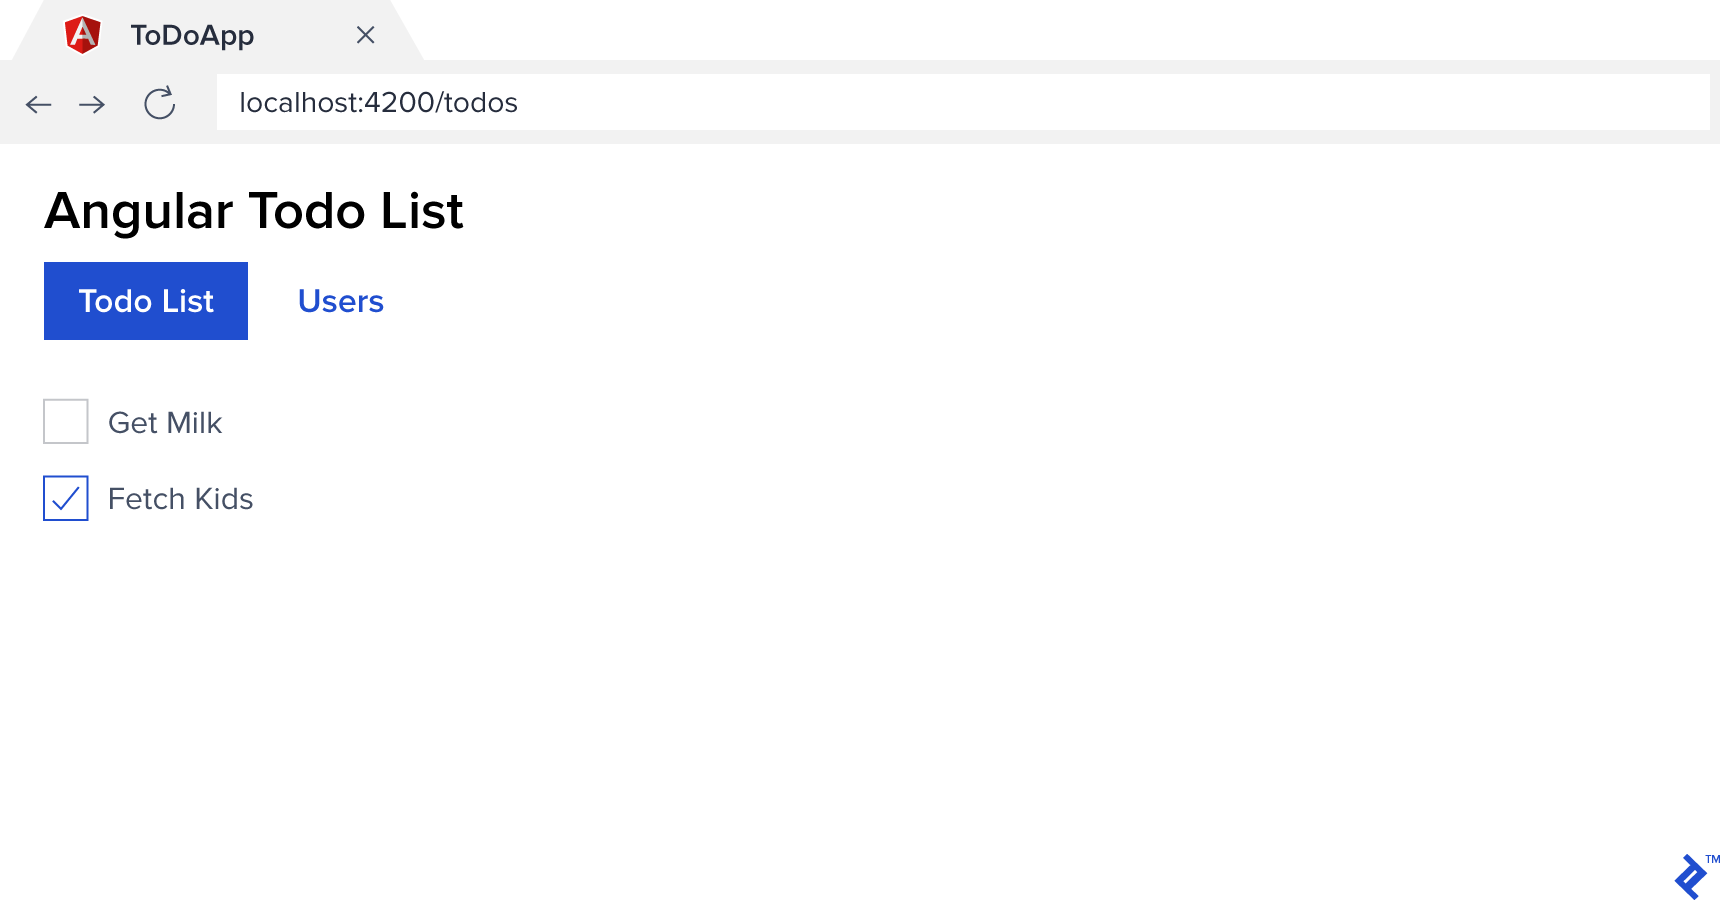
You should see something like this at http://localhost:4200:
Adding Authentication via JWT
We’ll utilize readily available libraries to streamline JWT authentication implementation.
On the client-side, we’ll use a library by Auth0](https://auth0.com/), which enables [cloud-based authentication. Using this library doesn’t necessitate using their services.
| |
On the server-side, we’ll use body-parser, jsonwebtoken, and express-jwt to handle JSON POST bodies and JWTs.
| |
API Endpoint for Authentication
First, we need an authentication mechanism. For simplicity, we’ll use a fixed endpoint with a hardcoded username and password. The key is to return a JWT.
Add this line beneath the other require statements in server/app.js:
| |
And add this code snippet:
| |
This code handles getting the JSON body, finding the user, checking credentials (returning a 401 Unauthorized error if invalid), and, importantly, generating the token.
Let’s break down the token generation (jwt.sign(payload, secretOrPrivateKey, [options, callback])):
payload: An object with key-value pairs to encode (decodable with the decryption key). Here, we includeuser.idto identify the user on subsequent requests.secretOrPrivateKey: Either an HMAC shared secret key (used here for simplicity) or an RSA/ECDSA private key.options: Key-value pairs for encoding options, typically includingexpiresIn(expclaim) andissuer(issclaim).callback: A function for asynchronous token encoding (optional).
(You can learn more about more details on options and how to use public-key cryptography instead of a shared secret key.)
Angular 6 JWT Integration
Integrating JWT with Angular 6 is straightforward using angular-jwt. In client/src/app/app.modules.ts, add:
| |
That’s mostly it! While we still need to handle authentication logic, angular-jwt automatically sends the token with HTTP requests.
tokenGetter(): Provides the JWT string; our implementation retrieves it fromlocalStorage.whiteListedDomains: Restricts JWT sending to specific domains.blackListedRoutes: Excludes specific routes from receiving the JWT.
Making It All Work Together
We now have JWT generation and Angular’s setup to send it. However, we need to enforce authentication in our client and API.
Let’s start by adding a login component, an authentication service, and an Angular Guard to protect routes in our client app.
| |
This should create four new files in the client folder:
| |
Next, update client/src/app/app.modules.ts to provide the authentication service and guard:
| |
Modify routing in client/src/app/app-routing.modules.ts to use the authentication guard and add the login route:
| |
In client/src/app/auth.guard.ts, add the following:
| |
This basic implementation checks for a JWT in local storage. In a real app, you’d decode and verify its validity, expiration, etc. (e.g., using JwtHelperService).
Now, our app always redirects to the login page. Let’s fix that. Update client/src/app/auth.service.ts:
| |
This service has login and logout functions:
login:POSTs credentials to the backend and stores the receivedaccess_tokeninlocalStorage.logout: Clearsaccess_tokenfromlocalStorage.loggedIn: A boolean property indicating login status.
Finally, the login component (client/src/app/login/login.components.html):
| |
And client/src/app/login/login.components.ts:
| |
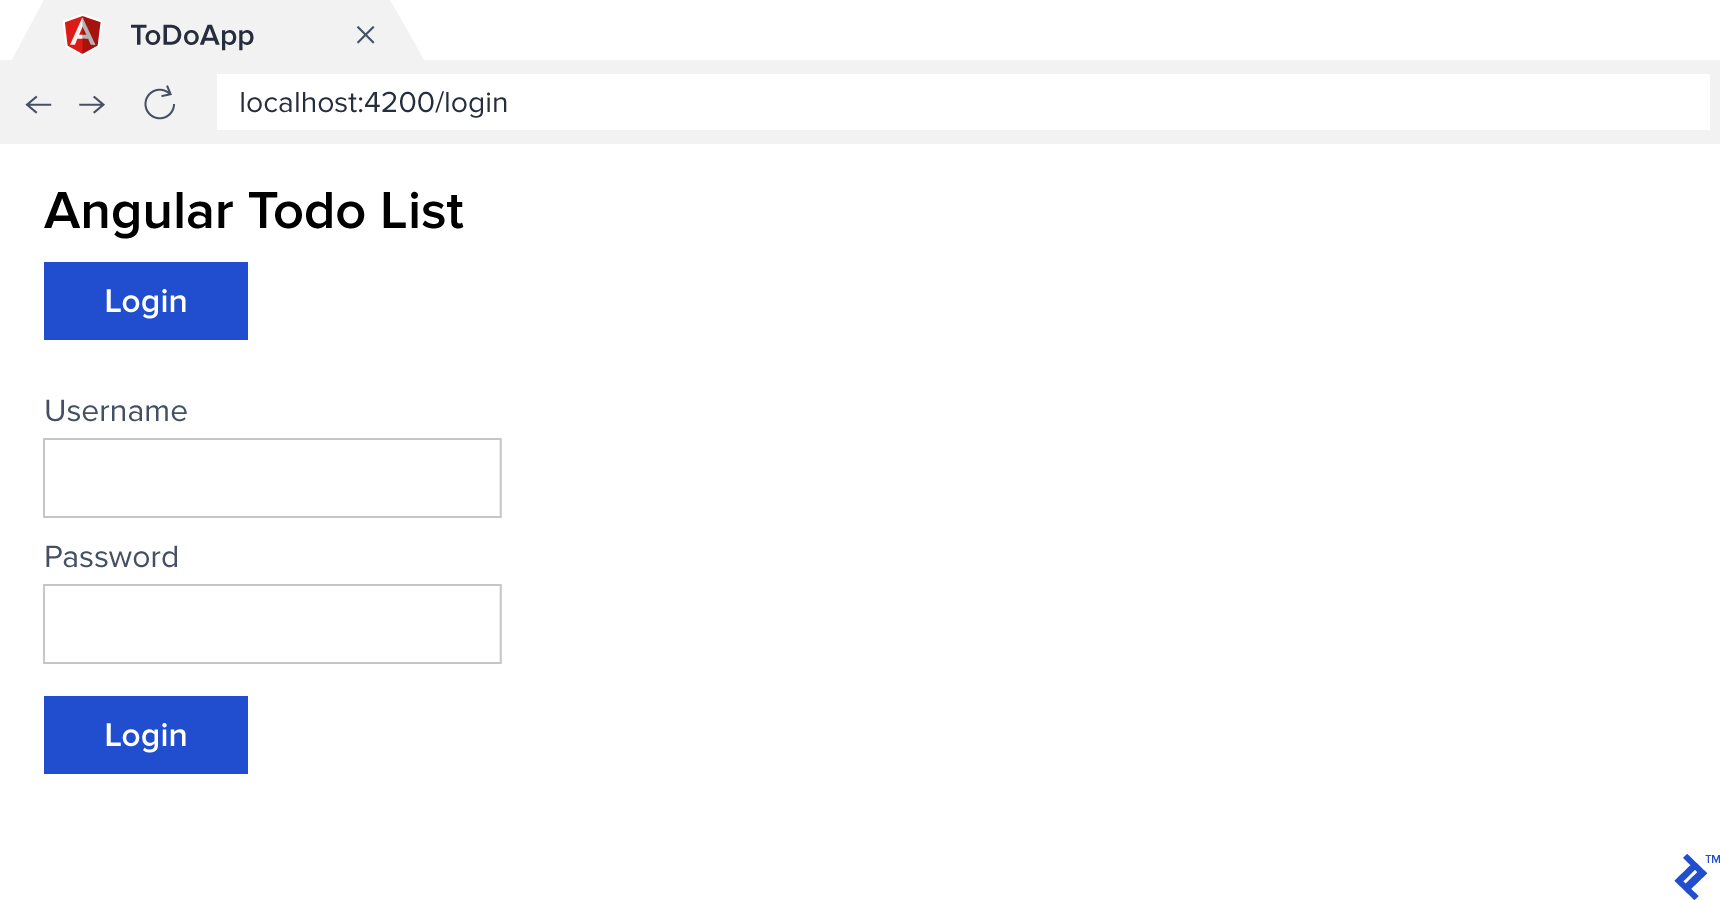
Here’s our basic Angular 6 login:
You should now be able to log in (using jemma, paul, or sebastian with password todo). However, the navigation is static. Let’s fix that by updating client/src/app/app.component.ts:
| |
And replace the <nav> section in client/src/app/app.component.html:
| |
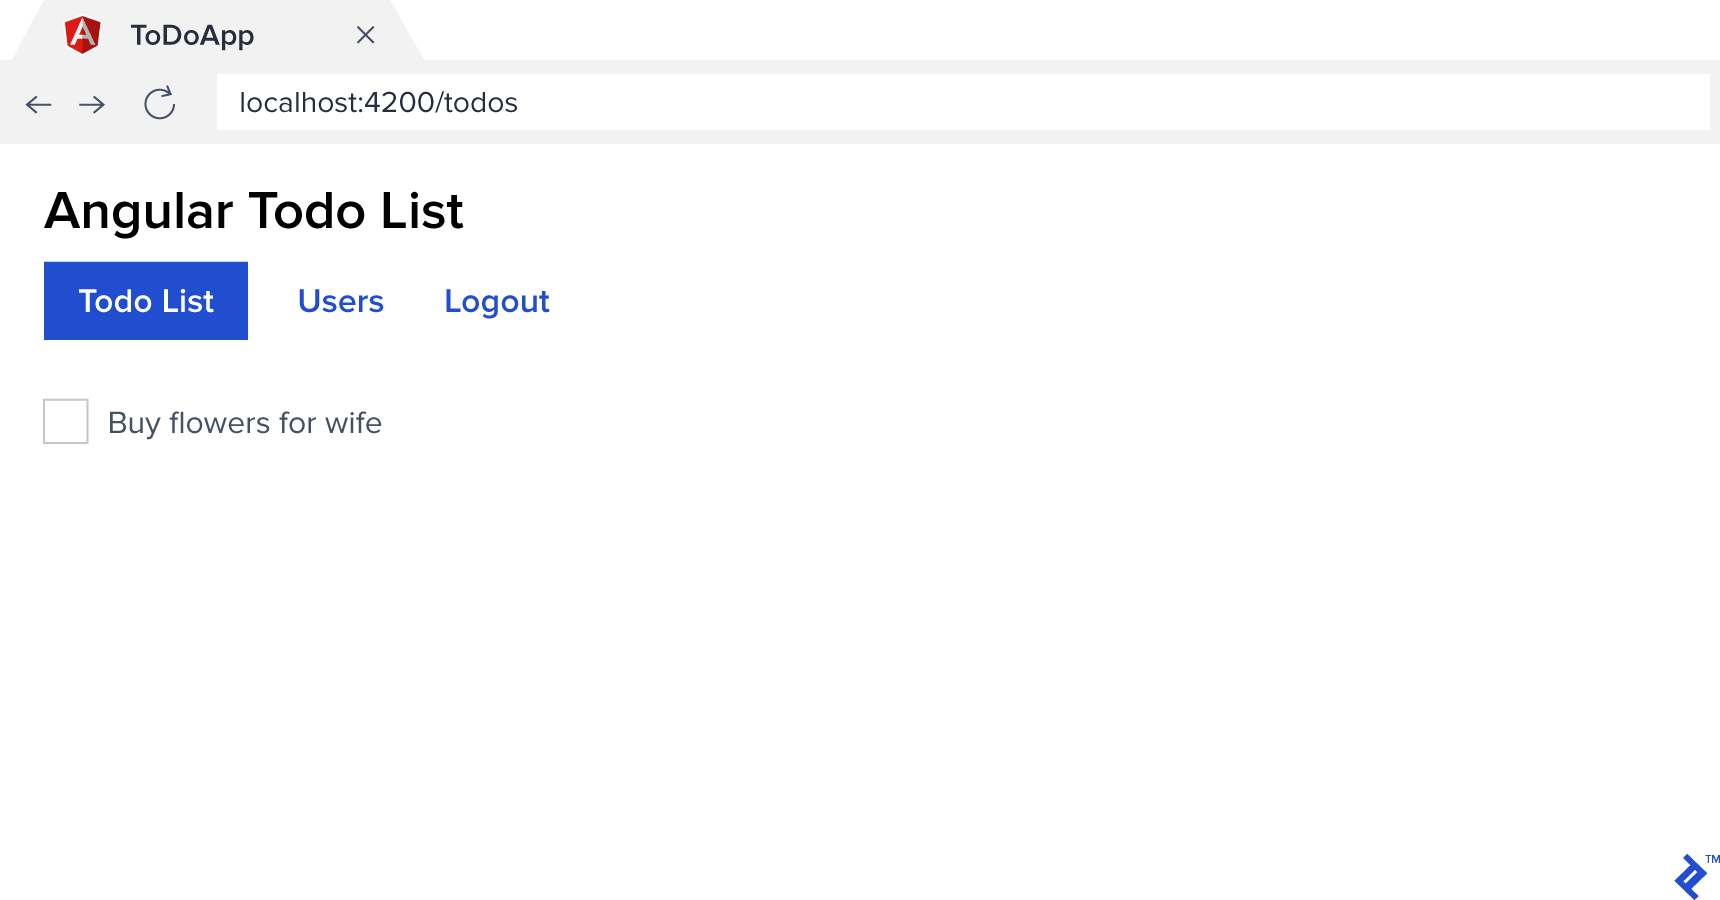
Our navigation is now context-aware, displaying elements based on login status.
Securing the API
You might have noticed that all users see the same todo list. This is because our /todos endpoint still returns data for userID=1. Let’s use the JWT to secure it.
Add this line beneath the other app.use() calls in server/app.js:
| |
This uses express-jwt middleware, providing the shared secret and excluding paths that don’t require a JWT.
The middleware assumes the standard Bearer {token} format for the Authorization header but offers customization options (see express-jwt Usage).
express-jwt also decodes the token and populates req.user with the payload, giving us access to the encoded information. We can now use req.user.userID to identify the user.
Update the /todos endpoint in server/app.js:
| |
That’s it! Our API now requires authentication, and we can identify the logged-in user. Our client app can now access protected resources.
To see the final result, checkout the repository:
| |
Hopefully, this guide helps you implement JWT authentication in your Angular apps. Thanks for reading!