This guide explains how to create a new WordPress post on your website, whether it’s for a blog, magazine, or custom post types like a portfolio or gallery.
When you’re running or managing a blog, it’s crucial to capture your audience’s attention and keep them engaged. Regardless of your content’s quality, if the design and formatting are poor, readers will likely lose interest. This undermines your promotional efforts.
Fortunately, WordPress simplifies website and blog creation for everyone. As a content management system, it makes managing certain aspects of your website easy and free. To maximize its potential, you need to go in-depth with its features. WordPress’s versatility allows you to create various websites, including blogs, membership sites, business websites, resumes, and forums. Continue reading for helpful tips.
Creating a New WordPress Post
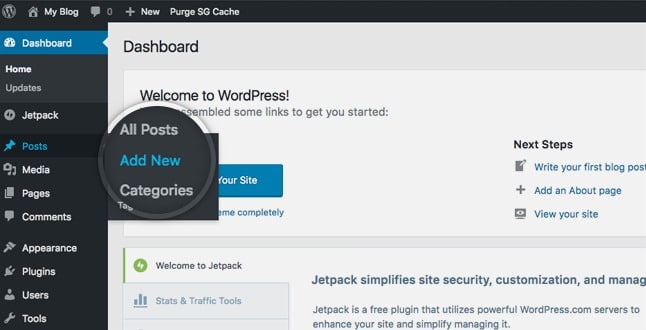
This tutorial outlines the steps for creating new posts on your WordPress website. Begin by logging into your site’s wp-admin panel and navigating to Posts -> Add New.

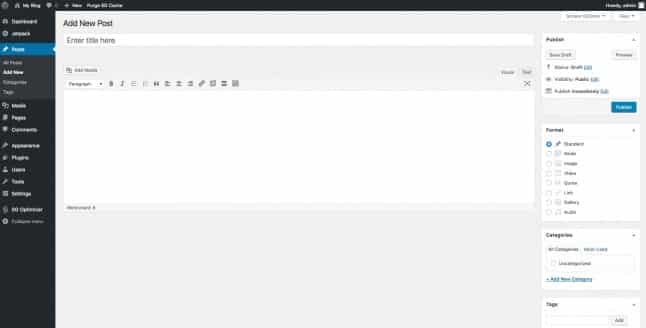
You’ll see the WordPress posts editor. The essential components of this page include:
- Post Title: Enter your post’s title here. It will appear above your content on your theme.
- Post Content: Use the WordPress WYSIWYG editor to add the actual content of your post. It features two tabs: Visual (format your text using the editor) and Text (directly input your HTML code).

After entering your first WordPress post’s content, you need to Publish it. Publishing makes your post live on your website.

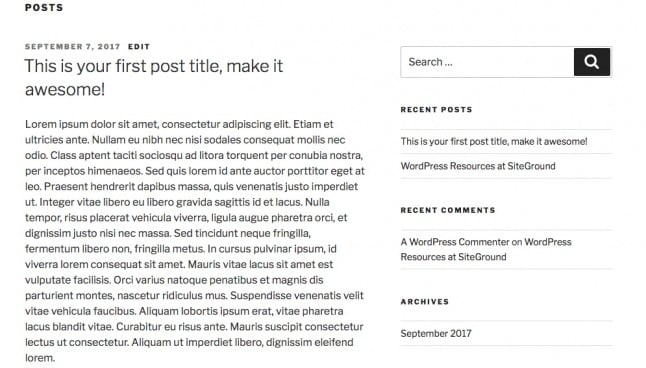
That’s it! Now you can visit your site’s front page to view your newly created blog post.

Title/Headline Box
This is where you input your post’s title. You can use any combination of phrases, words, or characters, but avoid using the same title twice to prevent issues. Feel free to use commas, apostrophes, quotes, hyphens/dashes, and other common symbols, like in this example: “My Site – Here’s Lookin’ at You, Kid.” WordPress will automatically format it to create a user-friendly and URL-valid post name (“post slug”), which forms the permalink for your post.
WordPress Post Body Copy Box
The blank box is where you add your writing, hyperlinks, image links, and any other information you want to display on your site. You can compose your posts using either the Visual or Text view. For more details on the Text view, refer to the section below, Visual Versus Text View.
The body copy box also allows you to make necessary edits or changes to the WordPress design of individual posts. Take your time and avoid rushing through edits to ensure high-quality content.
Preview Button
Always thoroughly review your post before publishing it on your site. Avoid posting anything hastily. Prioritize quality over quantity for website content.
The preview button lets you see how your post will look before officially publishing it.
Create WordPress Post: Conclusion
With these tips, you’re now equipped to leverage WordPress effectively. WordPress is undeniably a valuable tool for those seeking to create better blogs. However, its effectiveness relies on your ability to utilize its features to their full potential. If you previously found WordPress overwhelming, you can now see that it’s manageable with some practice and familiarity. You’re now a step closer to producing even better content for your website.

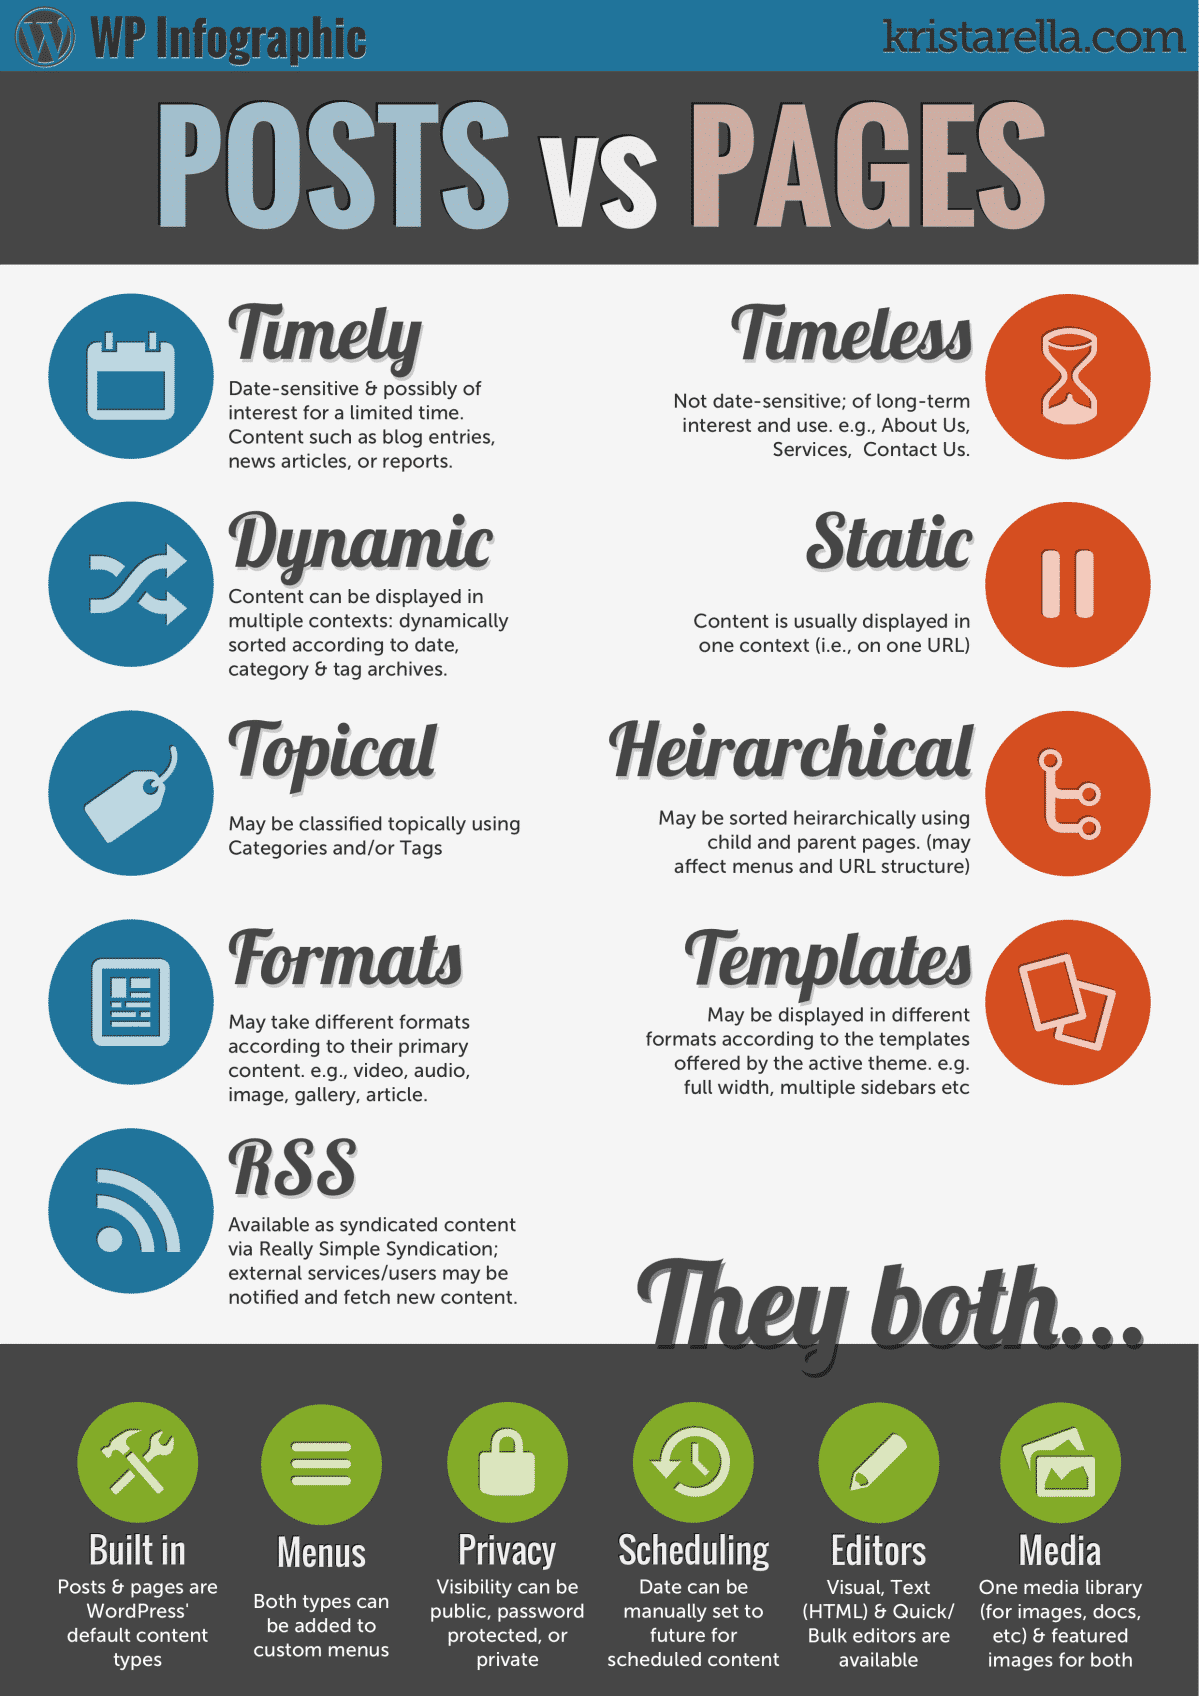
How To Create a WordPress Post – infographic