When setting up your campaigns and ad sets, you get to choose where your ads appear. The options are always changing, but we’ve listed the current placements as of this article’s publication.
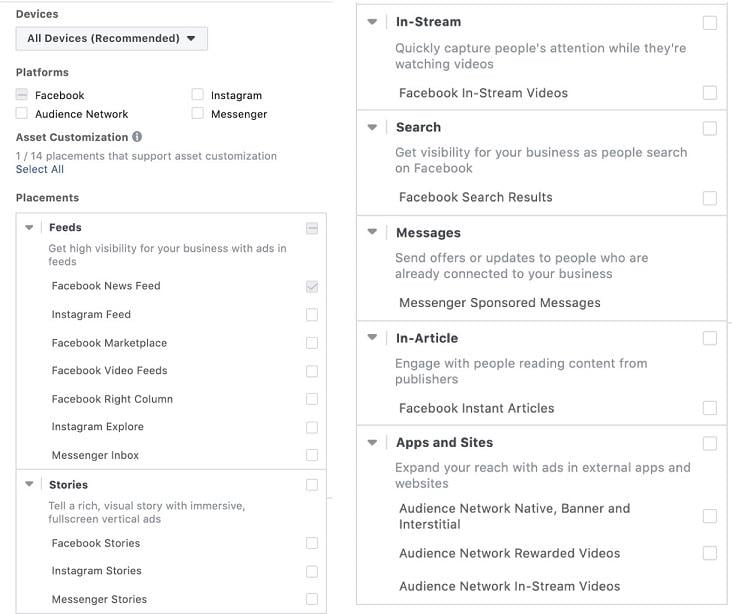
So, how do you decide which placements to use and which to skip? It’s not always a simple answer. This guide will help you understand how to choose the best placements for your Facebook ads and tailor them for optimal performance. Let’s start by understanding what placements are and why they matter.
Expand your reach with Facebook ad placements
Contrary to popular belief, no placement is inherently good or bad. Facebook will only display your ads to your chosen audience, regardless of the placement. Adding Instagram won’t suddenly limit you to millennial influencers, and using the Audience Network doesn’t mean you’re advertising on the dark web. Placements simply allow you to connect with your audience across the Facebook network, reaching them where they engage. Some users are only on Facebook, while others prefer Instagram. Excluding either platform could mean missing out on potential customers. As you saw earlier, there are numerous places users engage. I recommend focusing on two key factors when deciding where your ads appear:
- Performance
- Visual appeal The first is straightforward. Begin with all placements active. If a placement delivers good results, keep it. If it underperforms, disable it. Simple. The second factor requires a bit more finesse. Ask yourself this crucial question when creating an ad: Does my ad look good in this placement? It’s that easy. Does it look appealing or not? The easiest way to assess this is by using the preview tools while creating ads. On the right side of the ad builder, you’ll find a list of placements where you can preview your ad. Remember that you’ll only see previews for placements enabled at the ad set level.
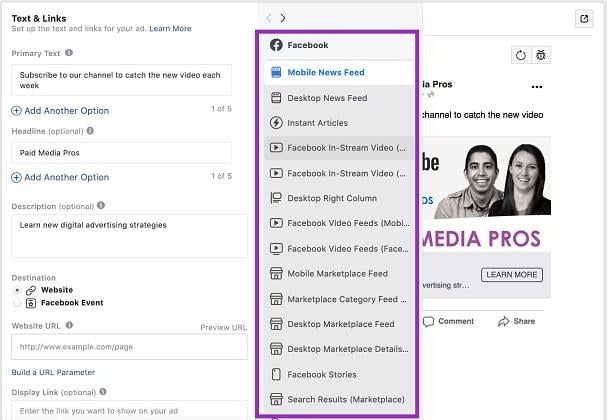
Click through each placement and evaluate your ad’s appearance. Does it look great, okay, or terrible? Is there wasted space, or is something important being cut off? If your ad looks awful in a specific placement, your instinct might be to disable it. But hold on! Facebook offers tools to help you optimize your ads for each placement and present your brand effectively.
Tailor your ads for each placement
Within the “Media” section of your ad builder, there’s a small drop-down menu labeled: Select a placement to customize.
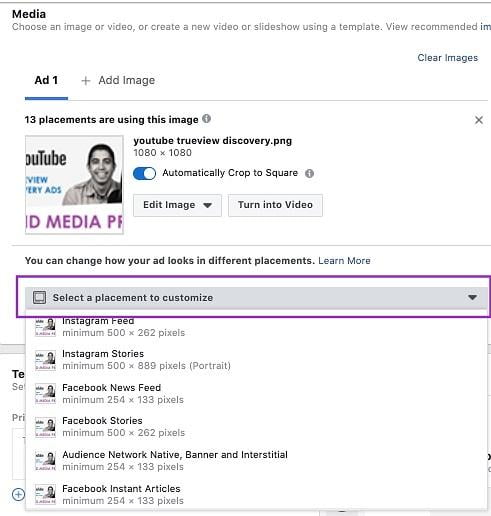
This reveals a list of all placements you’ve enabled for your ad. Selecting a placement opens an editor that looks like this:
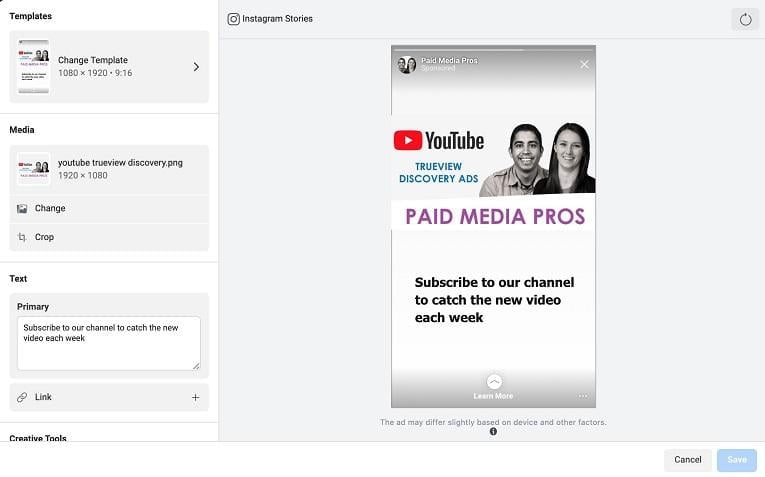
I’ve selected the Instagram Story ad option here because it offers the most customization tools. On the right, you see a preview of your ad as it appears in the editor. On the left is a menu of tools for customizing your ad for that placement, in this case, Instagram Stories.
Template
The first option is “Template.” This editor provides a selection of pre-designed Instagram Story templates. This feature is exclusive to the Stories section, so make the most of it.
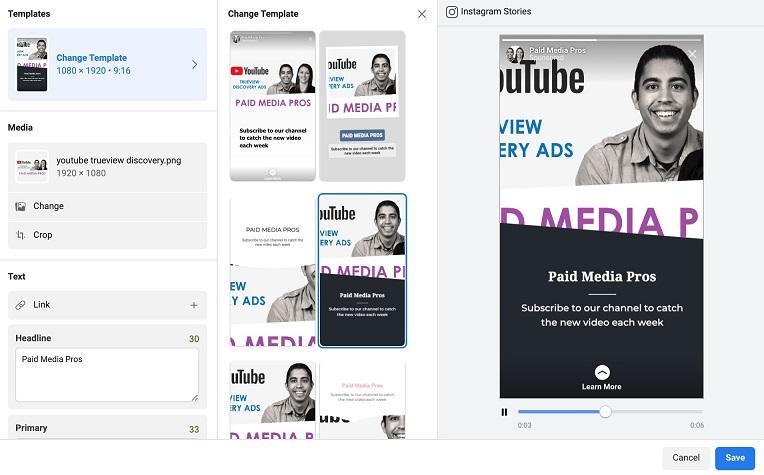
Similar to the regular Facebook ad editor, the preview on the right updates as you adjust settings. If you can’t create unique creatives for Stories like bigger brands, templates can make your ads stand out by adding a touch of design. The image above clearly wouldn’t work well as it cuts off significant text and, dare I say, an important face. However, we might be able to salvage it. This brings us to the next part of the editor – the media section.
Media
This section allows you to crop the image or replace it entirely. To retain the current image, we can try cropping it first.
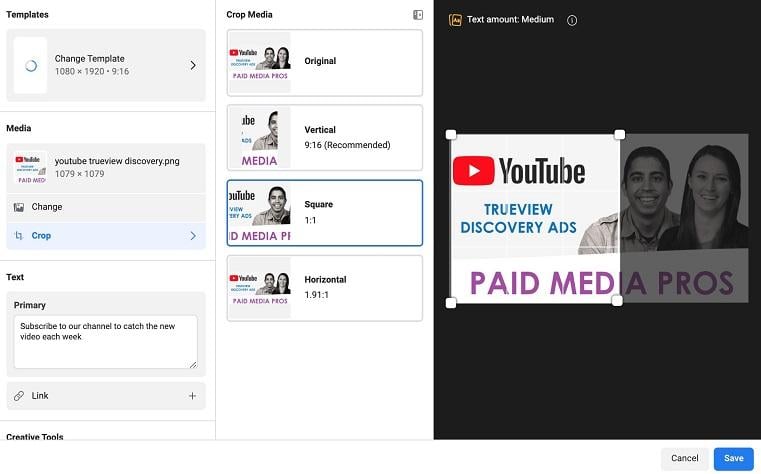
In this case, cropping doesn’t produce a better option while preserving all the original information. To use this template effectively, we’d need to choose a different image. However, for this article, I’ll revert to no template.
Text
The next section is self-explanatory: it lets you edit the primary ad copy and link for the chosen placement.
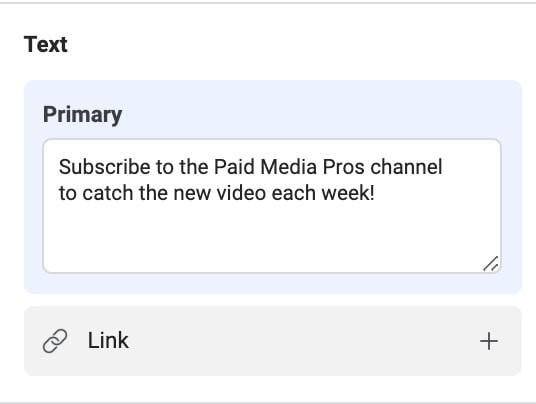
This is useful for adjusting text length based on available space and directing users to different landing pages depending on their placement experience. The available text options vary depending on the placement. For instance, customizing for the Facebook News Feed will also include a headline field.
Background color
The final customization tool is “Background color.” Here, you can choose from preset colors, add your brand colors using the plus button and color finder, or input an HTML color code.
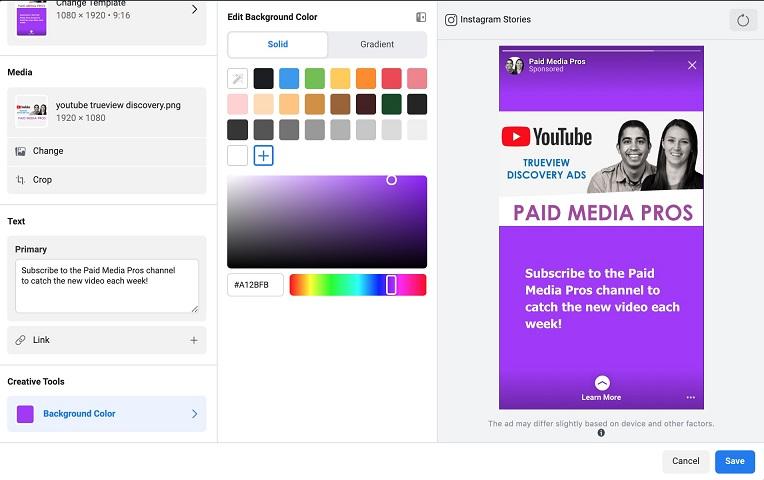
You can also opt for a solid or gradient background. With gradients, you can choose the top and bottom colors to create something vibrant, as I’ve done below.
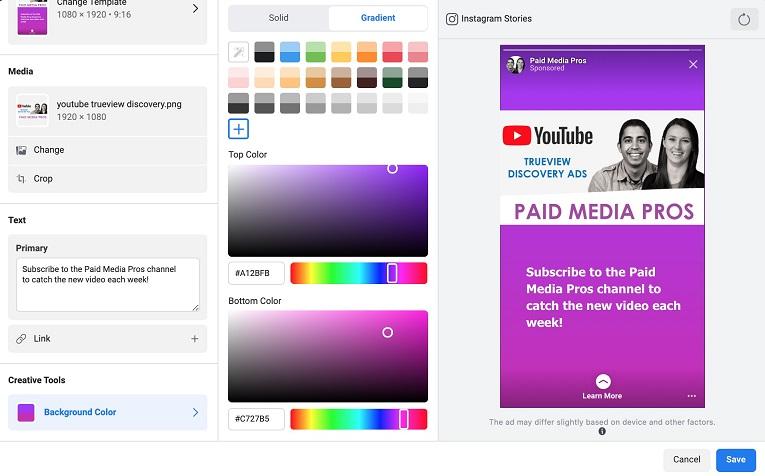
Once you’re happy with the customizations, click “Save” in the bottom right corner. Facebook will return you to the main ad editor, but with a slight difference.
Final views
You’ll notice a new listing in the media section. The media section will now display each customized version of your ad, indicating its designated placements.
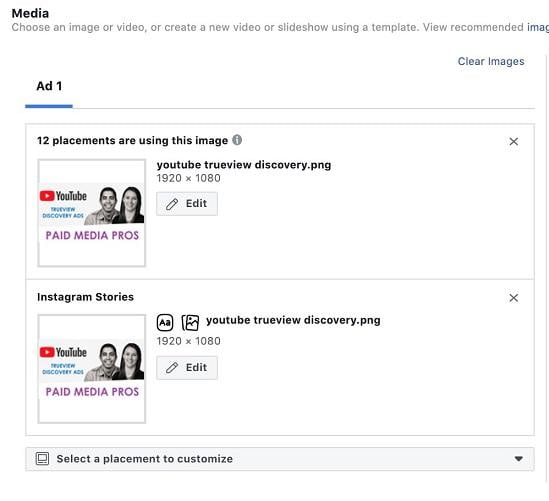
This helps track your customizations and saves your settings for easy editing later.
Optimize your Facebook ad placements!
Now that you know how to customize your ads for visual appeal and prioritize performance, there’s no reason to limit your ads to the desktop News Feed. Don’t overspend on expensive placements when others target the same audience at lower costs. Let your target audience convert where they prefer, and if a placement consistently underperforms despite your efforts, feel free to disable it. But give it a fair chance first.