This article presents a straightforward, quick, and efficient method for integrating a top-notch slider builder, available as a free WordPress plugin, into your website. The following guide explains how to install the Smart Slider 3 WordPress plugin on your site at no cost.
What is Smart Slider 3?
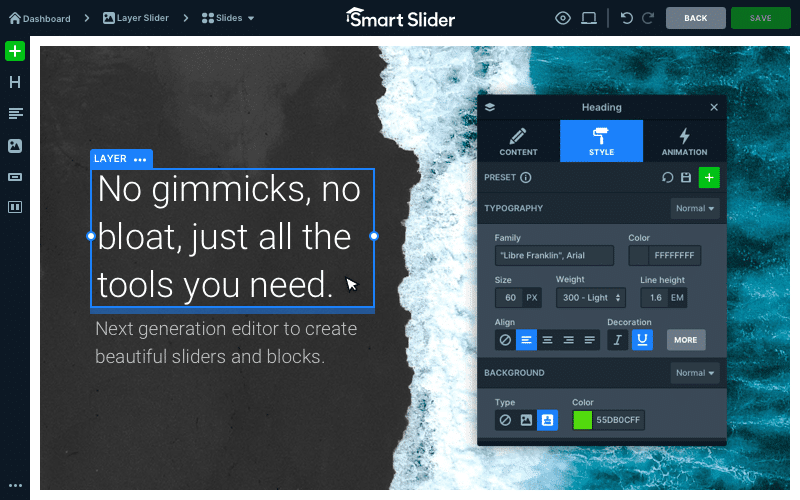
Smart Slider 3 is a robust WordPress plugin enabling the creation of visually appealing, responsive sliders without requiring coding skills. Its intuitive drag-and-drop interface, pre-built templates, and extensive customization possibilities make the Smart Slider 3 guide a popular option for website owners aiming to incorporate dynamic content.
Why Choose Smart Slider WordPress Plugin?
Before delving into the installation steps, let’s explore some key advantages of utilizing Smart Slider 3:
- Intuitive Interface: The drag-and-drop functionality simplifies slider creation, even for users without technical expertise.
- Responsive Adaptation: Sliders built with Smart Slider 3 display seamlessly across all devices, ensuring a consistent user experience.
- Ready-Made Templates: Select from a variety of templates to expedite the design process, saving you valuable time and effort.
- Customization Flexibility: Adapt your sliders to align with your website’s aesthetics using a broad spectrum of customization options.
- SEO Optimization: The plugin is designed with search engine optimization in mind, potentially enhancing your website’s visibility.
Installing Smart Slider WordPress Plugin from the WordPress Directory
Important: This approach only permits the installation of the publicly available version of Smart Slider 3 listed in the WordPress Plugin Directory. If you possess the pro version, please refer to one of the alternative methods mentioned earlier.
To begin, navigate to the Plugins section within your website’s backend. Then, select “Add New” and search for “Smart Slider 3.”
Locate it within the results and click the “Install Now” button. Following a brief installation process, Smart Slider 3 will appear in your list of plugins, ready for activation. Upon activation, the Smart Slider menu option will be visible in your WordPress admin menu on the left. However, you might encounter an error during file upload: “Error: There was an error loading this file to the server. The uploaded file exceeds the upload_max_filesize directive in php.ini.”
If you come across an error message similar to the one displayed above while attempting to install Smart Slider, it signifies that your server has a file size restriction defined in the php.ini (or .htaccess) file, limiting uploads to a size smaller than the Smart Slider installation package.
In most scenarios, the limitation pertains to below 2Mb. If you have access to your php.ini file, you can modify this value by locating the “upload_max_filesize” or “post_max_size” entries. Alternatively, if you lack access to that specific file, you can still proceed with the slider installation by employing the FTP installation method.
Download the Smart Slider 3 Pro zip installer file from our website. (Or obtain the free WordPress version from here.) Navigate to Plugins → Add New. Choose “Upload Plugin” and browse for the downloaded zip file. Additionally: If the name of your zip file includes “UNZIP_FIRST,” extract the contents of the file first and utilize the zip file located inside.
Proceed by clicking “Install Now.” If the installation completes successfully, click “Activate Plugin.”
Potential Error Resolution
Important: Should you encounter the message “The uploaded file exceeds the upload_max_filesize directive in php.ini,” please refer to the FTP installation method instead!
Once completed, the Smart Slider 3 plugin will be visible in your plugins list. After activation, the Smart Slider menu item will appear in your left WordPress admin menu. If the installation is unsuccessful, consider uploading the plugin via FTP.
Uploading Smart Slider WordPress Plugin via FTP
Download the Smart Slider 3 zip file from our developer website or the WordPress.org repository. (The free WordPress version is available here.) Unzip it into your computer.
Connect to your FTP client and upload the “extend-smart-slider3-pro” folder to your website’s “wp-content\plugins\” directory. (If you are unsure about your website’s FTP details, consult this guide.) Access your website’s admin area. Within the Plugins section, you should find the Smart Slider 3 Pro plugin listed. Activate it, and the Smart Slider menu item will become accessible in your WordPress admin menu on the left.
Locating Your Website’s FTP Details
Upon purchasing your website hosting, you received an email containing the FTP account credentials for accessing its folders and files. This is the account you require. For instance, you can utilize a tool like Filezilla to access your FTP. If you’re uncertain about your FTP account details, reach out to your hosting provider for assistance!