Google Glass is a futuristic technology with the potential to transform how we use devices to interact with the world. However, for a developer, building applications for Glass is surprisingly familiar. For those experienced with Android development, Google Glass is essentially just another Android device, albeit one with a smaller screen and fewer features.
The fact that any Android developer can join this community of cutting-edge wearable tech developers is part of what makes Google Glass so compelling. While there are a few new concepts to learn, such as the distinction between “Immersion” and “Active Card”, the learning curve is manageable.
This Google Glass tutorial will guide you through the basics of developing Glassware by building a simple app that covers the common steps. It aims to streamline your learning process and get your first Glass application running quickly.
We’ll start by setting up your development environment and connecting Google Glass to your computer. Then, we’ll create a simple “Hello World” Glass app with custom voice commands and Glass start menu integration. This will introduce you to navigation within Glass apps, voice-activated menus, and dynamic content creation.
Getting Started
Currently, Glass is in a “beta testing” phase that Google calls the “Explorer Program”. Whatever you call it, Glass is not readily available in stores like a smartphone. And unfortunately, Android development tools lack an emulator, requiring developers to use actual hardware.
This means you’ll need a Google Glass device from the Explorer Program to run and debug your application. To participate, visit the sign up page and sign up. Once approved, have your credit card ready and await the arrival of your Glass. The Explorer edition costs $1,500 USD, but the price is expected to decrease significantly for the consumer release.
For Those Without Glass
Without an emulator, developing for Glass, including this tutorial, requires the actual hardware. If this is beyond your budget, don’t be discouraged; following along is still beneficial. You’ll discover that developing for Glass is remarkably similar to developing for other Android platforms.
If you haven’t used Google Glass but are curious, these videos provide a basic understanding of the user interface:
You can find more videos about setup and navigation here, and in-depth details about the user interface here.
Prerequisites
This tutorial assumes the following:
- You have a basic understanding of Glass navigation and setup. If not, watch the videos linked above.
- You have a basic understanding of Android development: project file structure, configuring Android applications, etc.
- While this tutorial uses Android Studio, the instructions are applicable to most Android development environments. Though still in beta, like Glass itself, Android Studio is a robust tool and is available for download here.
Setting Up Your Google Glass
Let’s begin!
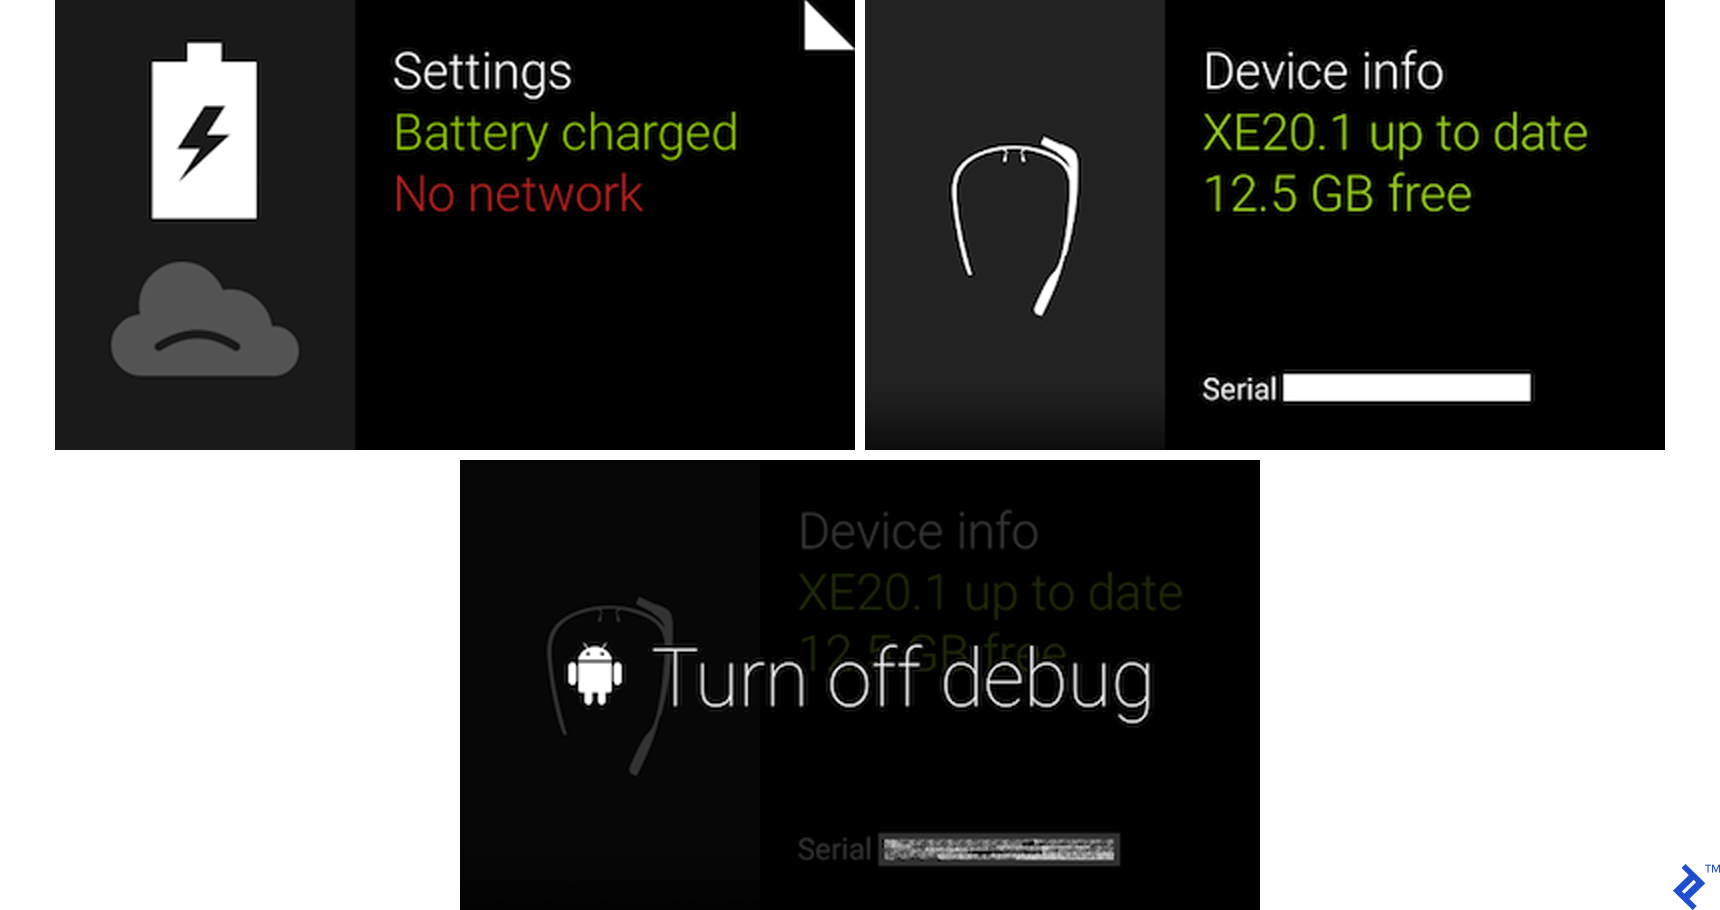
First, enable debug mode on your Glass, a step familiar from developing on other Android devices. Swipe to “Settings” -> “Device info” and tap to open the device menu. Select “Turn on debug” to enable it.
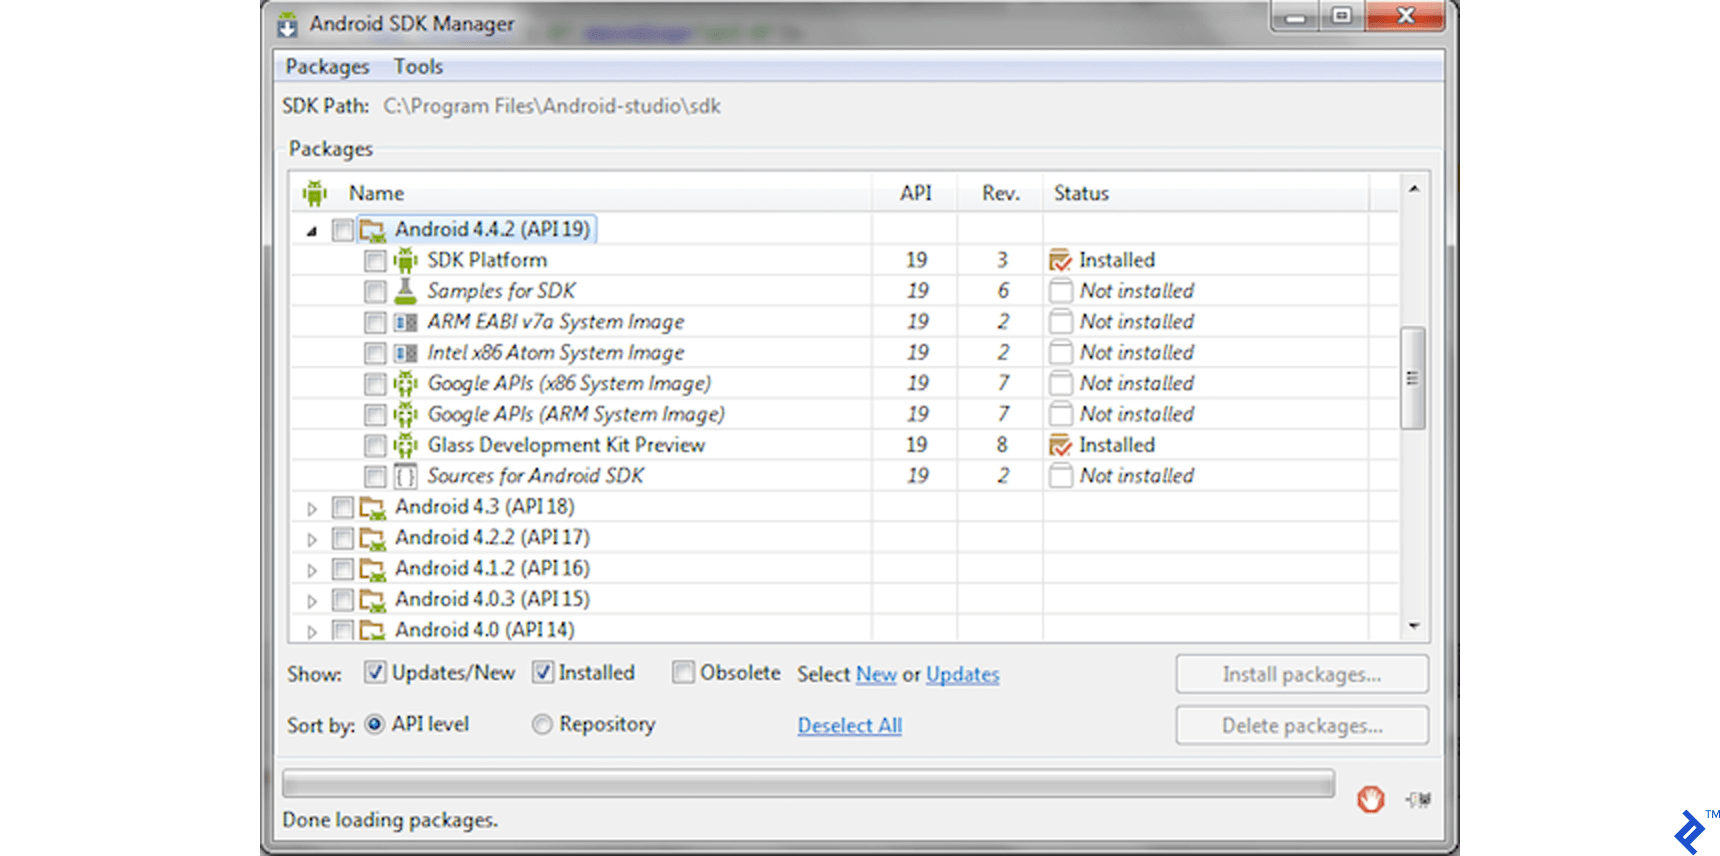
Next, prepare your development environment. The current Glass version requires API version 19, and you’ll need the Glass Development Kit. Use the Android SDK Manager to install these packages if you haven’t already.
Hello World!
Let’s create our first piece of “Glassware,” the term Google uses for any application on Google Glass. We’ll begin with a classic “Hello World!” application. Like most Android development environments, Android Studio provides a template for this, making it a simple deployment exercise.
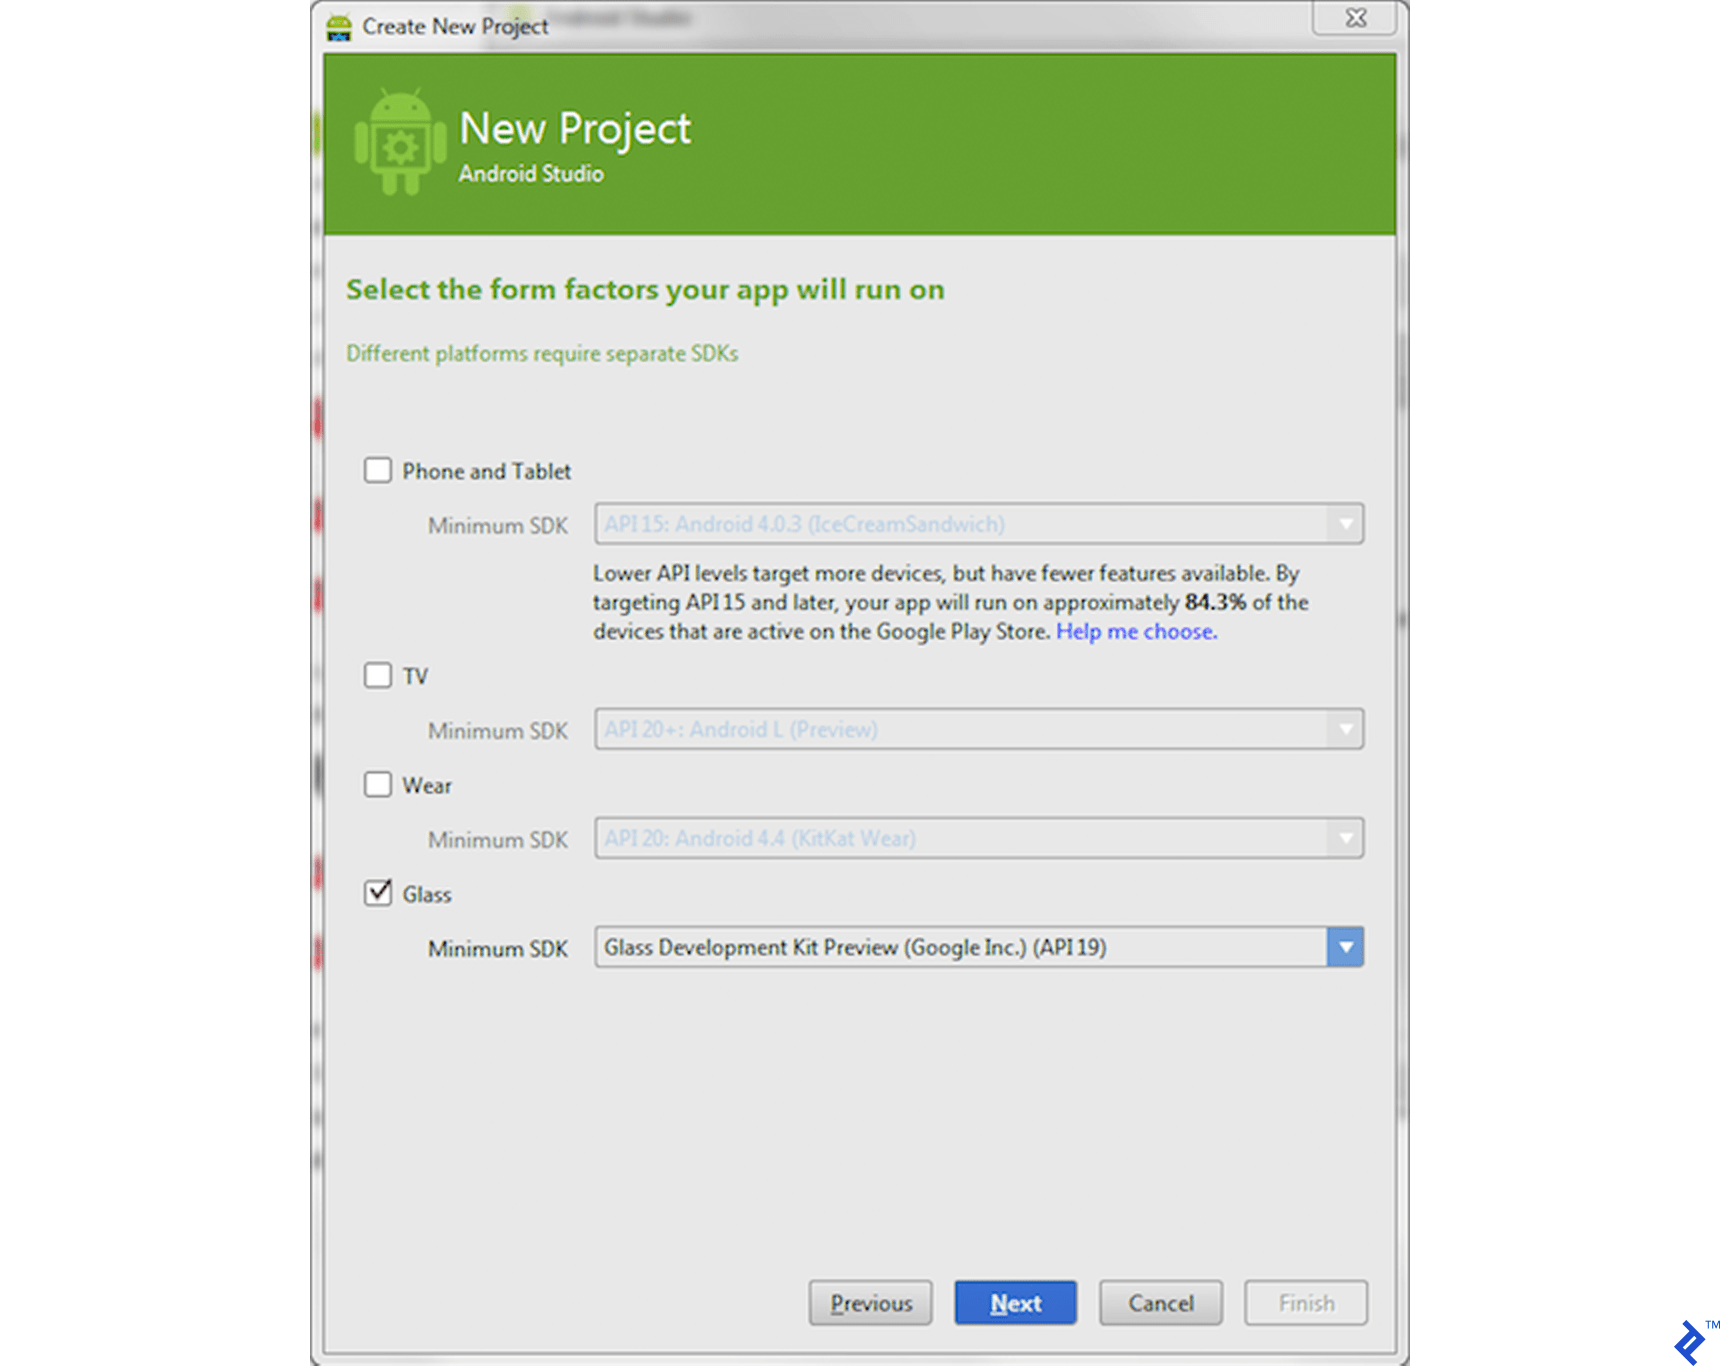
In Android Studio, click “New Project” and fill in the project form. You can use something similar to this:
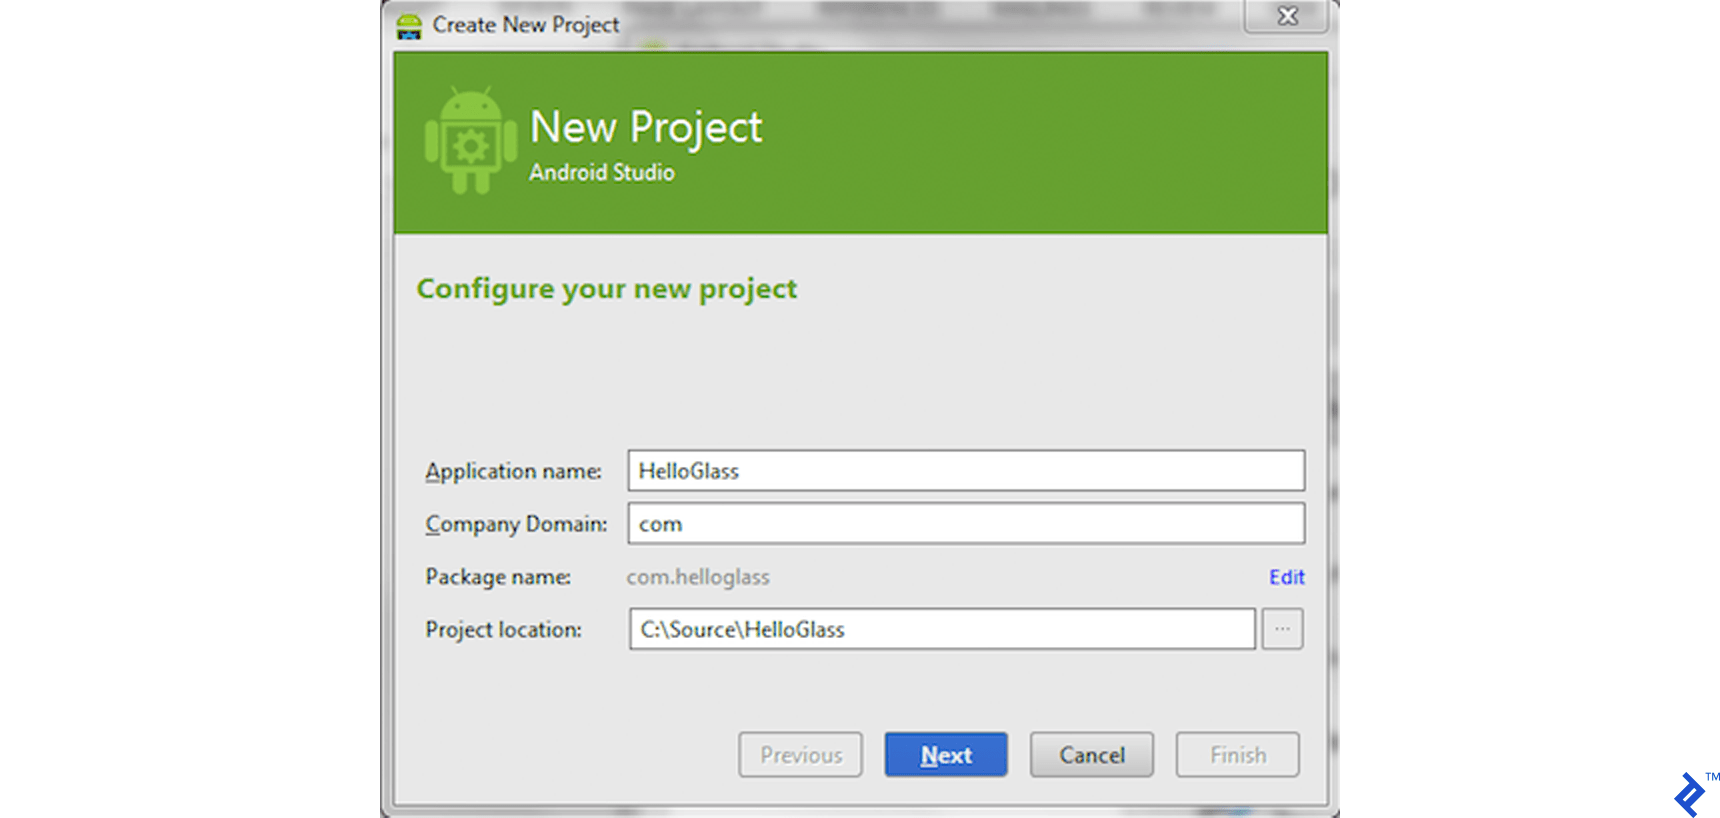
When choosing form factors and API, select “Glass” and API 19.
Select “Immersion Activity” as your startup activity.
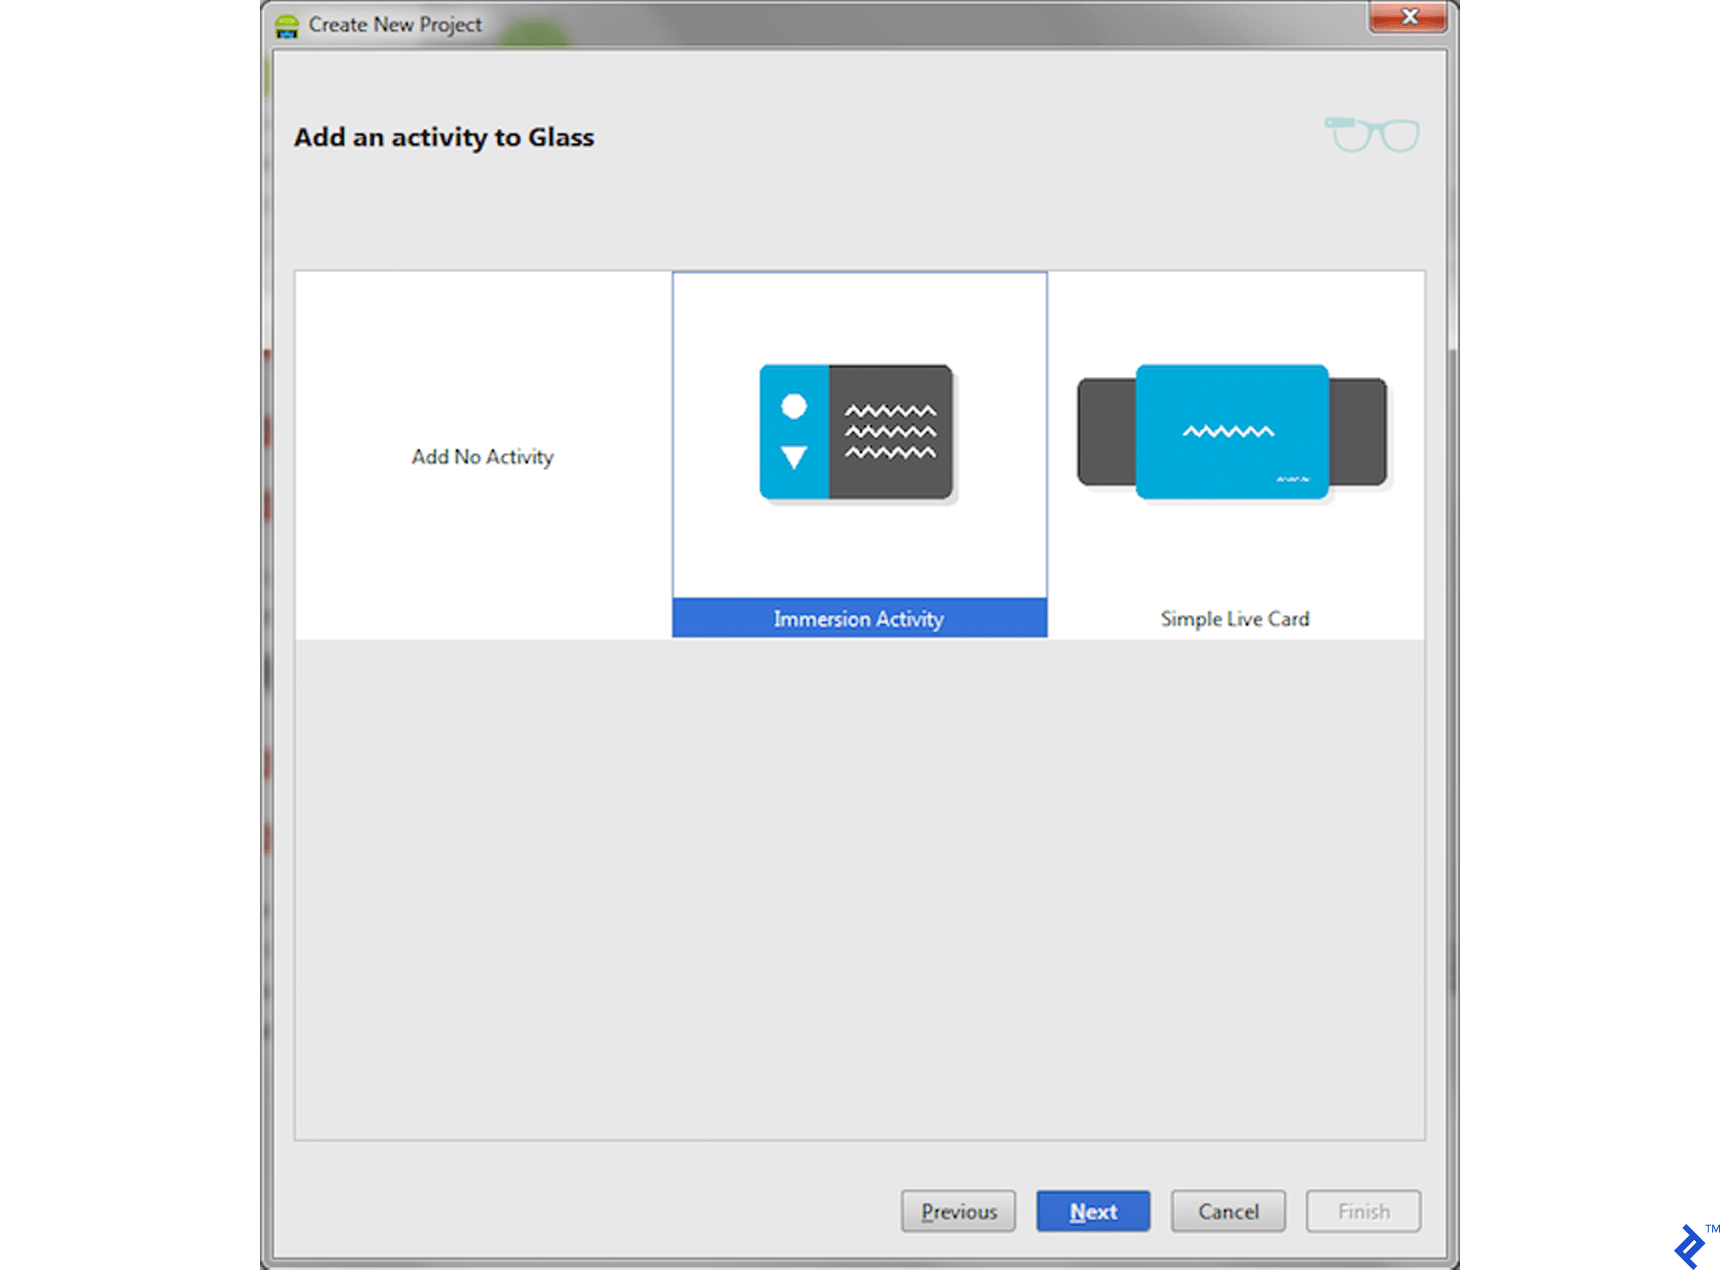
Remember the distinction between Immersion and Live Card? Google’s User Interface article explains the different Glass screen types. Here’s a summary:
Live cards reside on the Glass timeline and display constantly-updated, real-time information. They run in the background, allowing users to access different real-time data streams concurrently.
Immersions are completely customizable screens that operate outside the timeline, allowing for tailored UI design and user input processing. We’ll be using this!
On the next wizard screen, keep the default values for “Name” and “Title” and click “Finish”.
After Gradle manages dependencies and prepares your project, put on your Glass and connect it to your computer. Now, the futuristic development begins!
Assuming your Android ADB drivers are installed and your system recognizes your Glass, it should appear in your device list.
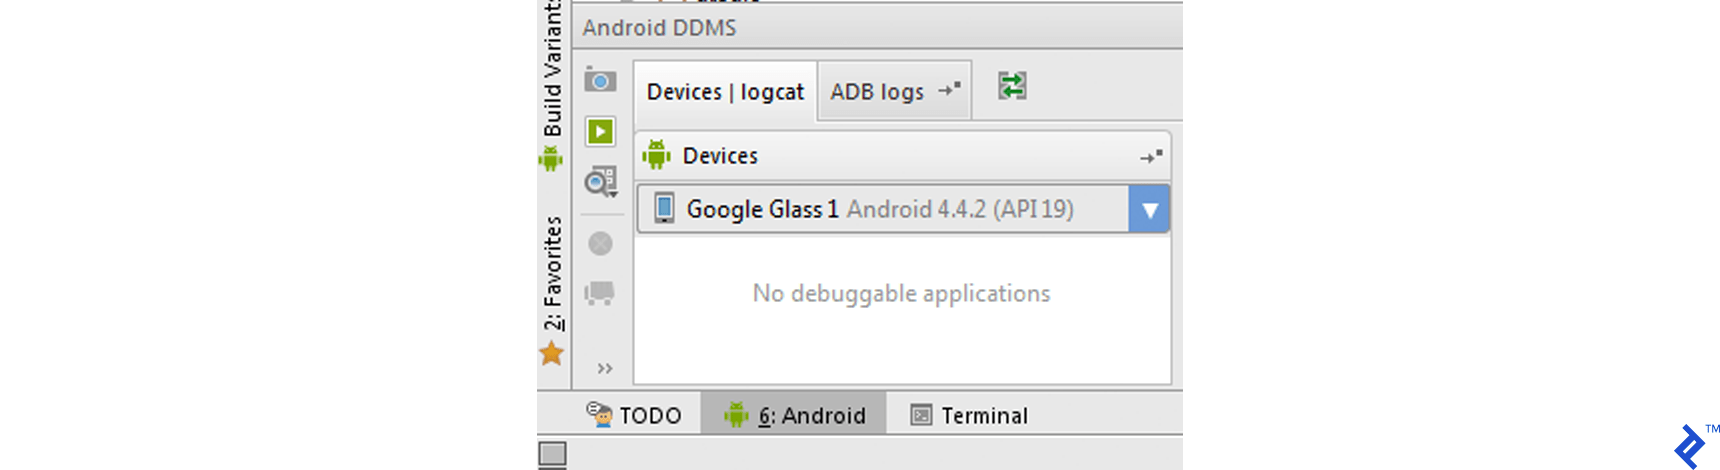
If this is your first time connecting the device, your Glass will request authorization. Tap your Glass to allow the connection, and you should be good to go.
Click “Run” to deploy your “Default APK” with “MainActivity” as the launch activity on the “USB” device.
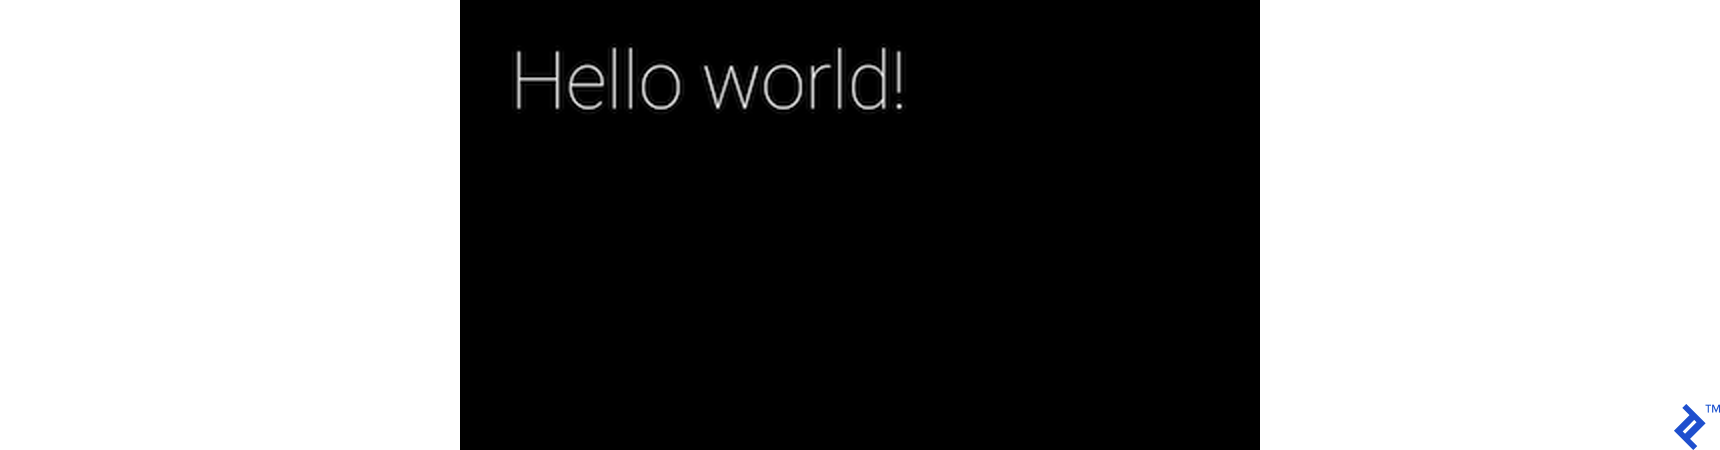
After a few seconds, you should see this on your Glass:
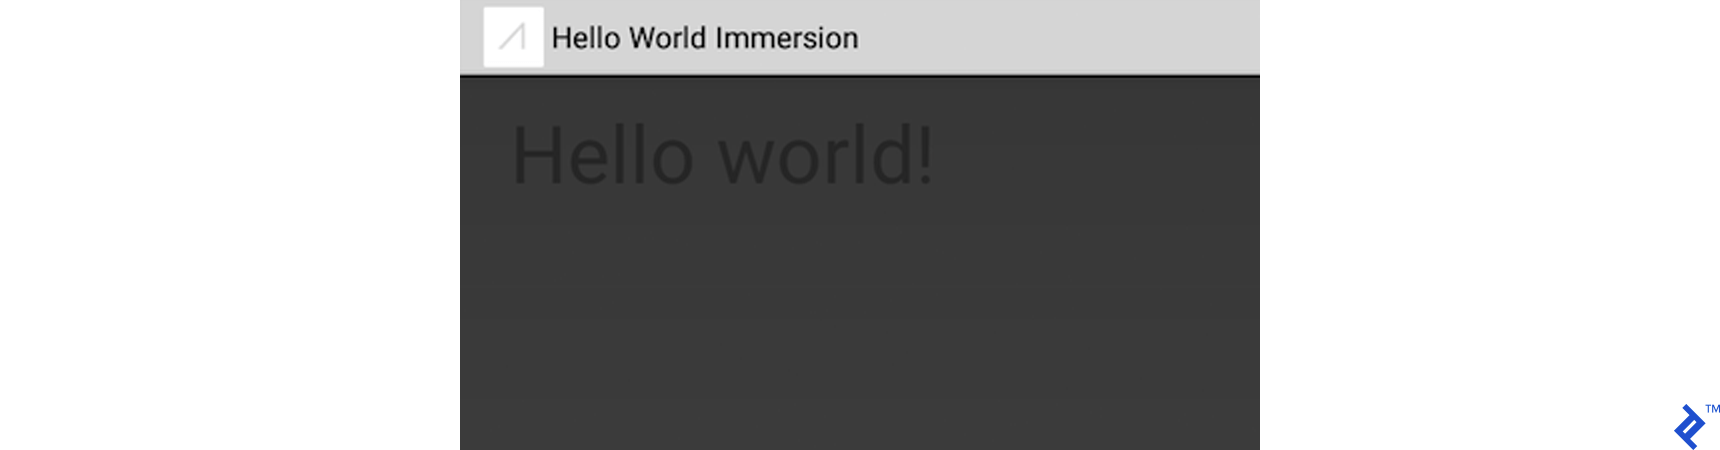
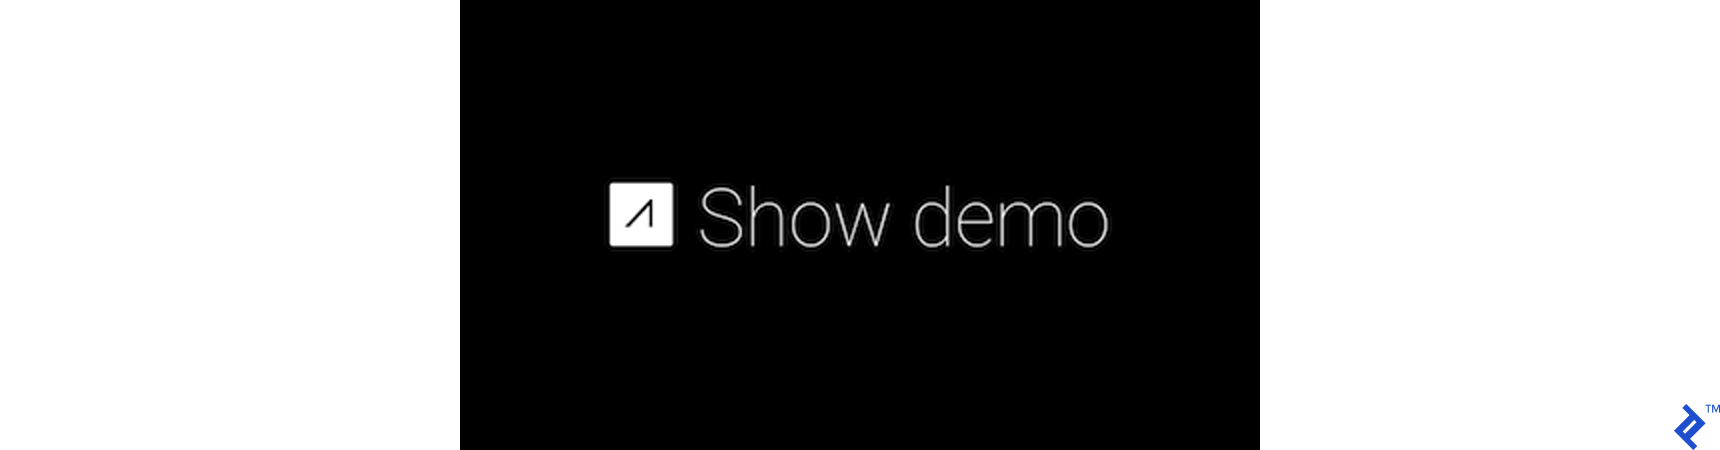
Congratulations! Your application is running on Glass! You simply filled in default values during app creation.
Since you didn’t specify otherwise, Glass displays your app as “Show demo”. Swiping back to the Start screen and tapping to open the app menu reveals this:
Refinements
While it’s running, the application doesn’t feel like a proper Glass app, and you don’t want it starting with “Show demo”.
Let’s refine it for a more authentic feel.
Applying the Theme
First, eliminate the unattractive header “Hello World Immersion” activity title bar and the unappealing gray background with black font. Switch the Android theme and let Glass OS handle it.
Open res/values/styles.xml for editing. It should contain:
| |
Change android:Theme.Holo.Light to android:Theme.DeviceDefault. This applies the default Glass theme, taking care of layout and colors.
Defining Menu Appearance
Next, give your application a proper name and voice-controlled startup. Open your Android Manifest (AndroidManifest.xml) and add the following above the <application… tag:
| |
Using DEVELOPMENT permissions allows for experimenting with custom voice controls. Google has strict policies on permissible voice commands in approved Glassware, requiring approval for new commands. Since this is a learning exercise and you won’t be submitting it to the official Glassware store, enable DEVELOPMENT permissions for access to “unlisted voice commands.” You can learn more about this in this GDK page.
Open voice_trigger.xml for editing in the res/xml/ folder. This file defines the voice command to start your application. It should look something like this:
| |
Instead of “Show me a demo”, start the app by saying its name. Change the file contents to:
| |
Notice in your manifest file that android:label="@string/app_name" now also uses the resource string @string/app_name instead of the previous hardcoded Hello Glass. If not, manually set it to android:label="@string/app_name".
To be precise, what is your app name? In res/values/strings.xml, your app_name should be:
| |
This completes your first Hello Glass application! Let’s see it in action.
From your Start screen, say “ok glass” to open the voice menu. Your application should now be among the voice-activated commands.
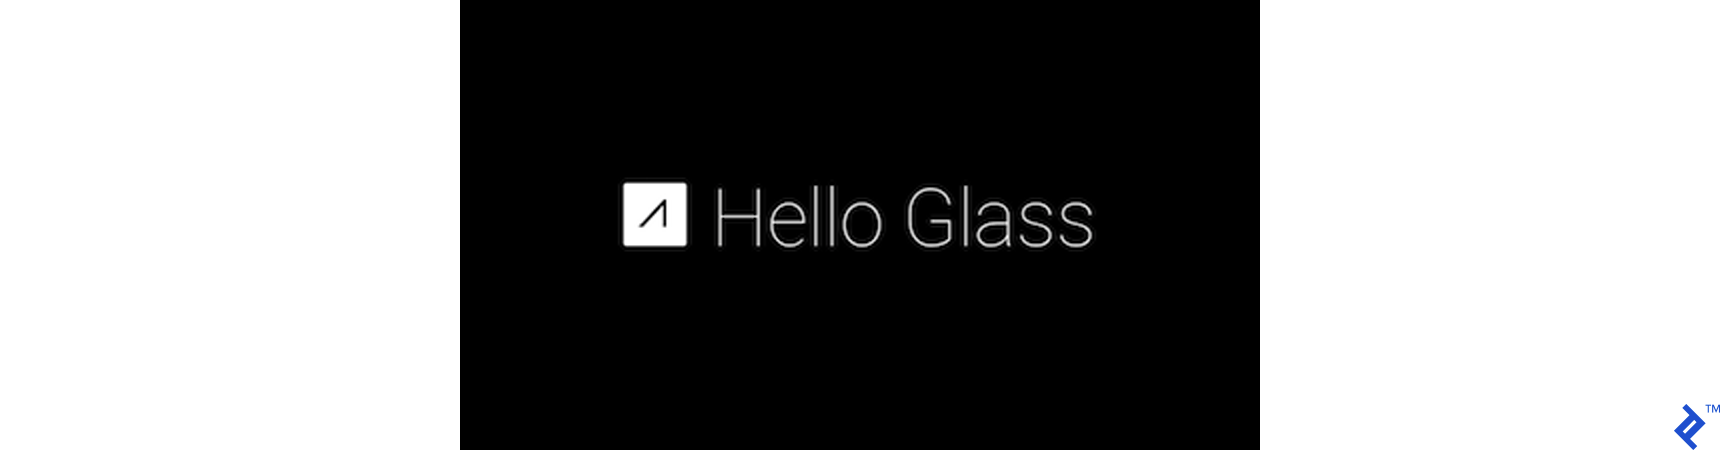
With this tutorial to guide you, this is what your Glass app start screen looks like now.
Saying “Hello glass” should launch your application with a standard Glass experience:
Alternatively, tap on your Start screen to find your application in the menu:
Combining Voice and Touch
Pay close attention to your application’s interface and user interaction. Users may not always be able to use voice commands, such as during a lecture. Conversely, they might have their hands full, limiting touch input. Design your interface to support both touch and voice whenever possible, providing flexibility for navigation.
Building a Real Application: Toptal Finder
Now that you understand Glass development and have created Hello Glass, let’s build a more practical application showcasing Glass features. We’ll create an app to browse top Toptal developer profiles by platform.
Our example application will have this structure:
- The home screen displays the Toptal logo and offers a voice and touch-activated menu to choose a development platform.
- Selecting a platform retrieves a list of developers with their picture and name, presented as a scrollable list of personal cards.
- From a developer’s profile card, users can add them to favorites or send a hire request.
Recap of the Basics
Let’s recap what you’ve learned beyond your existing Android knowledge:
- Setting up your development environment for building Glassware.
- Configuring your application to utilize the standard Glassware GUI theme.
- Launching your application using custom voice commands and menu entries.
Using this knowledge, create a new application called “Top Finder” and modify your voice_trigger.xml file like this:
| |
The network="true" constraint instructs Glass to verify network connectivity, necessary for accessing Toptal developer lists. Glass displays a warning if no connection is available.
Home Screen
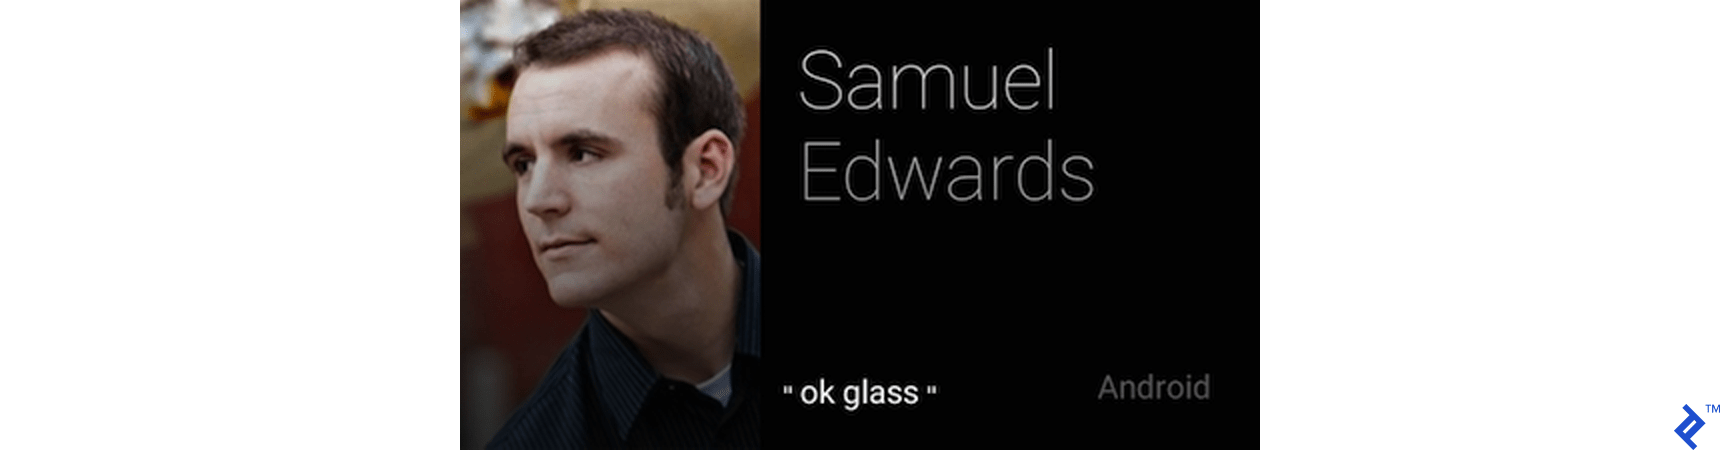
Let’s create a home screen resembling this:
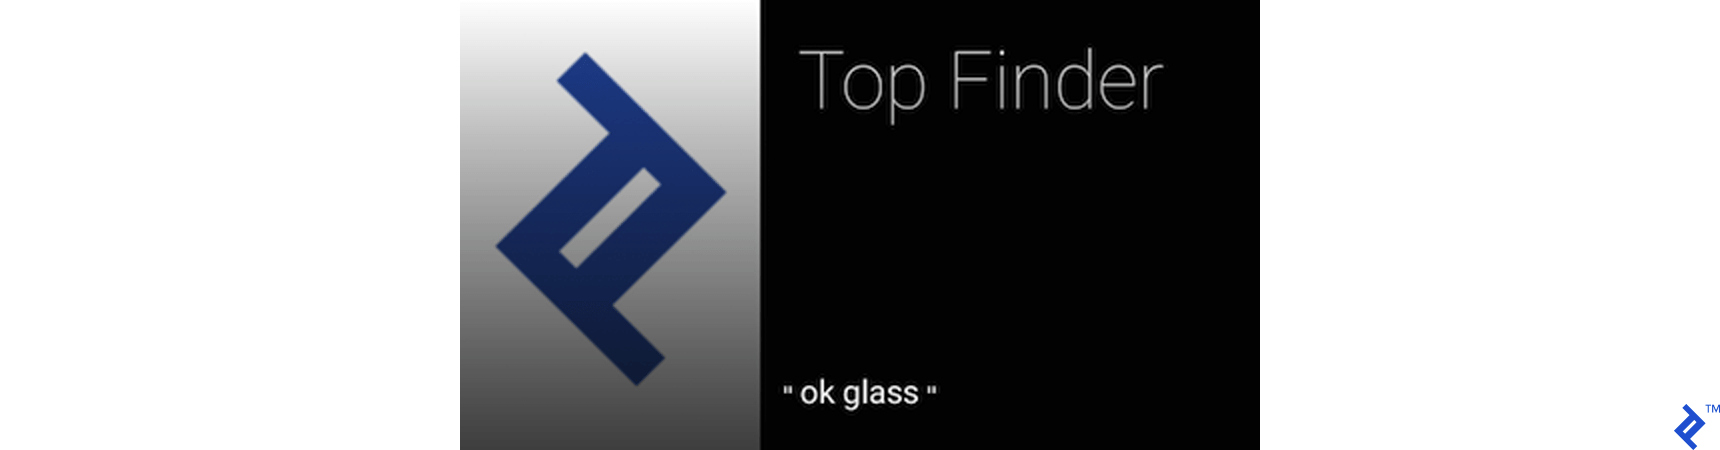
The “ok glass” message indicates a voice-activated menu. Saying “ok glass” at this point opens the location’s voice menu. This phrase is predefined and unchangeable.
Think of “ok glass” as a standard Android application menu. Just as you’d tap the “Application menu icon” (often three dots or lines) to open an Android app menu, you say “ok glass” to access the voice menu in Glassware.
Enable the “ok glass” menu by requesting FEATURE_VOICE_COMMANDS from the API. Add this line to your onCreate handler in MainActivity:
| |
Any activity with this feature will display “ok glass” at the bottom center.
Now, create a menu for the main screen. In your res/menu folder, create a new XML menu definition called main.xml with this content. We’ll use three Toptal developer platforms for simplicity; feel free to adjust as needed.
| |
Why use longer menu titles instead of simply Android, JavaScript, and iOS? The Glass development team is still improving voice recognition. Using two or three words per menu item improves recognition accuracy.
Recall that the “ok glass” menu is similar to a standard Android app menu. Attaching it to an activity is almost identical. Override the onCreatePanelMenu handler in your MainActivity and inflate your newly created main menu:
| |
Next, add a menu handler. First, create an empty method named findDevelopers. We’ll implement it later to initiate searches and display results. Then, override your menu handler:
| |
Now, let’s design our home screen. Import a Toptal logo into your project as res/drawable/logo.png. This example uses:
Make the following changes to your MainActivity class:
Declare these private variables at the beginning of the class:
| |
Customize the Card layout by modifying the buildView method:
| |
Finally, adjust your onCreate handler:
| |
Since we want both “ok glass” and touch-activated menus, enable gestures as you would in any Android app. Add these methods to your MainActivity class:
| |
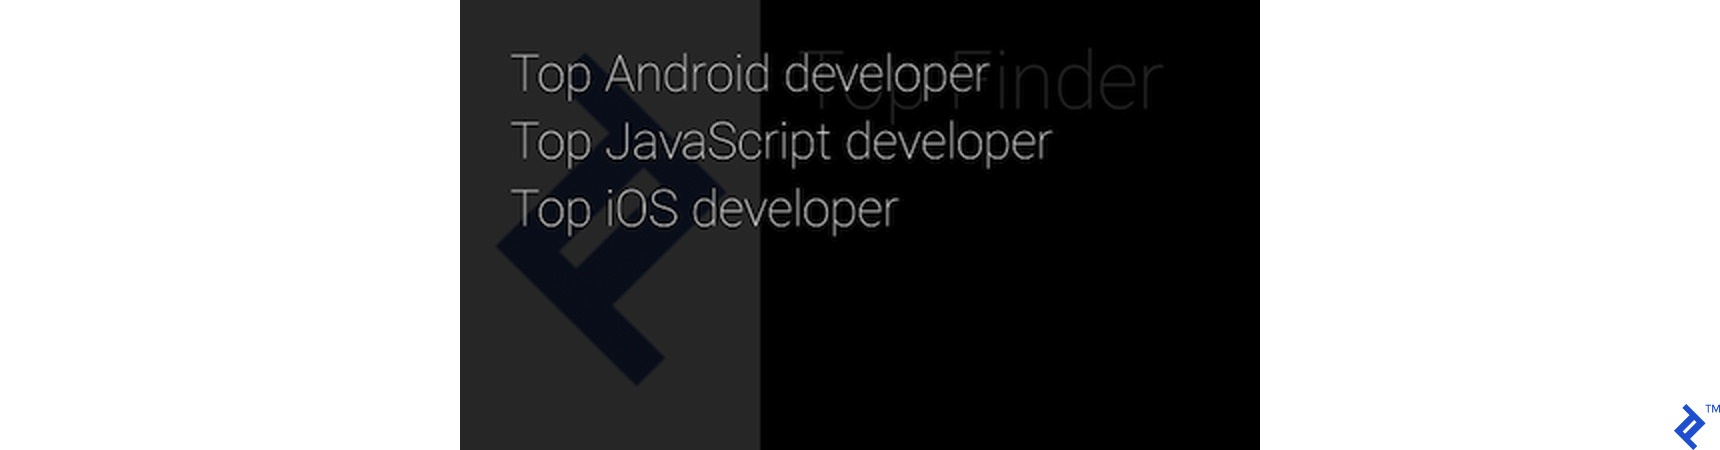
That’s it! Launch your app and try activating the menu using both methods. Saying “ok glass” displays three menu items, and tapping the Glass opens a scrollable menu. Swipe back and forth to navigate the menu.
Here’s the voice menu:
And here’s the gesture menu:
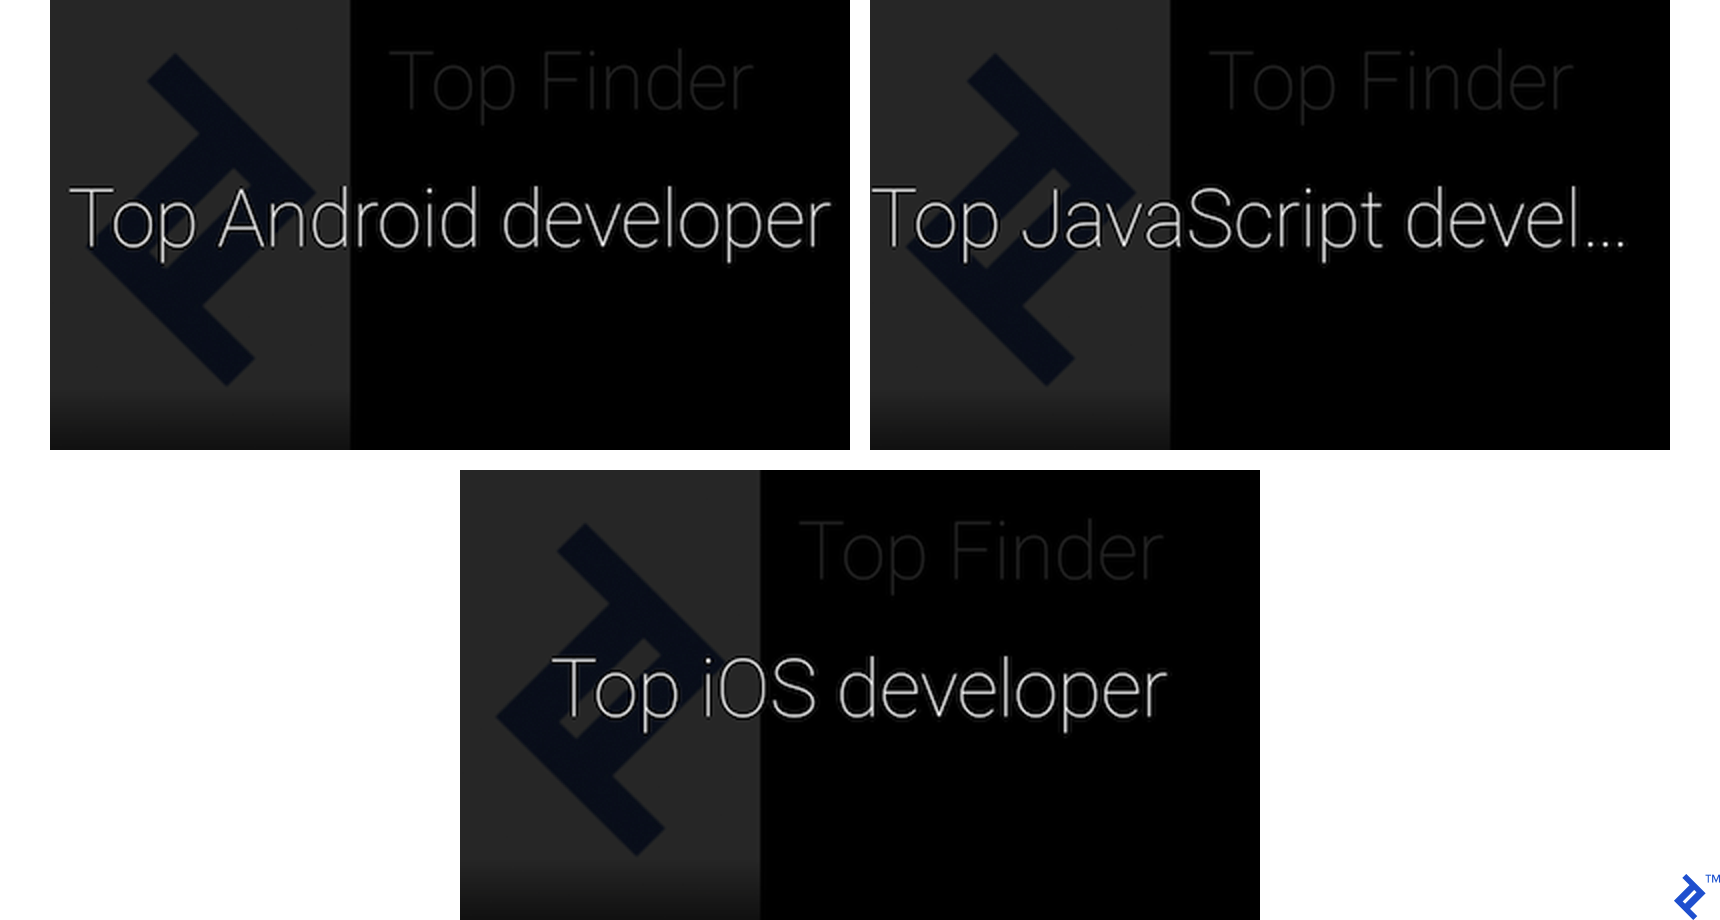
Currently, selecting a menu item won’t do anything, as the findDevelopers method is not yet implemented.
Developer Screens
We’ll continue using the default Glass Card layout, featuring a picture on the left, text on the right, and footer information. For card design best practices, see Google Glass’s style guide.
Our developer profile will have these properties:
- Name
- Picture
- Development platform
Let’s define the class structure. Create a new class called DeveloperModel.java in your java/models folder. This class needs to be serializable as it will handle a list of profiles:
| |
We want to associate our cards directly with our developer profile data. Since the default CardScrollAdapter is generic regarding its data model, let’s extend it. Create DeveloperAdapter.java in your java/adapters folder:
| |
Instead of displaying search results on the home screen, we’ll create a new activity for this purpose. Create ResultsActivity next to your MainActivity (likely in java/com.helloglass) and ensure it extends Activity.
Define a menu for our developer profile cards. Create a new menu called developer.xml with this content:
| |
Enable parameter passing between ResultsActivity and MainActivity by adding these lines at the beginning of the ResultsActivity class:
| |
Add your new activity to your manifest file:
| |
Setting up the ResultsActivity initial screen and configuring cards is similar to what we did for MainActivity. Ensure your cards and scroller are defined at the beginning:
| |
Create a placeholder findDevelopers method, which we’ll implement later. This method will belong to ResultsActivity. Adding new cards to the profile list is as simple as adding items to an array:
| |
Go back to your MainActivity and update its findDevelopers method to start ResultsActivity and pass in the platform property:
| |
Attach your developer menu to ResultsActivity. This allows opening the menu from any profile card.
| |
Enable touchpad gestures in ResultsActivity by calling openOptionsMenu() within your onGesture(Gesture gesture) method:
| |
Add a menu handler for developer-related actions. For now, we’ll use simple Toast messages:
| |
Applications benefit from visual elements and icons. The Google Glass team provides a comprehensive set of free, standardized icons for Glassware. Find the complete set, along with fonts, here: in their library
For now, download ic_person_50.png to your res\drawable folder. We’ll use this icon instead of downloading individual developer pictures.
Lastly, override the onCreate handler in ResultsActivity to check the platform passed from MainActivity and populate our list:
| |
You can leave the onResume and onPause methods as they are in your MainActivity.
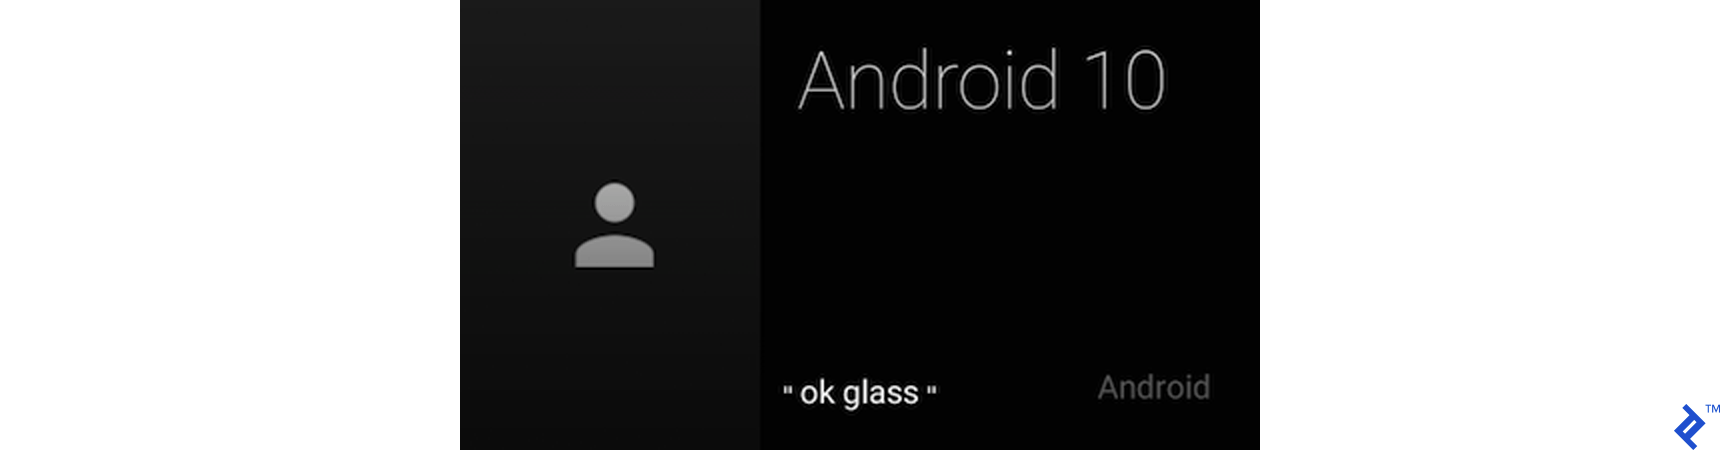
Launch your application and see how developer profiles are dynamically created based on the MainActivity menu selection. You can activate the menu by saying “ok glass”, tapping the touchpad, or using voice activation. Here’s how the “10th Android developer” profile currently looks:
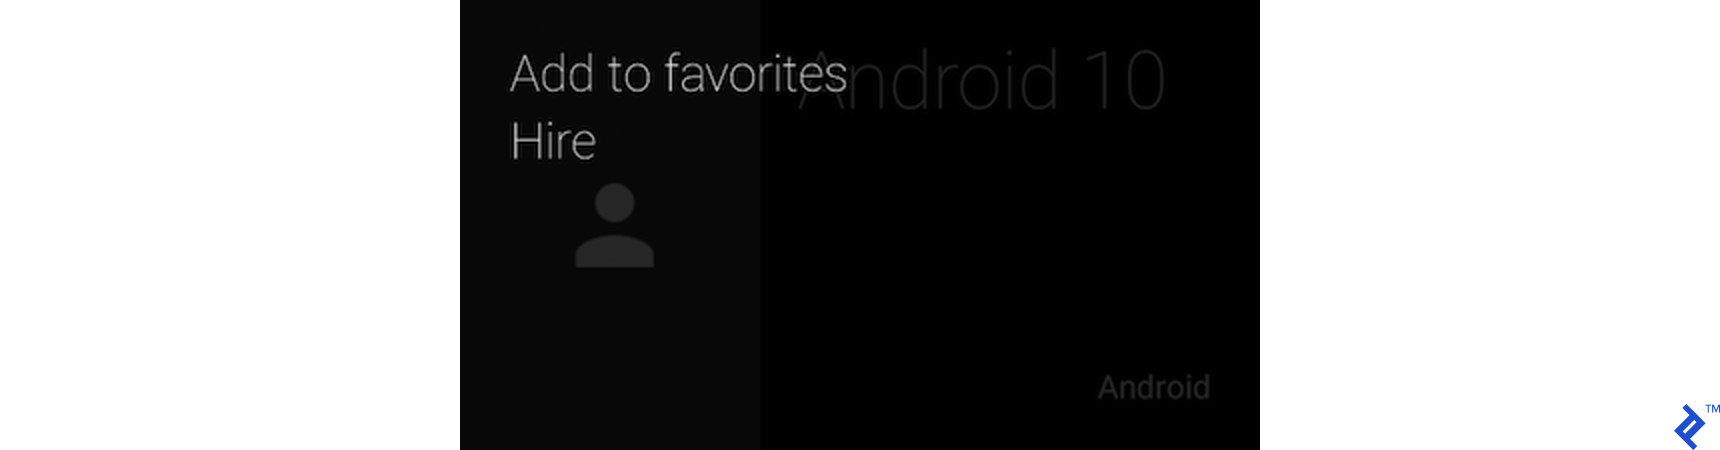
Tapping activates the touch menu:
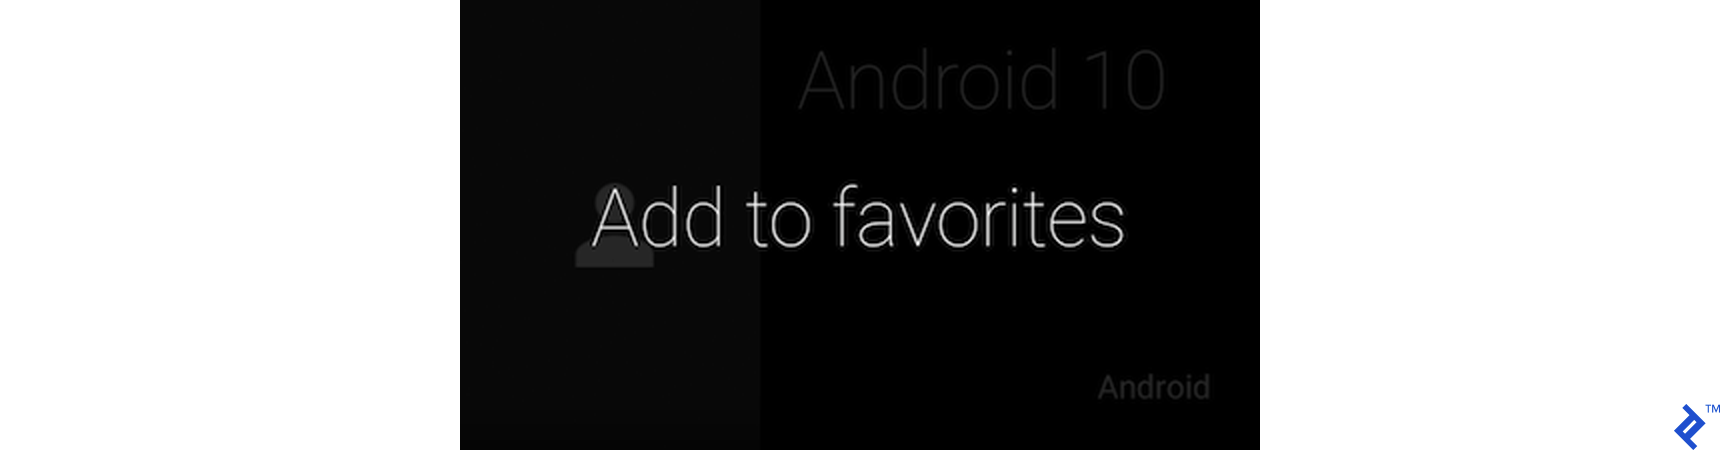
Saying “ok glass” activates the voice menu:
Swipe down from the list to return to your application’s home screen.
Fetching Profiles from the Internet
Let’s populate the menu with real data for the top 10 Toptal JavaScript, Android, and iOS developers.
You’ll need to download their profile pictures and make them accessible via HTTP or directly use URLs from toptal.com.
As creating a web scraper is beyond the scope of this tutorial, JSON files with the top developers for Android, JavaScript, and iOS are provided.
First, request internet access within your application. Add this line to your Manifest file:
| |
Note: Glass prevents blocking the main thread with direct HTTP requests. Handle JSON downloads and image retrieval asynchronously, using an async task, a custom download service or intent, or your preferred method.
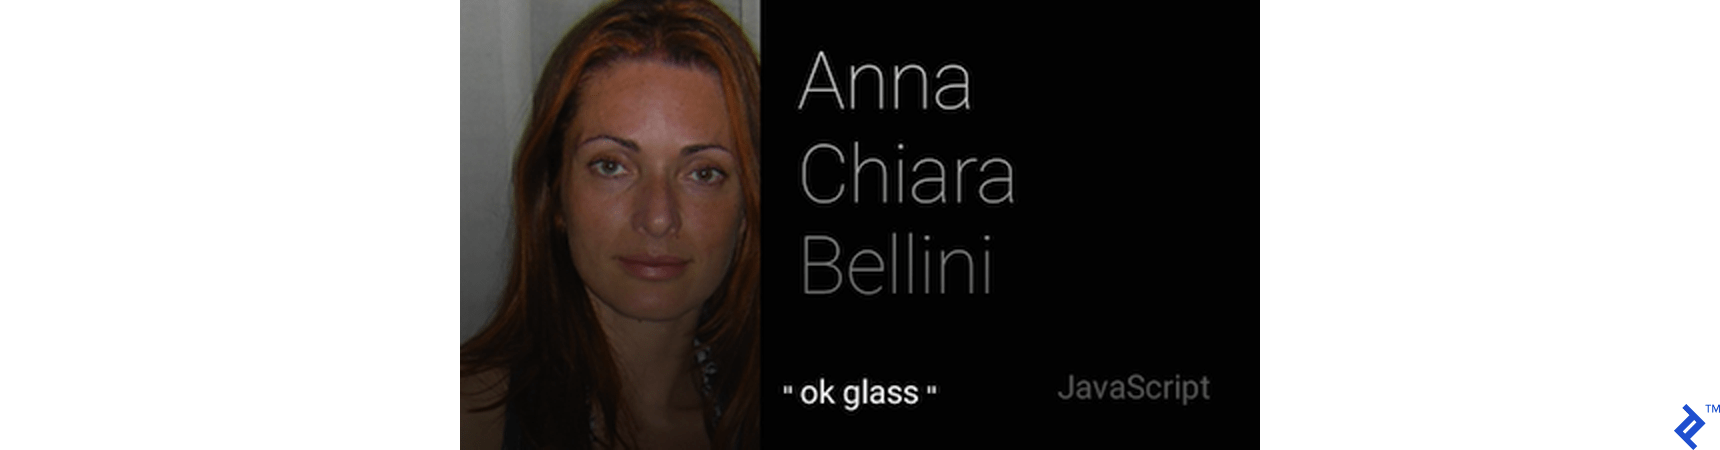
This functionality isn’t Glass-specific, so code snippets are omitted. Implement this to make your profile cards resemble this:
Tutorial Conclusion
This Google Glass development tutorial aimed to provide a fun and informative introduction to building Glassware. You’ve learned that writing applications for Glass is similar to other Android platforms.
You can now extend the Glass voice-activated Home Screen, create custom voice menus, and integrate voice controls with touch gestures. You understand the core concepts and building blocks of the Glass UI, including cards, layouts, and elements. You’ve seen how to dynamically create cards and navigate between activities.
For further exploration, refer to Google’s comprehensive developer resources at developers.google.com/glass. This will prove invaluable as you develop more complex applications.
Remember that Glass is still under development and likely to receive further improvements before its consumer release. Voice recognition is a work in progress, and you may find yourself repeatedly talking to your Glass while navigating or entering information. This is a common experience for those new to Glass development.
The technology will continue to evolve, and Glass will undoubtedly make a significant impact when it reaches the market. Congratulations on joining the forefront of this exciting technology!
Acknowledgement: Screenshots in this article were captured using Droid@Screen.