GIMP (GNU Image Manipulation Program) is a free, open-source image editing software compatible with GNU/Linux, OS X, Windows, and other operating systems. Its open-source nature allows for code modification and free usage, presenting a strong alternative to Photoshop.
Photoshop evolved from software into a verb synonymous with image manipulation. However, its cost remains a barrier for some. While Adobe’s Creative Cloud subscription bundles offer a more accessible pricing model compared to the past, it’s still an investment, leading many to seek alternatives. GIMP often emerges as the top contender. If GIMP’s features aren’t sufficient, but Photoshop’s cost is prohibitive, consider exploring options to access Photoshop for free and enjoy its image editing capabilities.
What is GIMP?
Let’s be clear: GIMP’s user interface lacks the polish of Adobe Photoshop. This is unsurprising for open-source software. It’s challenging to attract UX/UI designers to contribute as readily as developers. For a sleek, polished, and professional modern experience, subscribe to Adobe Photoshop through the Creative Cloud page. GIMP won’t suffice.
However, if you prioritize functionality over aesthetics, this alternative packs a punch.
GIMP, short for GNU Image Manipulation Program, is an open-source image editor compatible with Mac, Windows, and even Linux, which Photoshop doesn’t support. GNU is a type of open-source license, similar to the one powering our dearly beloved WordPress uses.
Download it here, it’s free!
GIMP debuted in 1996, predating Photoshop’s 1988 launch. Its community and functionality have grown significantly since then. You can even use Photoshop extensions with it.
Beware of Fake Downloads
A word of caution: open-source software, despite its merits, has its drawbacks, and GIMP is no exception. Years ago, a forked version of GIMP called GIMPshop emerged, aiming for greater accessibility for Adobe Photoshop users, according to the dev.
Avoid downloading GIMPshop at all costs. The original fork remains outdated, and more alarmingly, malicious versions of GIMPshop laden with malware and viruses are circulating.
Given the outdated build, antiquated UI, and potential security risks, stick to the official GIMP software from their website.
Getting Started with GIMP (GNU Image Manipulation Program)
As a locally installed software, GIMP requires downloading and installing on your system, similar to other programs.
Expect a longer load time compared to Photoshop. It’s approximately three times slower based on my observations. While not a dealbreaker, it’s worth noting.
Initial UI Using the Free Photoshop Alternative
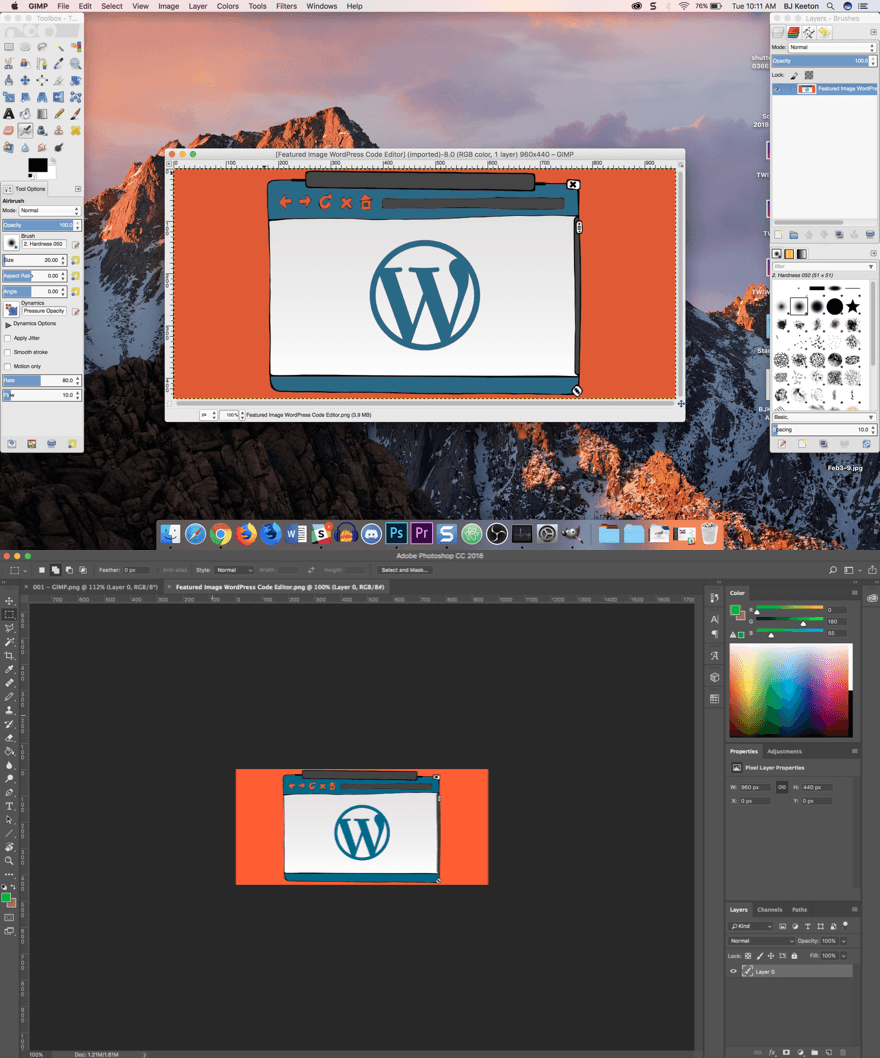
The UI might require some adjustment. It utilizes a multi-window approach. The difference is evident when comparing the same image opened in Photoshop and GIMP.
If the multi-window view isn’t your preference, switch to Windows -> Single-Window Mode. This makes it more familiar and accessible for Photoshop users.
What Can GIMP Free Image Editor Do?
Plenty. While lacking the visual flair of Adobe Photoshop, GIMP boasts many comparable features. Power users might find some essential features missing, but casual users will find it more than capable.
The main differences lie in the workflow. GIMP’s keyboard shortcuts and layout deviate from Adobe’s standards. Some features common in Photoshop are absent in GIMP. However, GIMP’s robust toolset allows for workarounds.
Exposure, For Instance
One of my most-used Photoshop tools is adjusting the darkening the background of an image, like highlighting Window -> Single-Window Mode in the previous example (though the arrow was added in Snagit).
The process involves highlighting the area, right-clicking, selecting Select Inverse (selecting everything but the highlight), then navigating to Image -> Adjustments -> Exposure to adjust the background darkness.
GIMP currently lacks exposure adjustments. This will change in version 2.9, available as a development version for Windows only.
However, a workaround exists. Use the Rectangle Select Tool to make a selection, go to the Selection Editor tab, and choose Invert the Selection. Then, use Colors -> Desaturate… -> Brightness.
This works well for casual use. However, seasoned photo editors and graphic designers know that Exposure and Brightness are distinct concepts.
The Basics are the Same(ish)
Most basic functions are similar in both, and GIMP performs admirably and holds its own. Over time, GIMP has become more user-friendly. If its past learning curve deterred you, give it another try.
Both programs have learning curves, now relatively comparable in accessibility. Principles learned in one transfer to the other. However, tool names and workflows require adjustment when switching.
Note that GIMP uses different tool names, like “Rectangle Select Tool” instead of Photoshop’s “Rectangular Marquee Tool.” Other examples include “Text Tool” vs. “Horizontal Type Tool,” “Paintbrush” vs. “Brush,” “Bucket Fill Tool” vs. “Paint Bucket Tool,” and “Color Picker” vs. “Eyedropper.”
Tool, pane, and icon locations also differ between the programs.
GIMP uses a standard CMD-Z Undo that cycles through actions, unlike Photoshop’s CMD-OPTION-Z Step Backward. In Photoshop, CMD-Z only undoes one step before becoming Redo.
So…Should You Use GIMP Free Image Editor?
Absolutely, especially without an existing Adobe Photoshop subscription. While not a complete replacement, GIMP is now suitable for professional use, though perhaps not for high-end photographers or power users. Bloggers, marketers, and anyone who occasionally edits images for posts, social media, and emails will find GIMP more than adequate.
GIMP is a fantastic, free alternative to Photoshop. While not a perfect substitute, it has matured into a viable option for professional use, particularly for those who don’t require advanced features.
Learn the basics
Launch GIMP and dragging it into an empty canvas window to follow these steps. We’ll use the same image throughout. Image scaling/zooming.
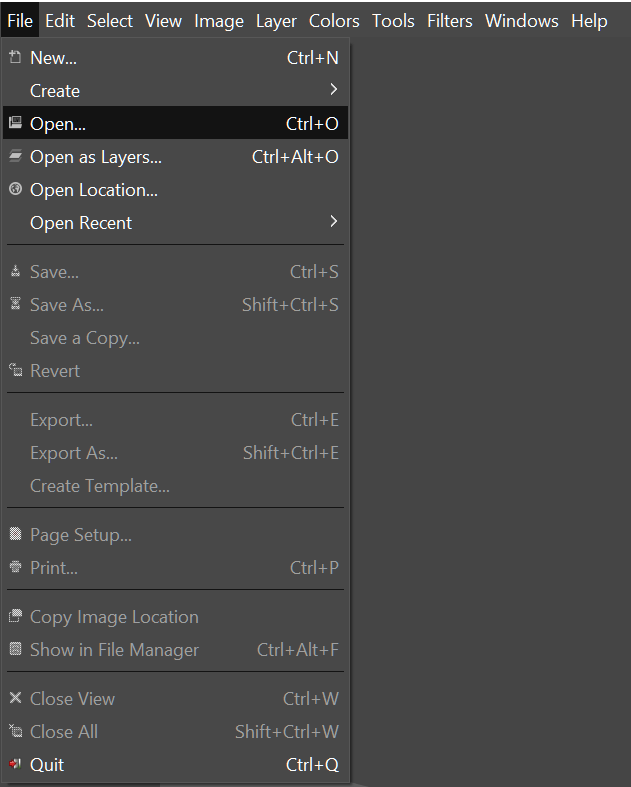
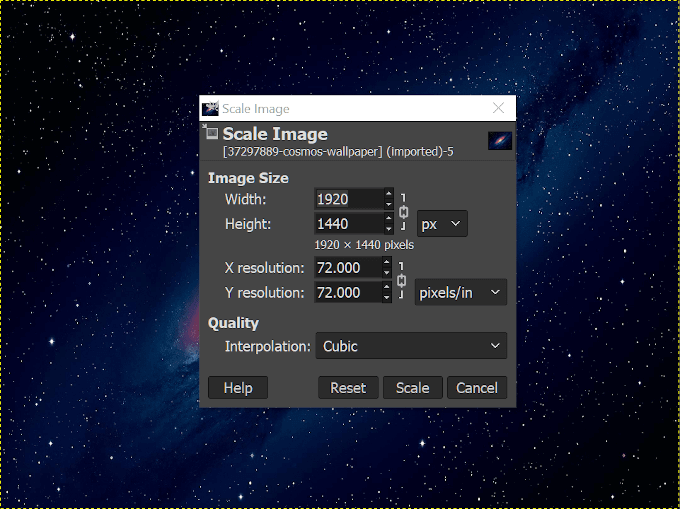
Click “File” > “Open…” (CTRL+O) to import your image. After it loads, go to “Image” > “Scale Image”. Use the dialog box to scale/resize the image.

Resize images by width, height, or X, Y resolution in pixels, percentages, centimeters, etc. Note that zooming may pixelate the image. Click “Scale” to apply changes.
File size reduction
Go to “File” > “Export as…” (Shift+CTRL+E). Choose a file name, location, and type (jpg or png are preferred) from the “Choose file type (by extension)” dropdown. Click “Export” to open a new window with options. Lower quality saves smaller files. Set compression to 9 for the smallest size.
After choosing what to keep, click “Export.” To crop the image, go to “Tools” > “Transform” > “Crop” (Shift + C) or select the crop tool icon.
Drag the cursor to select the final image area. Upon release, everything outside the selected part will be dimmed, while the selected area remains unchanged in the free image editor.
Use the box’s corners to fine-tune the selection. Click or press Enter to confirm.
How do you feel that GIMP compares to Photoshop?