The concept of Rapid Application Development (RAD) emerged as a solution to the limitations of traditional waterfall development methodologies. Numerous RAD variations exist, including Agile development and the Rational Unified Process. The shared goal among these models is to deliver maximum business value in minimal time by leveraging prototyping and iterative development. To achieve this, RAD relies on tools that streamline the development process. This article delves into one such tool and demonstrates how it prioritizes business value and development process optimization.
AllcountJS is an up-and-coming open source framework specifically designed for rapid application development. Its foundation lies in declarative application development using JSON-like configuration code to define the application’s structure and behavior. Built on Node.js, Express, and MongoDB, the framework heavily utilizes AngularJS and Twitter Bootstrap. While emphasizing declarative patterns, AllcountJS allows for customization through direct API access when needed.

Why Choose AllcountJS as Your RAD Framework?
With According to Wikipedia available tools claiming to offer rapid application development, the question arises: how rapid is “rapid”? Can these tools truly build a data-centric application in mere hours, days, or weeks? Some even boast development times of just minutes. However, it’s improbable to create a truly functional application addressing all business needs in under five minutes. AllcountJS makes no such claims; instead, it provides a way to rapidly prototype ideas.
AllcountJS enables the creation of applications with themeable auto-generated user interfaces, user management features, RESTful APIs, and other functionalities, all with minimal effort and time. While suitable for various applications, AllcountJS particularly shines when dealing with different object collections and their respective views, making it ideal for many business applications.
AllcountJS was used to develop both an app and its project tracker. It’s worth noting that the app itself is a customized AllcountJS application, highlighting the framework’s ability to seamlessly integrate static and dynamic views. It even allows dynamically loaded components within static content. For instance, AllcountJS manages a collection of demo application templates, and a demo widget on the app’s main page dynamically loads a random template from this collection.
Getting Started
To illustrate the capabilities of the AllcountJS RAD framework, let’s build a simple application called Toptal Community. This application will allow community members to register, create events, and apply to attend them.
Begin by setting up the environment. Install Node.js, MongoDB, and Git. Next, install the AllcountJS CLI using the “npm install” command and initiate the project:
| |
The AllcountJS CLI will prompt you for project details to pre-fill the package.json file.
AllcountJS can function as a standalone server or as a dependency. In this initial example, we’ll use it as a standalone server.
Within the newly created “app-config” directory, replace the contents of the main.js file with the following code snippet:
| |
For simplicity, we won’t use Git in this tutorial, although AllcountJS supports it. To run the Toptal Community application, simply execute the AllcountJS CLI run command within the “toptal-community-allcount” directory.
| |
Ensure MongoDB is running before executing this command. If successful, the application should be accessible at http://localhost:9080.
Use the username “admin” and password “admin” to log in.
Under 100 Lines of Code
You’ll notice that the application defined in main.js comprises only 91 lines of code, which encompasses all the behaviors observed when navigating to http://localhost:9080. Let’s break down the code and its relation to the application’s features.
Sign In & Sign Up
The initial screen you encounter is a sign-in page, which doubles as a sign-up page when the “Sign Up” checkbox is selected.
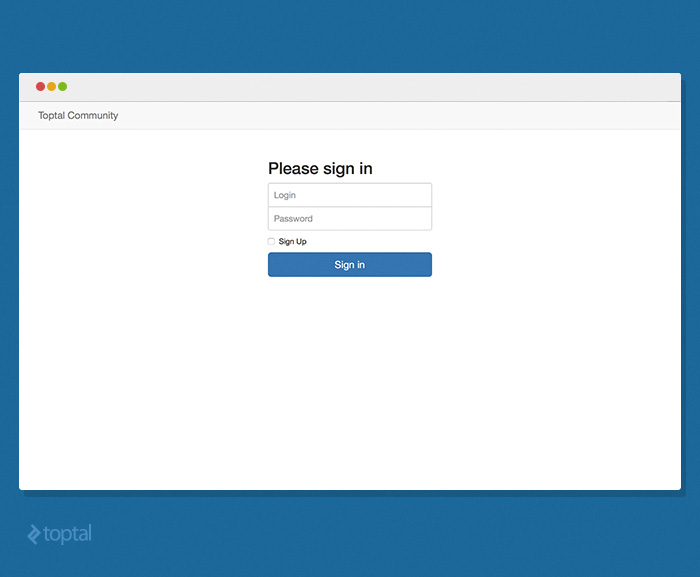
This page appears because main.js restricts application access to authenticated users while simultaneously allowing user registration from this page. These functionalities are achieved with just two lines of code:
| |
Welcome Page
Upon signing in, you’re directed to a welcome page with an application menu. This section is automatically generated based on the menu items defined under the “menuItems” key.
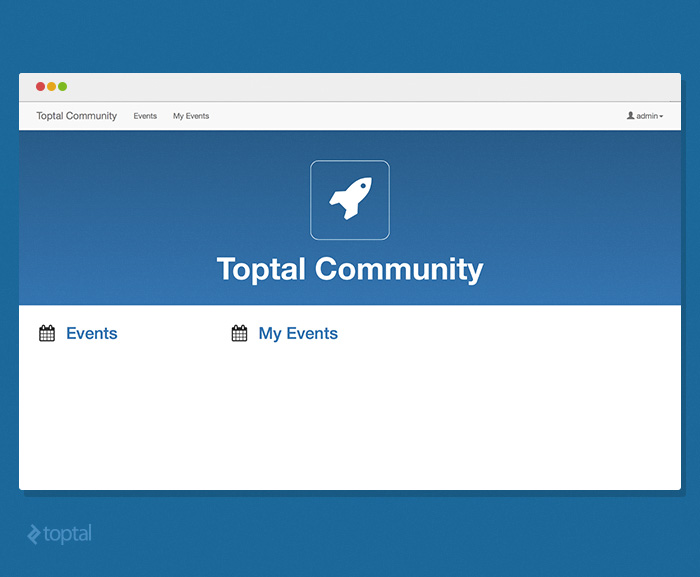
The menu configuration, along with other relevant settings, is defined within main.js as follows:
| |
AllcountJS utilizes Font Awesome icons, so all referenced icon names map to their Font Awesome counterparts.
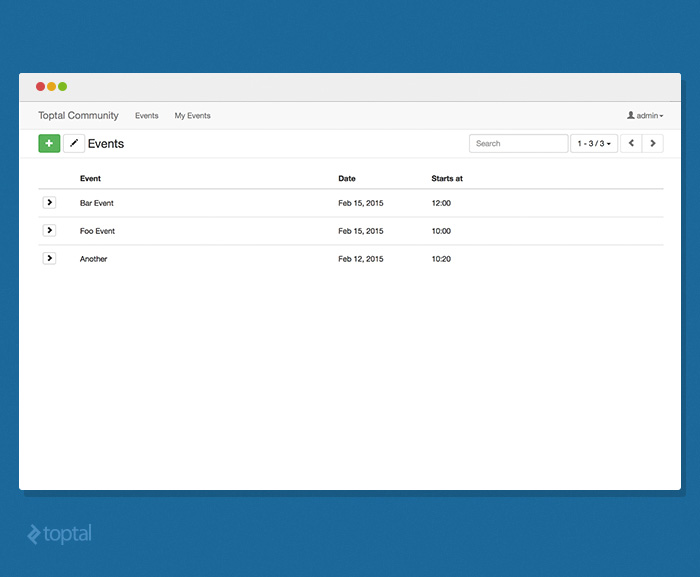
Browsing & Editing Events
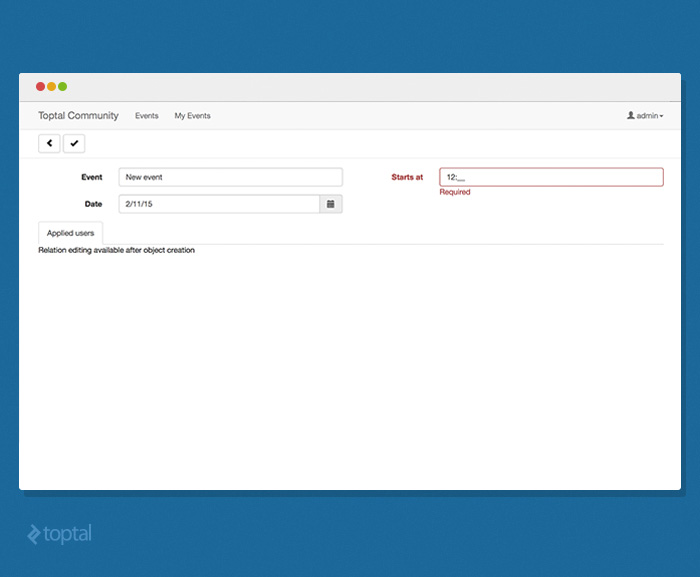
Clicking “Events” in the menu takes you to the Events view, a standard AllcountJS view offering basic CRUD (Create, Read, Update, Delete) operations for events. You can search for, create new, edit, or delete existing events. This CRUD interface has two modes: list and form. This part of the application is configured using the following JavaScript code:
| |
This code demonstrates how entity descriptions are configured in AllcountJS. Note the use of functions to define entities; any AllcountJS configuration property can be a function. These functions can request dependencies to be resolved through their argument names. Before execution, appropriate dependencies are injected. “Fields” is one such AllcountJS configuration API used to define entity fields. The “Entities” property holds name-value pairs, where the name represents an entity-type identifier and the value is its description. In this case, the entity-type for events is defined with the title “Events.” Additional configurations, like default sort order, reference name, etc., can also be defined here. Default sort order is specified using an array of field names and directions, while the reference name is defined through a string.
This specific entity-type is defined with four fields: “eventName,” “date,” “time,” and “appliedUsers.” The first three are persisted in the database and are mandatory, as indicated by the “required()” rule. Values in these fields undergo both client-side and server-side validation before form submission, ensuring data integrity. The fourth field, “appliedUsers,” represents a relationship containing a list of users who’ve applied for the event. Being a calculated field, it’s not stored in the database but populated by selecting relevant “AppliedUser” entities associated with the event.
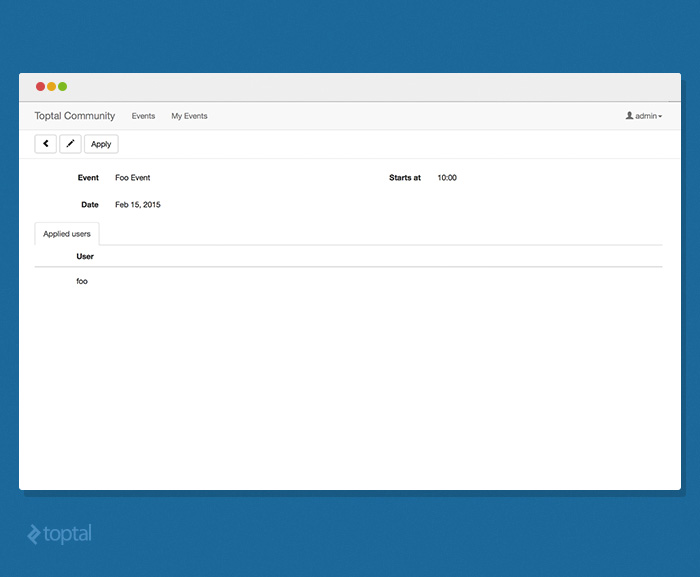
Applying for Events
When selecting an event, the toolbar displays an “Apply” button. Clicking it adds the event to the user’s schedule. Actions like this are configured in AllcountJS through simple declarations:
| |
The “actions” property of an entity-type accepts an array of objects defining each custom action’s behavior. Each object includes an “id” for unique identification, “name” for display, and “actionTarget” to define the action’s context. Setting “actionTarget” to “single-item” indicates that the action applies to a specific event. The “perform” property defines the logic executed when the action is triggered, typically on button click.
This function can request dependencies. In this example, it depends on “User,” “Actions,” and “Crud.” Upon action invocation, a reference to the triggering user can be obtained via the “User” dependency. The “Crud” dependency, providing database manipulation capabilities, is also requested. Two methods return a “Crud” object instance: “actionContextCrud()” returns CRUD for the “Event” entity-type, as the “Apply” action belongs to it, while “crudForEntityType()” returns CRUD for any entity type identified by its ID.
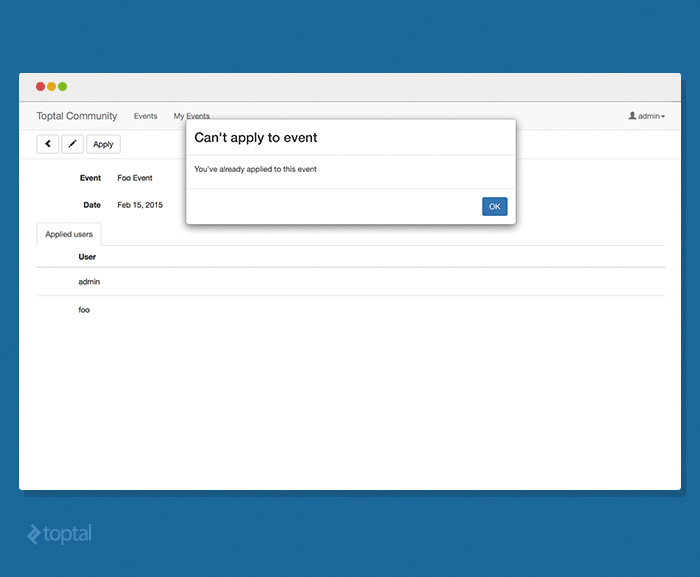
The action implementation first checks if the user is already registered for the event. If not, it creates an association. If already registered, a dialog box is displayed using “Actions.modalResult().” Besides modals, actions can perform various operations like navigation, view refresh, dialog display, etc.
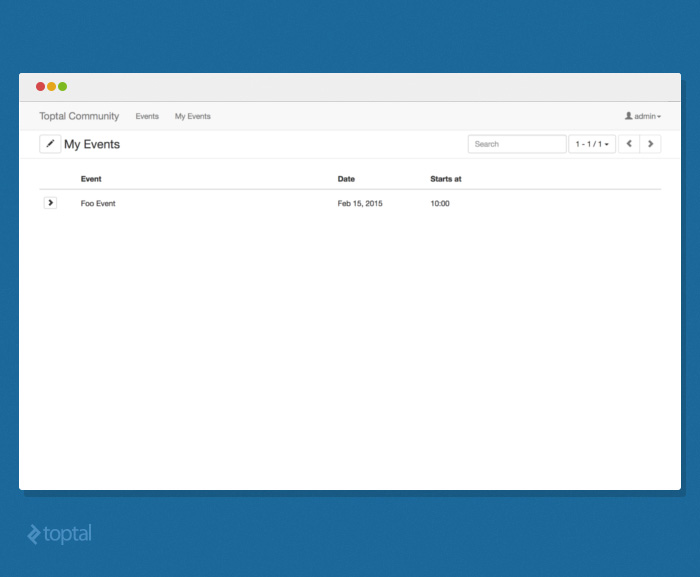
User Schedule of Applied Events
After successfully applying for an event, the browser redirects to the “My Events” view, displaying a list of events the user has applied for. This view is defined by the following configuration:
| |
Here, we encounter the “filtering” configuration property. Like the previous example, this function also utilizes the “User” dependency. If the function returns an object, it’s treated as a MongoDB query, filtering the collection to include only events associated with the current user.
Another interesting property is “Views.” While “View” is a regular entity-type, it shares the same MongoDB collection as its parent entity-type. This allows for creating visually distinct views for the same data. This feature is used to create two views, “MyEvent” and “AppliedUser,” for “UserEvent.” As sub-views inherit their prototype from the parent, properties not explicitly overridden are inherited.
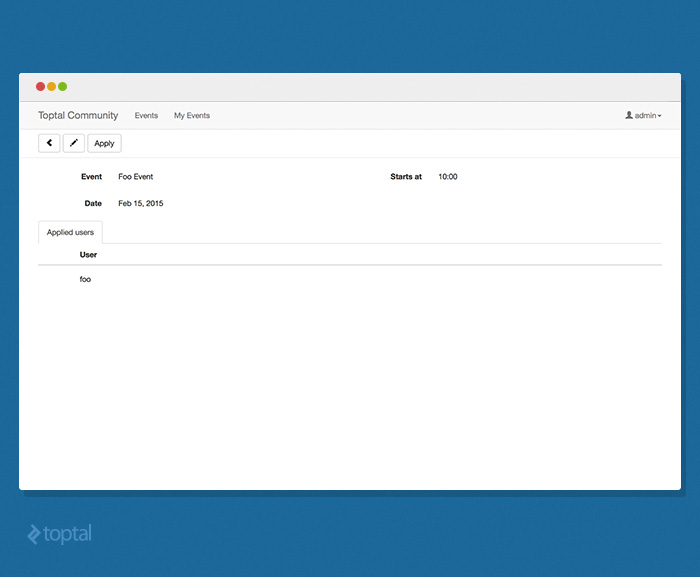
Listing Event Attendees
Once a user applies for an event, others can see a list of attendees. This is achieved through the following configuration in main.js:
| |
“AppliedUser” is a read-only view for the “MyEvent” entity-type. Read-only access is enforced by setting the “Write” property of the permissions object to an empty array. Since the “Read” permission is not explicitly defined, it defaults to allowing read access for all users.
Extending Default Implementations
A common drawback of RAD frameworks is their potential lack of flexibility. Customizing an application built with such frameworks can sometimes pose significant challenges. AllcountJS, however, is designed with extensibility in mind, allowing for the replacement of virtually every internal component.
To achieve this, AllcountJS employs its own Dependency Injection (DI) implementation. DI empowers developers to override default framework behaviors through extension points while promoting code reusability. Various aspects of RAD framework extension are detailed in the documentation. This section focuses on extending two specific components: server-side logic and views.
Let’s enhance our Toptal Community example by integrating an external data source to aggregate event data. Imagine there are Toptal Blog posts discussing upcoming events the day before they occur. We can use Node.js to parse the blog’s RSS feed and extract this information. This requires additional npm dependencies like “request,” “xml2js” (for loading the RSS feed), “q” (for promises), and “moment” (for date parsing). Install them using the following commands:
| |
Create a new JavaScript file named “toptal-community.js” within the “toptal-community-allcount” directory and add the following code:
| |
This code defines a dependency called “DiscussionEventsImport,” which we can use in our main.js file by adding an import action to the “Event” entity-type.
| |
Remember to restart the server after modifying JavaScript files. Stop the previous instance and restart using the same command as before:
| |
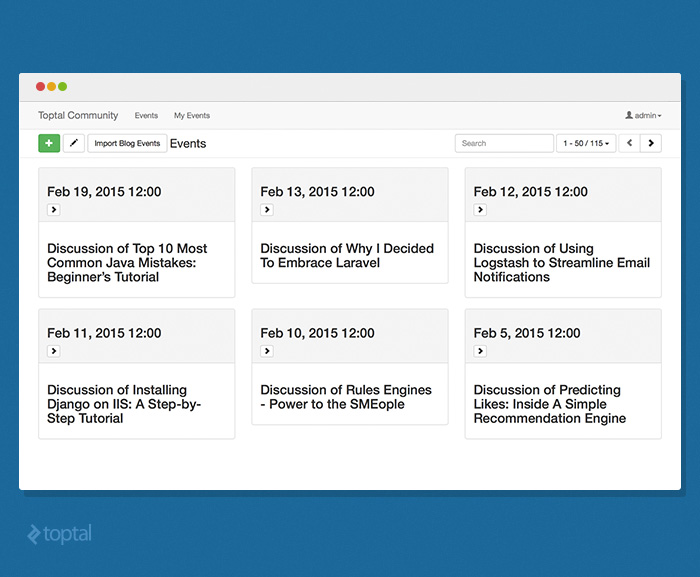
If everything works correctly, you should see something similar to the screenshot below after executing the “Import Blog Events” action.

While functional, the default views can appear bland. Let’s spice them up with some customization.
Everyone loves cards, right? Let’s create a card view. Add the following code to a file named “events.jade” within the “app-config” directory:
| |
Now, simply reference it from the “Event” entity in main.js using “customView: ’events’.” Run the application, and you should see a card-based interface instead of the default tabular view.
Conclusion
The development workflow for web applications has become increasingly standardized across various technologies, often leading to repetitive tasks. AllcountJS offers an alternative approach to rapid application development by encouraging developers to define entity descriptions as a skeletal framework and then build upon it with custom views and behaviors. As demonstrated, AllcountJS enabled us to create a simple yet fully functional application in under a hundred lines of code. While it may not fulfill all production requirements out of the box, its customizable nature makes it an excellent tool for rapidly bootstrapping web applications.