As one of the first Open Source Grants recipients, Raul Jimenez Herrando is adding new features, fixing bugs, and writing documentation for the Videogular project. To learn more about Toptal Open Source Grants, email opensource@toptal.com.
The internet is becoming increasingly dominated by video content, as evidenced by online traffic statistics. Traditional television is on the decline, and businesses are vying for dominance in a market that will represent the 80% of online traffic by 2019.
Numerous media platforms and services have embraced HTML5 video, including:
- Youtube: A platform for HTML5 video hosting and social sharing
- Netflix: A provider of HTML5 video content
- JWPlayer: A service offering HTML5 video and streaming capabilities
- Brightcove: A service specializing in HTML5 video and streaming solutions
- Kaltura: A provider of HTML5 video services and streaming
- Video.js: An HTML5 video player
- Flowplayer: An HTML5 video player and streaming provider
To address the evolving demands of this landscape, the development community requires a robust, adaptable, and feature-rich media framework that goes beyond a basic HTML5 video player. This article aims to introduce one such framework: Videogular.
What Is Videogular?
True to its name, Videogular is a media framework built on Angular 2+. It empowers developers to seamlessly incorporate HTML5 video, audio, and diverse content types into their projects. While an implementation for Angular 1.X (AngularJS) exists, this article will concentrate solely on the latest Angular 2+ iteration.
At this juncture, you might be pondering: Why opt for Angular as the foundation for a video framework?
Several compelling reasons justify the selection of Angular as the bedrock for a video library.
- Ease of Collaboration: Leveraging the popularity of Angular and its vibrant community, Videogular fosters easy contribution from developers, enabling them to effortlessly extend its functionality through plugins or address any encountered issues.
- Web Components: Creating and styling a custom player is simplified through the use of HTML and CSS, eliminating the need for intricate JavaScript.
- TypeScript: Angular, alongside its accompanying libraries, embraces TypeScript, providing a strongly typed ecosystem. This typing system aids in early detection of bugs and architectural flaws.
- Speed: Angular stands out for its exceptional speed, a characteristic shared by other contemporary popular frameworks.
Beyond these core advantages, Videogular benefits from other valuable features offered by the Angular ecosystem, including RxJS, ahead-of-time (AOT) compilation, the Angular CLI, and more.
How Does Videogular Work?
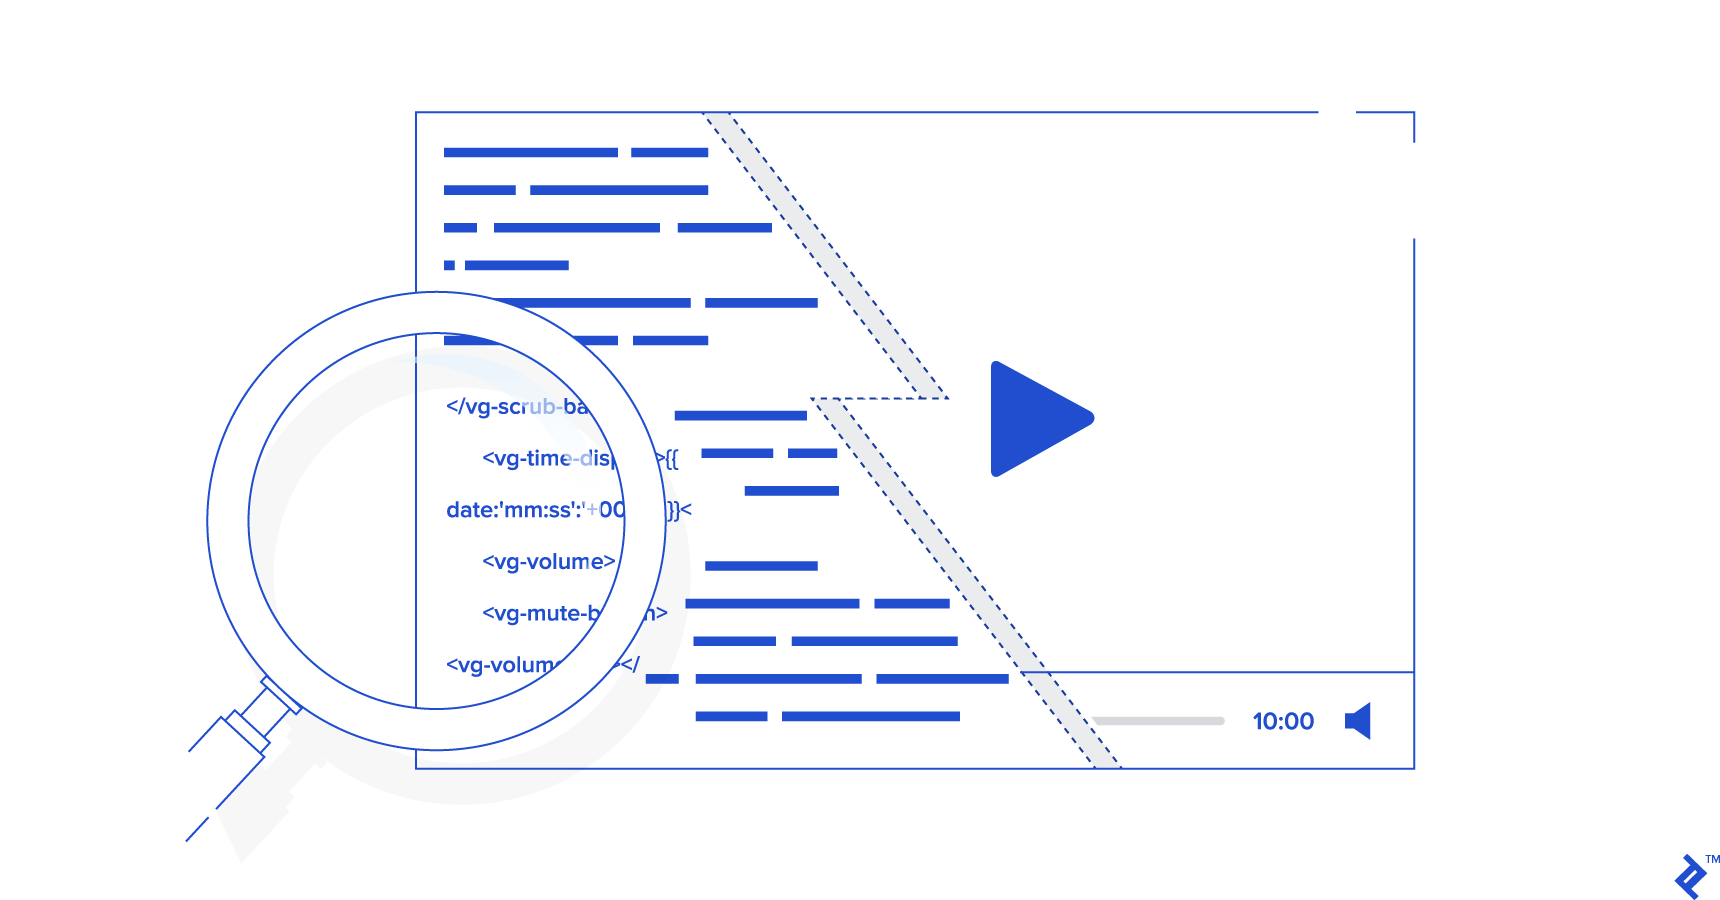
It’s important to understand that Videogular transcends the limitations of a mere HTML5 video player. A key differentiator that sets it apart from other players is its approach to player configuration. Instead of relying on JavaScript, Videogular leverages tags.
Most current video players operate as follows:
| |
Videogular, in contrast, employs a more intuitive approach:
| |
A cursory glance at the HTML code in Videogular instantly reveals the player’s inner workings, available controls, and modification possibilities. For instance, removing the tracks and the track selector becomes a straightforward task.
However, the advantages of building an Angular video player extend far beyond this. In large development environments where HTML/CSS designers and JavaScript developers collaborate, Videogular’s use of custom elements allows designers to focus on styling and animations without the need to delve into JavaScript/TypeScript or familiarize themselves with a new library.
Furthermore, Videogular’s capabilities extend significantly beyond constructing a basic Angular video player. It offers powerful features like automatic synchronization between multiple media files and the flexibility to play diverse content formats beyond video and audio, encompassing anything with a defined start and end.
To illustrate the ease of crafting a dynamic and interactive application using Videogular, we’ll embark on creating a video playlist with synchronized metadata.
How to Install Videogular
Our example will showcase a list of videos accompanied by corresponding excerpts from Wikipedia, providing users with convenient access to additional information about each video.
The complete codebase for this project can be found on our Videogular Showroom GitHub repo and is accessible as a GitHub page.
For seasoned Angular developers, installing Videogular should be a seamless process. However, if you’re new to the Angular world, it’s recommended to familiarize yourself with creating a basic Angular app through this concise guide.
If you haven’t already installed Node.js, proceed to the Node.js official website to download and install it. Node.js serves as the server for Angular development, enabling dependency installation via NPM. Ensure you have Node.js version 6.9.0 or higher, along with NPM 3.0.0 or above.
Our first step is to install the Angular CLI. The Angular CLI is an indispensable tool for any Angular developer, simplifying project scaffolding, testing, running development servers, and generating production builds. Moreover, it adheres to conventions that are readily understandable by other Angular developers.
Install the Angular CLI globally using NPM with the following command:
| |
Now, let’s initiate our first project with SASS support:
| |
This command will generate a sample project structure for you. To begin development and observe the results in real-time, execute npm run start and navigate your browser to [http://localhost:4200](http://localhost:4200). The Angular CLI will launch a Node.js development server featuring live reloading and other developer-friendly features.
Next, install the videogular2 library and the core-js typings:
| |
Creating an Angular video player
To incorporate icons into your buttons and controls, you can optionally utilize the official Videogular font. This involves adding CSS to your .angular-cli.json file, located in the root directory of your project.
| |
If you prefer to implement your custom font and styles, you can define them here or within styles.scss.
To integrate Videogular into your project, add the Videogular module to your application module.
Open src/app/app.module.ts and remove the FormsModule and the HttpModule as they won’t be necessary for this demonstration. Your app.module.ts file should now resemble the following:
| |
With the setup complete, it’s time to write our HTML code!
| |
Now, run the server and experience your inaugural video application powered by Angular and Videogular.
| |
Building a Media Playlist in Angular
To create our video playlist, we’ll construct a simple array containing all the necessary options. Note that while this list can be dynamically populated via a REST service using Angular’s HttpModule, for simplicity, we’ll hardcode it in this demo.
Open app.component.ts and add the following array of videos along with its interface:
| |
Now, let’s integrate the playlist below our player in the HTML file:
| |
Next, add some styles for the selected class and the hover effect:
| |
The onClickPlaylistItem method will be responsible for setting the media to be played on our Videogular player. Let’s move to app.component.ts to implement this method:
| |
The currentIndex property, which we’ll use later, will help identify the currently active item and its corresponding position within the playlist. This is particularly useful for implementing infinite loop functionality and updating the currentIndex whenever a user interacts with a playlist item.
Finally, we need to modify the video element to dynamically set the source based on the currentItem property managed by the playlist. To achieve this, we’ll create a simple binding to the src property of the HTML5 video element:
| |
We can now test our playlist and observe its behavior. The first video loads automatically, and we have the ability to switch between videos seamlessly. Everything functions as intended. However, we can enhance the user experience further by enabling automatic video transitions upon completion and by improving the overall management of the player’s state.
To accomplish this, we’ll leverage the Videogular API, a global service accessible within every Videogular instance, to control the player’s state and listen for events.
Using VgAPI to handle states
Our media playlist is fully functional at this point, but we can elevate the user experience by implementing features like autoplaying videos upon selection of a new item or after a video finishes playing.
Videogular provides an API that grants control over and allows listening for changes in each VgMedia instance within the VgPlayer component. In fact, the foundation of all Videogular modules rests upon this public API, empowering you to develop custom modules for your clients or contribute them as open-source components to the community.
To utilize the Videogular API, you simply need to listen for the onPlayerReady event emitted by the VgPlayer component:
| |
Once the player has initialized, you can store the API and begin listening for events dispatched by the video tag:
| |
Since the Videogular API is built upon RxJS, you can subscribe to Observables and react accordingly. To enable video autoplay, we’ll listen for the loadedmetadata event.
Let’s introduce a new Subscription to initiate video playback when the metadata has finished loading:
| |
It’s as simple as that. We leverage the VgAPI to start video playback when the loadedMetadata observable is triggered.
Remember the currentIndex property? It’s time to put it to use. We’ll employ it to transition to the next video automatically when the current video reaches its end:
| |
This method handles the ended event fired by the video tag, enabling us to move to the next video in the sequence. We’ve also incorporated a small piece of logic to create an infinite loop effect, ensuring that when the end of the playlist is reached, we circle back to the beginning by setting currentIndex = 0;. Finally, we update the currentItem, which in turn updates our Angular bindings in the UI.
Notice that we’re not explicitly playing the video within this method. This is because video playback is managed by the loadedMetadata observable. When we update the currentItem within nextVideo(), a new video is loaded, subsequently triggering the loadedMetadata observable.
This approach results in cleaner, more readable code that’s less prone to errors. Observables offer a powerful mechanism for managing asynchronous operations.
What’s next?
From this point, we could enhance our video player further by adding HTML5 video controls to toggle autoplay or the infinite loop feature, integrate advertisements, or synchronize external information with the video playback.
This demonstration merely scratches the surface of what’s achievable with Videogular. Its robust API empowers you to manage multiple media files concurrently, and the availability of modules for streaming and advertisement integration extends its capabilities even further. You can even create media players for animations, map routes, and various other innovative applications.
Videogular, released under an MIT license, is an open-source project hosted on GitHub. The project welcomes contributions from anyone willing to submit pull requests, report issues, improve documentation, or contribute to the community.