Dateline: 4 February 2017

By the spring of 1984, Marlene and I were eager to finish building our dream home.
The photo above shows a faux foundation wall around the bottom of the house. This wall is a structure of pressure-treated lumber covered with pressure-treated plywood. I then added foam board insulation and a waterproof cement mixture. It held up well for three decades, needing only minor touch-ups to address some exposed seams and nails.
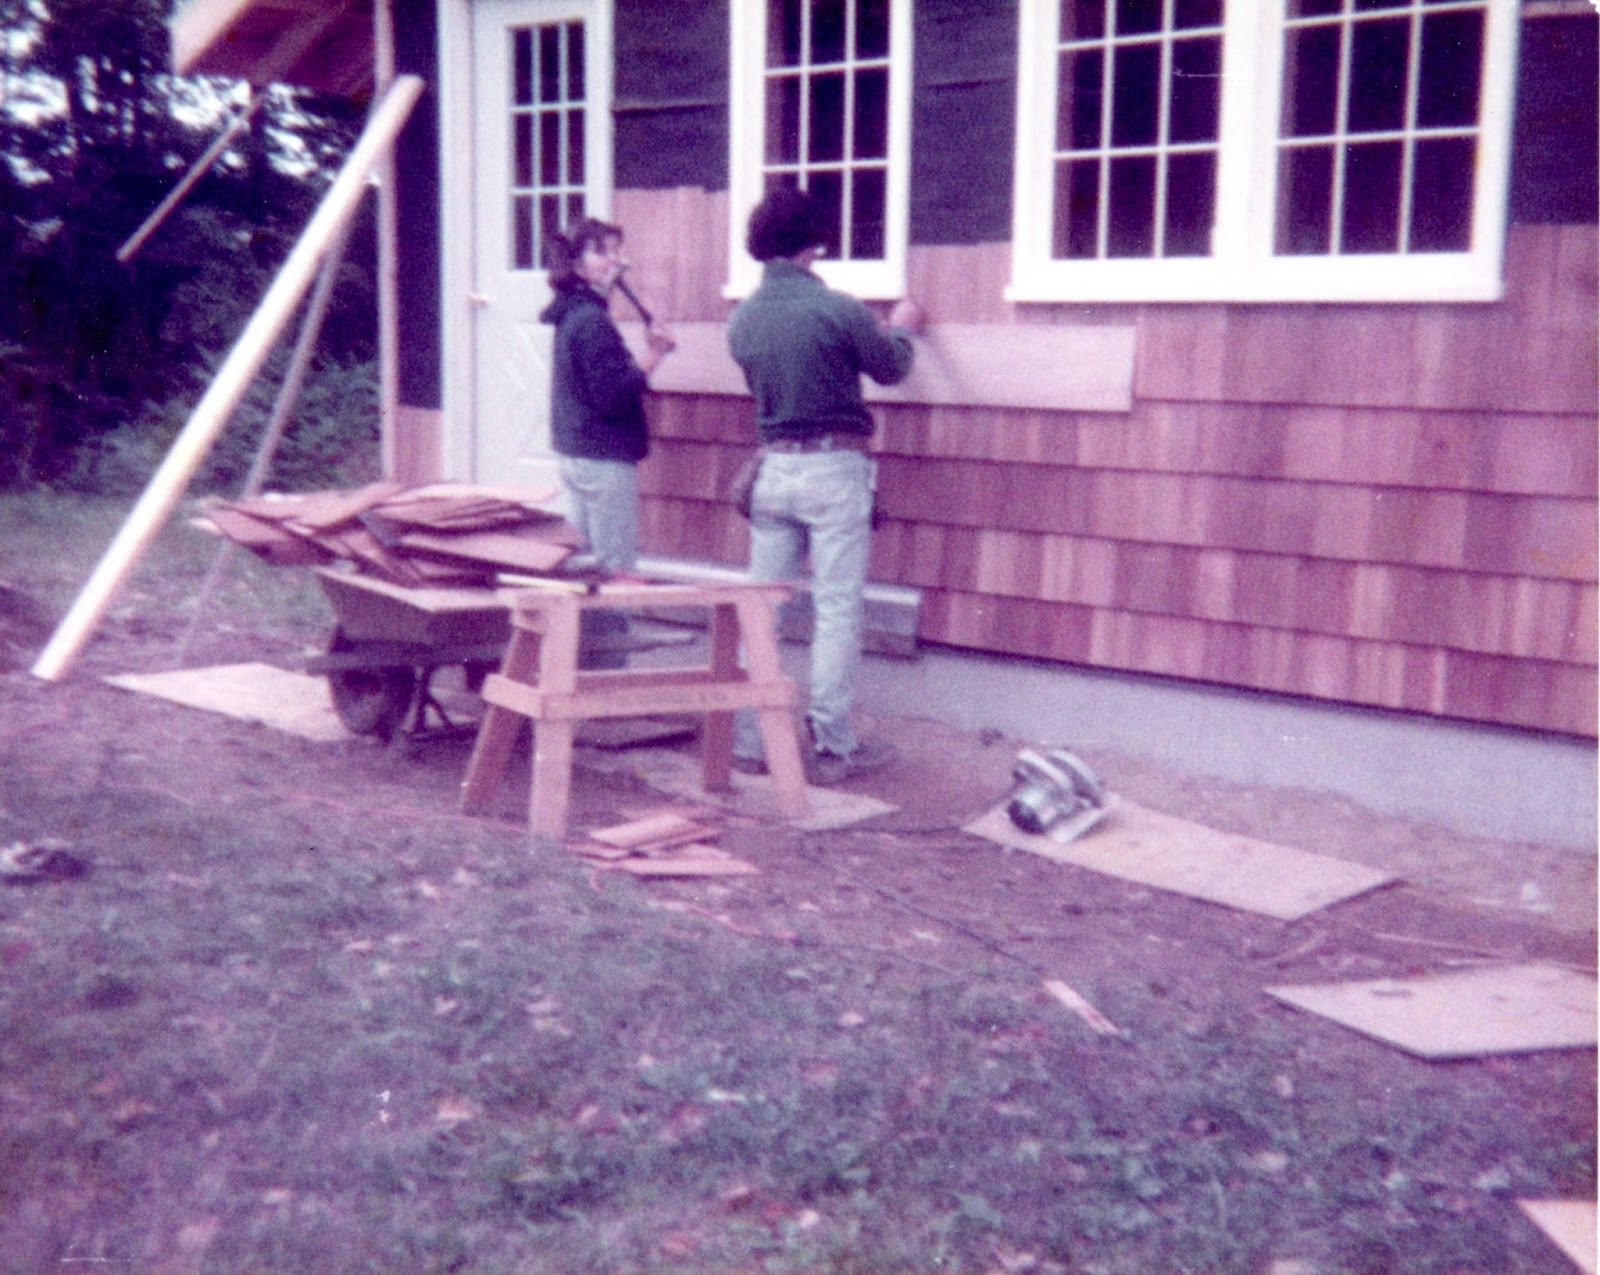
I’ve always disliked vinyl siding and wanted something else for my home. I found a lumber supplier in Cortland, NY, and explained I was looking for cedar siding on a budget. He immediately recommended #2 Red Label Western Red Cedar shingles.
While more expensive than other options, they were a cost-effective cedar choice. Although I planned to side the entire house, I only managed to complete part of it. I still have leftover shingles from that purchase and hope to finally finish the siding this year.
Cedar shingles are meant for roofs, not walls, and their edges aren’t perfectly parallel. Using them for siding requires a lot of cutting and adjustments, making it a time-consuming process.
For the remaining siding, I’ll explore “sanded and re-butted” shingles. Designed specifically for siding, they’re pricier but promise a much faster and easier installation.
The photo above shows three windows made from affordable barn sash. These single-pane windows, framed in wood, were assembled and painted at Marlene’s parents’ house. I was proud of my craftsmanship and cost-saving ingenuity.
Unfortunately, the windows were fixed and lacked insulation, leading to significant condensation on the inside during winter. They ultimately proved to be a major flaw and needed replacement a few years later.

The octagon window in the upstairs bathroom was another misstep. It was difficult to open and close, ultimately leading to its replacement as well.

The interior of the house began to come together during 1984. We installed a chimney and set up a temporary wood stove …

The staircase led to a small landing with access to a bathroom and one bedroom.

I made the mistake of placing the electrical panel inside a small closet. This violated electrical codes (although it passed inspection) and took up valuable kitchen space.


This picture showcases the house from the road, offering the best perspective on the two completed sides.

We made significant progress on our dream home by the winter of 1984. However, there was still much to do. We spent a lot of time at the house but continued living with Jay and Evelyn until the well and septic system were installed.
The next post in this series will detail our eventual move-in during 1985.
to go to Part 7 of this series.
If you have missed the other installments in this series, CLICK HERE now to go back to the beginning.