Utilizing types and testable code effectively is crucial for minimizing bugs, particularly as your codebase evolves. In the realm of JavaScript development, we can harness the power of TypeScript and the dependency injection (DI) design pattern to achieve this.
This TypeScript tutorial won’t delve into the fundamentals of TypeScript, except for the compilation aspect. Instead, we’ll focus on practical TypeScript best practices as we guide you through building a Discord bot from the ground up. We’ll integrate tests, implement DI, and craft a sample service. Our toolkit will comprise:
- Node.js
- TypeScript
- Discord.js (a Discord API wrapper)
- InversifyJS (a dependency injection framework)
- Testing libraries: Mocha, Chai, and ts-mockito
- Bonus: Mongoose and MongoDB (for crafting an integration test)
Setting Up Your Node.js Project
Let’s begin by creating a directory named typescript-bot. Navigate into it and initialize a Node.js project using:
| |
Note: While yarn is also an option, we’ll stick with npm for conciseness.
An interactive wizard will guide you through setting up the package.json file. Feel free to press Enter for all prompts (or provide details if desired). Next, we’ll install our project’s dependencies and development dependencies (required solely for testing).
| |
Now, modify the generated "scripts" section within your package.json to match the following:
| |
Note the double quotes surrounding tests/**/*.spec.ts; these are essential for recursive file searching. (Syntax might differ for Windows users.)
We’ll use the start script to launch our bot, the watch script for TypeScript code compilation, and test to execute our tests.
At this point, your package.json should resemble this:
| |
Creating a New Application in the Discord Apps Dashboard
Interacting with the Discord API necessitates a token. To obtain one, we’ll register an app on the Discord Developer Dashboard. Create a Discord account if you haven’t already and navigate to https://discordapp.com/developers/applications/. Click the New Application button:

Assign a name to your application and click Create. Proceed to Bot → Add Bot to finalize this step. Before moving on, let’s add the bot to a server, but keep this page open—we’ll need to copy a token shortly.
Add Your Discord Bot to Your Server
Testing our bot requires a Discord server. Use an existing one or create a new one. Locate your bot’s CLIENT_ID (on the General Information tab) and incorporate it into this special authorization URL:
https://discordapp.com/oauth2/authorize?client_id=<CLIENT_ID>&scope=bot
Opening this URL in your browser will present a form where you can select the server to add your bot to.

Upon adding the bot, you should see a confirmation message similar to the one above.
Creating the .env File
We’ll use the dotenv package to securely store our token. Retrieve the token from the Discord Application Dashboard (Bot → Click to Reveal Token):

Create a .env file and paste your token into it:
| |
For Git users, add this file to your .gitignore to prevent token exposure. Additionally, create a .env.example file to indicate that TOKEN requires definition:
| |
Compiling TypeScript
Compile your TypeScript code using the npm run watch command. Alternatively, if you’re using an IDE like PHPStorm, leverage its file watcher (via its TypeScript plugin) for automatic compilation. Let’s test our setup by creating src/index.ts with the following content:
| |
Also, create a tsconfig.json file as shown below. InversifyJS relies on experimentalDecorators, emitDecoratorMetadata, es6, and reflect-metadata:
| |
A functioning file watcher should generate src/index.js, and executing npm start should yield:
| |
Creating a Bot Class
Time to leverage TypeScript’s type system. Create src/bot.ts with the following code:
| |
We need a token! Should we hardcode it or fetch it directly from the environment?
Neither. Instead, let’s prioritize maintainability, extensibility, and testability. We’ll inject the token using our chosen DI framework, InversifyJS. Additionally, notice the hardcoded Client dependency—we’ll inject this as well.
Configuring the Dependency Injection Container
A dependency injection container acts as a registry for object instantiation logic. We define dependencies for our classes, and the DI container handles their resolution.
Following InversifyJS’s recommendation, let’s create inversify.config.ts and add our container:
| |
Furthermore, the InversifyJS docs recommend by creating a types.ts file. Within this file, we’ll enumerate each type we intend to use alongside its associated Symbol. While this might seem cumbersome, it ensures we avoid naming collisions as our application scales. Each Symbol acts as a unique identifier, even if their description parameters match (these parameters serve debugging purposes).
| |
Without Symbols, consider what happens during a naming conflict:
| |
Resolving which MessageResponder to use becomes notably more challenging, especially as our DI container expands. Symbols elegantly address this concern, eliminating the need for contrived string literals when dealing with identically named classes.
Using the Container in the Discord Bot App
Let’s modify our Bot class to leverage the container. This involves incorporating @injectable and @inject() annotations. Here’s the updated Bot class:
| |
Finally, let’s instantiate our bot within index.ts:
| |
Start your bot and ensure it’s added to your server. Typing a message in the server channel should now log the message content to your console:
| |
With that, we have our foundation: TypeScript types and a dependency injection container powering our bot.
Implementing Business Logic
Let’s focus on the core of this article: crafting a testable codebase. In essence, our code should adhere to best practices (like SOLID), avoid dependency hiding and static methods, refrain from introducing side effects during execution, and be easily mockable.
For simplicity, our bot will have a single purpose: scanning incoming messages for the word “ping.” Upon detection, it will respond with “pong!” using a Discord bot command.
To illustrate custom object injection into the Bot object and facilitate unit testing, we’ll create two classes: PingFinder and MessageResponder. MessageResponder will be injected into the Bot class, and PingFinder into MessageResponder.
Here’s the code for src/services/ping-finder.ts:
| |
Next, we’ll inject this class into src/services/message-responder.ts:
| |
Lastly, let’s modify our Bot class to utilize the MessageResponder class:
| |
In its current state, the application won’t run due to missing definitions for MessageResponder and PingFinder. Add the following to inversify.config.ts:
| |
Also, include the corresponding type symbols in types.ts:
| |
After restarting, your bot should now respond to messages containing “ping”:
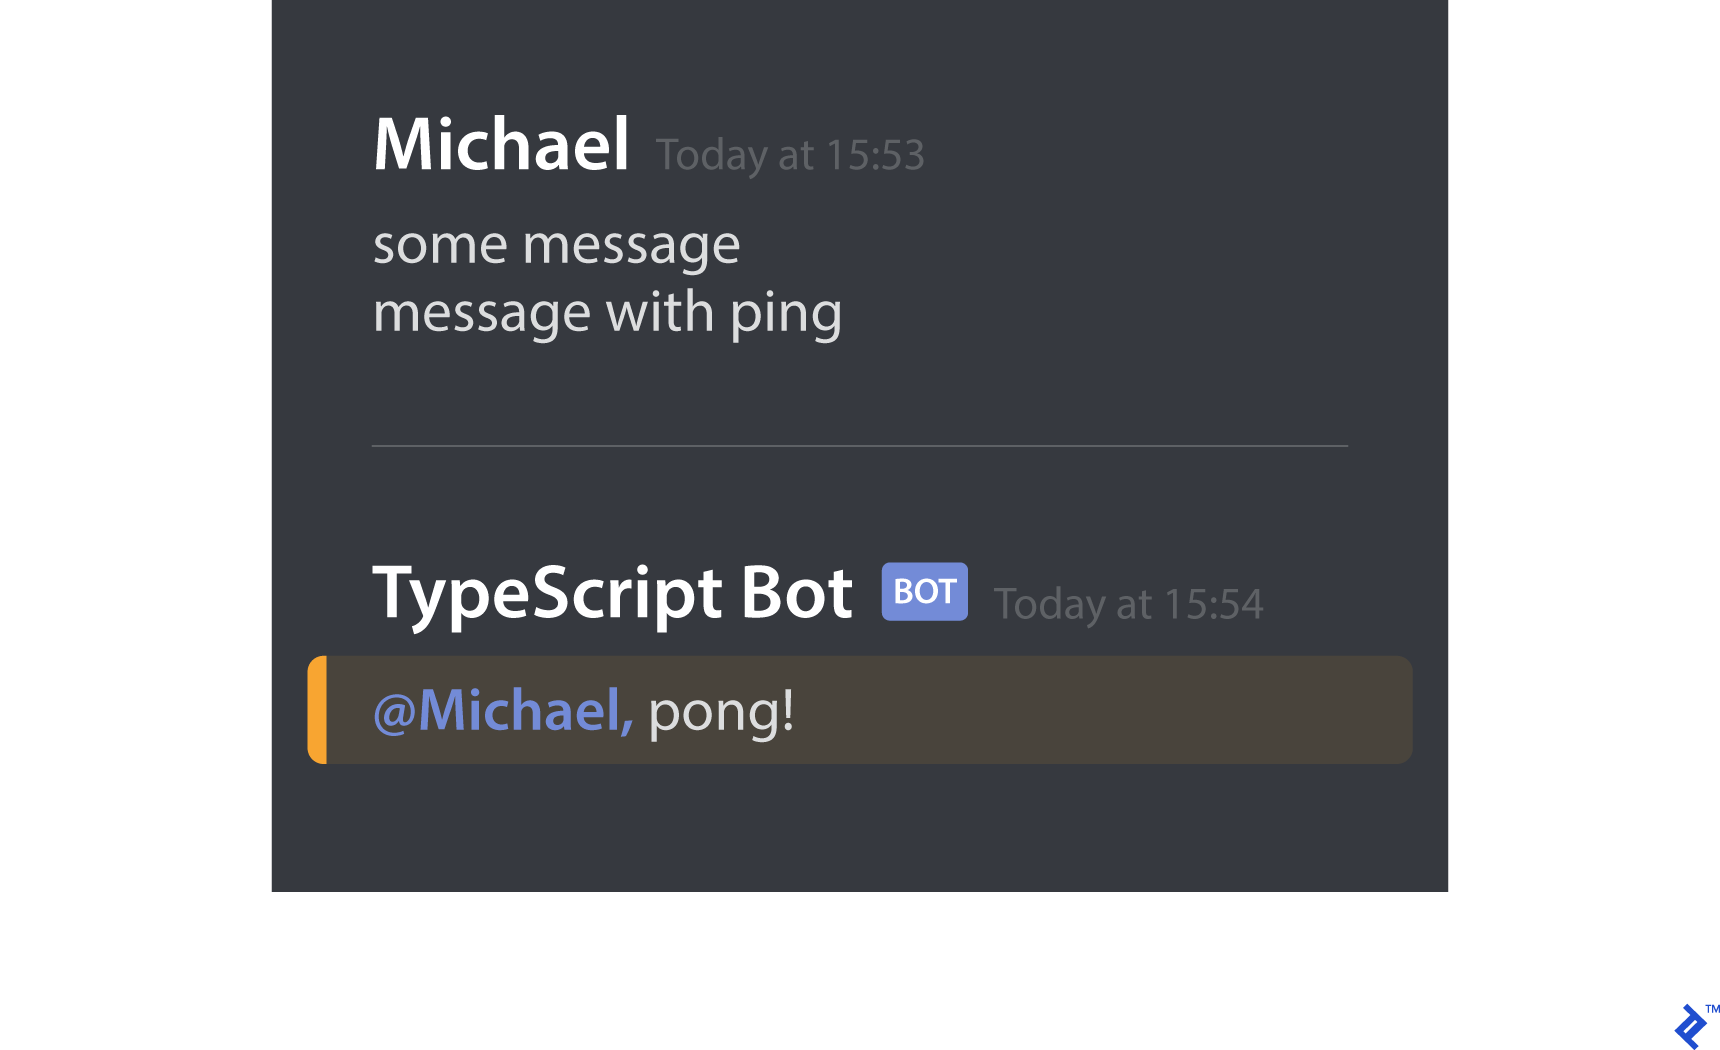
Here’s how it appears in the logs:
| |
Creating Unit Tests
With our dependencies properly injected, writing unit tests becomes straightforward. We’ll use Chai and ts-mockito; however, numerous other test runners and mocking libraries are available.
While ts-mockito’s mocking syntax might seem verbose, it’s also highly readable. Let’s set up the MessageResponder service and inject the mocked PingFinder:
| |
With our mocks in place, we can define the expected outcome of isPing() calls and verify calls to reply(). The key is that we control the result of isPing() (true or false) within our unit tests. The actual message content becomes irrelevant, so we simply use "Non-empty string".
| |
Here’s an example of how our test suite could be structured:
| |
Tests for PingFinder are trivial since there are no dependencies to mock. Here’s a sample test case:
| |
Creating Integration Tests
Besides unit tests, we can write integration tests. The primary difference lies in using real dependencies instead of mocks. However, certain dependencies, like external API connections, shouldn’t be part of integration tests. In these cases, we can create mocks and rebind them within our container, ensuring the mock is injected instead. Here’s an example:
| |
This concludes our Discord bot tutorial. You’ve successfully built a clean and well-structured application, embracing TypeScript and DI from the outset! This TypeScript dependency injection pattern can be applied to any project you undertake.
TypeScript and Dependency Injection: Not Just for Discord Bot Development
Whether you’re working on front-end or back-end code, incorporating the object-oriented paradigms of TypeScript into your JavaScript projects is immensely beneficial. Types alone help prevent numerous bugs. Combining TypeScript with dependency injection further encourages object-oriented best practices within JavaScript-based development.
While language limitations might make it less seamless than in statically typed languages, one thing’s certain: TypeScript, unit tests, and dependency injection empower you to write more readable, loosely coupled, and maintainable code—regardless of the application you’re building.