The next stage of restoring my Beogram 4000 involved working on the control panel. Typically, I swap out the old incandescent bulbs for LEDs and clean the keypad’s contacts. This particular unit had three out of four bulbs burnt out, highlighting the wisdom of switching to LEDs for their superior lifespan.

I had recently designed SMD LED boards to replace the position scale illumination bulbs (the top two) and had them professionally manufactured. Here’s a look at the redesigned setup:

Here are the installed boards. Additionally, I replaced the two bulbs illuminating the red RPM trimmer shafts from underneath with red LEDs:

Next, I addressed the contact terminals of the keypad switches, which were heavily oxidized:
Inspired by a customer’s photos of nickel-plated contacts, I opted to gold-plate these. After extracting and cleaning them with a fiberglass pen, I electroplated them. Here’s a comparison of the terminals before and after gold plating:


Once plated, I reinstalled them:

Aesthetics matter! This is the essence of Beolove!
I discovered one of the two brackets securing the strobe mirror was absent. Using my 3D printer, I created a replacement:

and secured it with epoxy:

Losing this mirror would be a major setback, so preventing that from the outset was crucial.
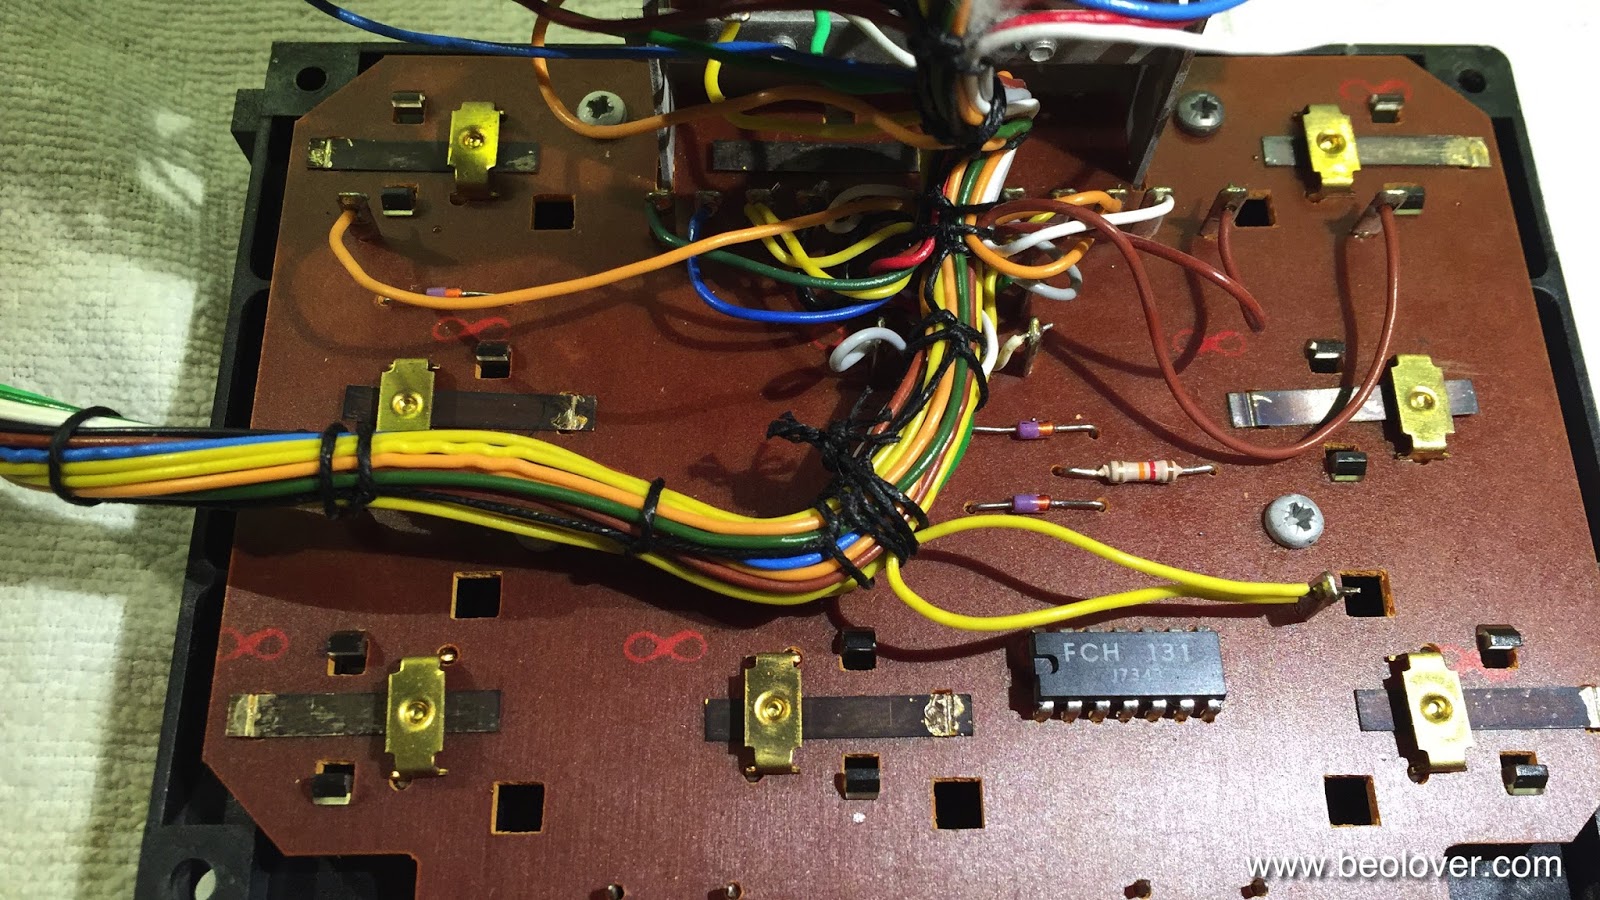
Finally, I examined the switches activated by the carriage. While usually oxidized, these were in surprisingly good condition, possibly indicating a past replacement. The board appeared almost new:

I left them untouched, applying only a light coat of Deoxit D100 to mitigate future oxidation.