During a recent Beogram 4000 restoration, my customer opted for a brand new reproduction hood from Beoparts-shop in Denmark. These hoods mark a significant advancement in Beogram 400x restoration. Crafted through injection molding, they perfectly mirror the original hoods, eliminating the seams found in laser-cut and fused alternatives.
Simply put, these hoods are identical in appearance to the originals. Developed by Beoworld’s Dillen, their availability has greatly benefited Beogram 400x restorations. You can acquire this new hood directly from Beoparts-shop or contact Beolover for stock in the US.
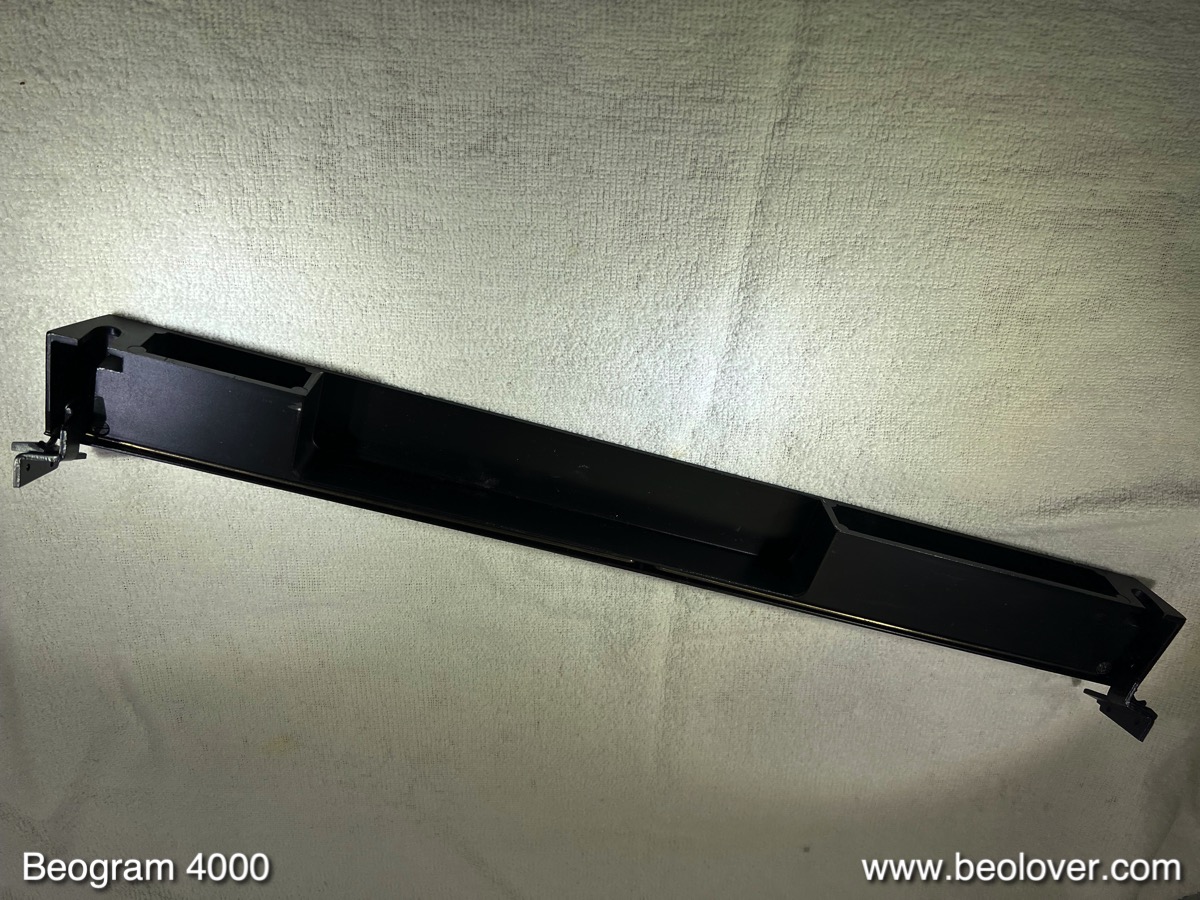
This post illustrates the hood’s installation on the original hinge: Introducing the impressive new hood with a matching aluminum trim.

To prevent damage during shipping and installation, the hoods come with a protective self-adhering film, which I left on except for the hinge area.
Let’s begin! The first step involves removing the hinge from the old hood. Typically, a razor blade can be used to detach the sides of the aluminum trim.

This allows you to bend the trim back and access the often-rusty screws:

Proceed to remove the screws and detach the hinge.
Now, attach the new hinge, which features an improved design. Unlike the original flathead screws that caused lateral stress and cracks around the bolt holes, the new design utilizes socket head screws with thin heads, minimizing stress and potentially increasing the hood’s lifespan. Here are the bolts in position (remember to use the included plastic washers for added stress reduction):

With the hinge secured, it’s time to install the aluminum trim. Precision is key here. The trim needs to be centered perfectly, ensuring that both sides extend to the hood’s bottom edge, aligning seamlessly with the plexiglass. For precise centering, I created a clip-on tool. This is the left-end component:

And this is for the right: Align the strip precisely with the ends of these two pieces.

Using a small piece of blue painter’s tape on the plexiglass, I created alignment marks on both the hood and the strip. Pencil markings can be easily wiped off the brushed aluminum.

With the alignment mark in place, I accurately positioned the strip, adhesive side down. After pressing it firmly onto the hood, I bent the sides. To ensure proper adhesion, I employed two clamping tools (previously designed for hinge repairs) to press the sides down for 24 hours, allowing ample bonding time:

A mirror-image clamp was used for the opposite end:

After a day, the clamps were removed, revealing a beautifully installed reproduction hood. Absolutely Beolovely!
