W3RDW Blog - First Post
This is the first post from my HAM radio hobby site, https://w3rdw.radio. From now on, I will be posting HAM radio content only on the W3RDW site. You can find a link on my WhiteMatterTech site.
Creating an ADS-B Flight Tracker Using Affordable Equipment and Docker on Ubuntu
This guide will demonstrate how to set up an ADS-B flight tracker using an inexpensive antenna, Docker, and Ubuntu. ADS-B, which stands for Automatic Dependent Surveillance – Broadcast, is a technology that enables aircraft to determine their location using satellite navigation and transmit this information periodically. By establishing your own ADS-B receiver, you can monitor flights in your vicinity and contribute to the global flight tracking network.
My setup consists of an ESXi host with an Ubuntu 21.04 VM. The recommended USB dongle is passed through to this VM. While a deep understanding of Docker isn’t mandatory, it can be helpful for addressing potential USB issues and making custom configurations. If you need help installing Docker, refer to this Docker installation tutorial and this Docker Compose installation tutorial.
Prerequisites
To get started, you’ll need an RTL SDR USB dongle, an ADS-B antenna, and an Ubuntu machine (either physical or virtual). The SMA extension cable is optional but can be useful for extending the antenna’s reach. Here are some recommended components:
Please note that I may earn a commission for purchases made through the affiliate links below, which helps support this blog. The price remains the same for you, regardless of whether you use my links or not. Thank you for your support!
Step 1: Hardware Setup
Setting up the hardware is simple.
- Connect the ADS-B antenna to the RTL SDR USB dongle, using an extension cable if needed.
- Connect the RTL SDR USB dongle to your Ubuntu machine.
- Verify that your system recognizes the USB dongle.
Step 2: Configuring Environment Variables
Create a .env file in your project directory and configure the following environment variables with your specific information:
| |
| |
Step 3: Defining the Docker Compose Configuration
We’ll create a docker-compose.yml file to define the services for our ADS-B flight tracker. This file will include readsb for data collection, fr24 for Flightradar24 integration, tar1090 for web-based visualization, and watchtower for automated updates.
- readsb: Collects data from the ADS-B receiver and makes it available for processing, visualization, and integration.
- fr24: Integrates your ADS-B data with Flightradar24, a widely used flight tracking service. Sharing your data with Flightradar24 allows you to contribute to their network and access additional features.
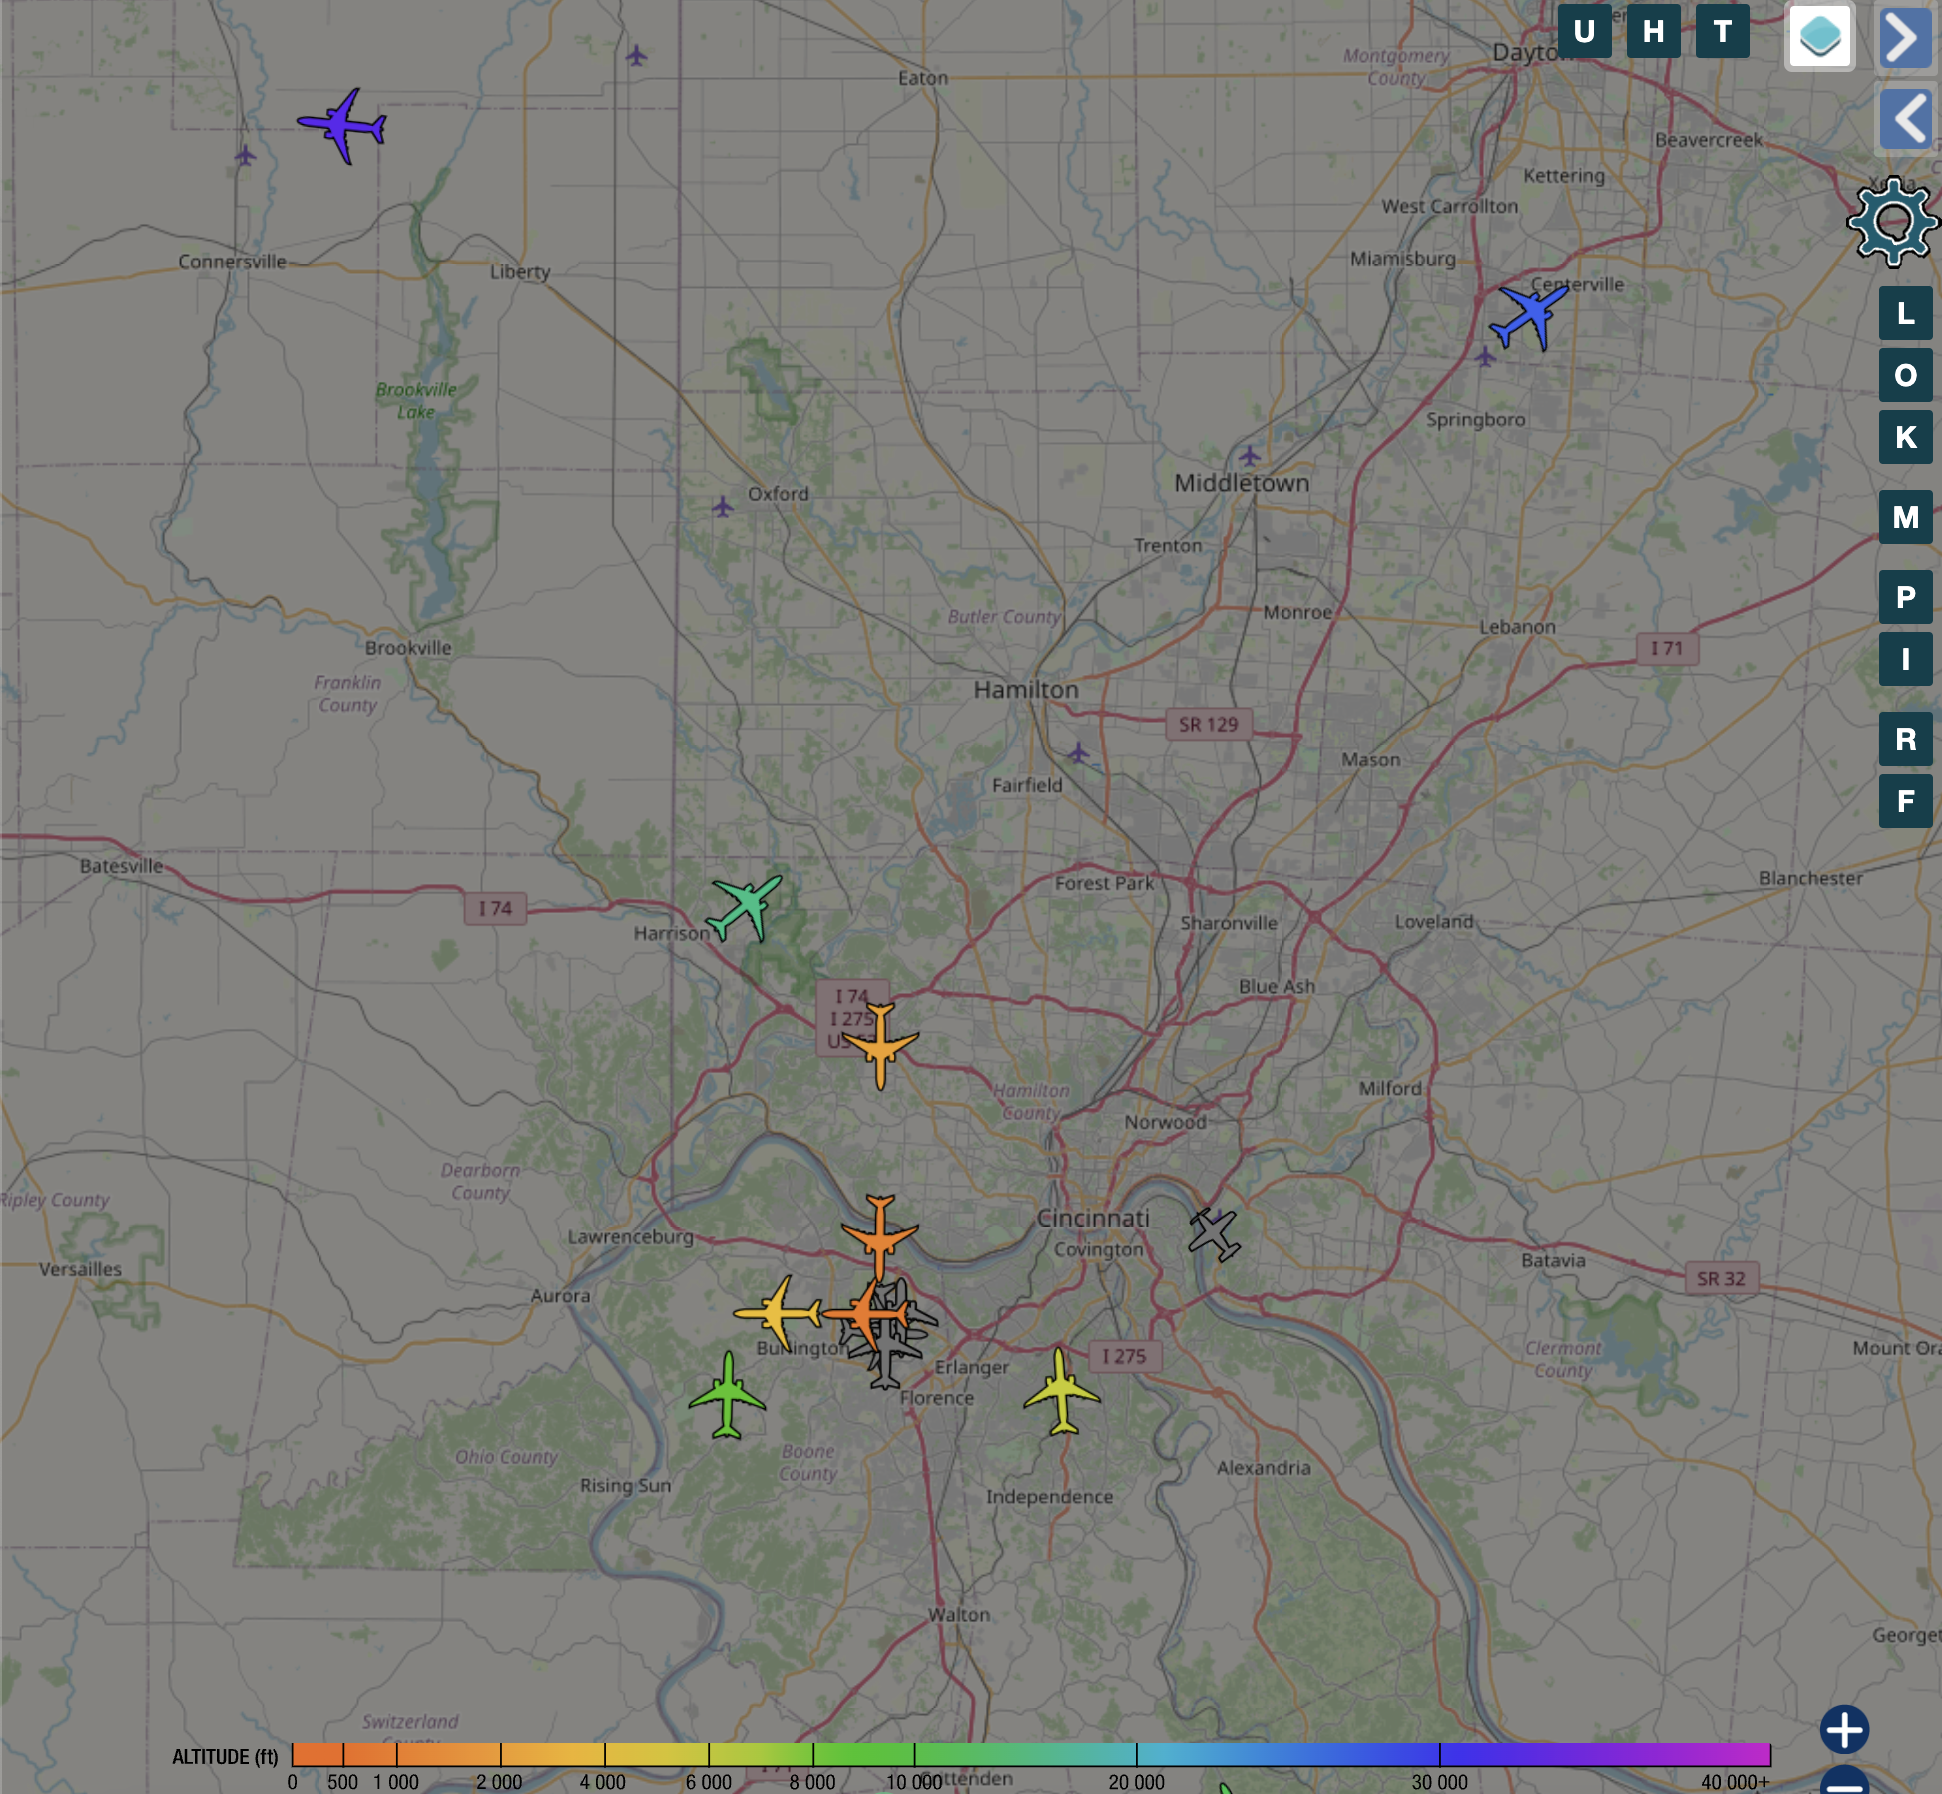
- tar1090: A web-based tool for visualizing ADS-B data, providing a user-friendly interface to track aircraft, view flight paths, and explore flight information.
- watchtower: An automated update tool for Docker containers that ensures your ADS-B flight tracker components are always current by automatically downloading the latest Docker images and restarting the services.
Create the docker-compose.yml file in your project directory:
| |
Paste the following configuration into the docker-compose.yml file:
| |
You should now have a .env file and a docker-compose.yml file in your directory, ready to launch the services.
Step 4: Launching the ADS-B Flight Tracker
Open your terminal, navigate to the directory containing the docker-compose.yml file, and run the following command to start the ADS-B flight tracker:
| |
This command downloads the required Docker images and starts the services defined in your docker-compose.yml file. Your ADS-B flight tracker will then begin receiving and processing data from aircraft in your area.
Step 5: Accessing the Web Interface
Once the services are operational, you can access the web interfaces:
- ADSB Data:
http://localhost:8080(usingreadsb) - Flightradar24 Integration:
http://localhost:8754
These interfaces display real-time data about nearby aircraft, including flight paths and other pertinent information.
To make these resources accessible on the web, consider setting up a CloudFlare tunnel for secure tunneling. You can find a guide on how to do this here: https://nexus-security.github.io/using-cloudflared-for-tunneling-to-internal-resources/.These tutorial can help you securely access your ADS-B data both internally and externally, just like I do: https://adsb.w3rdw.radio.
Conclusion
You’ve successfully set up an ADS-B flight tracker on Ubuntu using affordable equipment and Docker. This setup allows you to track flights and contribute to the global ADS-B network. The web interfaces provide real-time flight data, paths, and other valuable information about air traffic in your region. Feel free to explore additional features and customize your setup to enhance your ADS-B flight tracking experience. Happy tracking!