As front-end frameworks like AngularJS become increasingly sophisticated, more and more application logic, including data manipulation and validation, as well as authentication, is being handled on the client-side. Satellizer, a user-friendly token-based authentication module for AngularJS, simplifies the process of implementing authentication mechanisms within AngularJS applications. The library offers built-in support for a variety of accounts, including Google, Facebook, LinkedIn, Twitter, Instagram, GitHub, Bitbucket, Yahoo, Twitch, and Microsoft (Windows Live).
This article will guide you through building a straightforward web application resembling here, enabling users to log in and view their information.
Authentication vs. Authorization
These two terms frequently arise when incorporating a user system into your application. Wikipedia defines them as follows:
Authentication is the process of verifying the authenticity of a claimed attribute associated with a specific piece of data.
Authorization involves defining access rights to resources related to information security and computer security, particularly access control.
To illustrate, consider a blog website with multiple contributors: bloggers write articles, and a manager approves the content. While everyone can authenticate (log in) to the system, their permissions (authorization) differ. Bloggers cannot approve content, while the manager can.
Why Satellizer?
While you can build custom authentication systems in AngularJS using tutorials like this comprehensive JSON Web Token Tutorial: An Example in Laravel and AngularJS, Satellizer offers significant advantages. This tutorial provides a good understanding of JWT (JSON Web Token) and demonstrates a simple authentication implementation in AngularJS using local storage and HTTP interceptors.
The primary reason to choose Satellizer is its support for numerous social network logins, such as Facebook, Twitter, etc. In today’s mobile-first world, users expect seamless experiences and often find typing usernames and passwords tedious. Social logins provide a convenient alternative. Integrating each social network’s SDK and navigating their documentation can be repetitive. Satellizer streamlines this process, enabling support for various social logins with minimal effort.
Furthermore, Satellizer is an active GitHub project. This is crucial because SDKs are frequently updated, and you don’t want to constantly refer to their documentation (anyone who has worked with the Facebook SDK understands this pain).
AngularJS App with Facebook Login
This is where things get interesting.
We will develop a web application with traditional login/registration (using username and password) alongside social login support. The application will have three simple pages:
- Home page: Accessible to everyone.
- Login page: For entering username/password.
- Secret page: Only accessible to logged-in users.
We’ll use Python and Flask for the backend. Python and Flask are highly expressive, making code porting to other languages/frameworks relatively straightforward. AngularJS will power the front-end. For social logins, we’ll focus on Facebook integration due to its popularity.
Let’s begin!
Step #1: Bootstrap the Project
Here’s the code structure:
| |
The backend code resides in app.py. Frontend code is placed in the static/ folder, which Flask serves automatically. Partial views are located in static/partials/ and managed by the ui.router module.
To begin backend coding, you’ll need Python 2.7.* and the necessary libraries installed via pip. Using virtualenv for Python environment isolation is recommended. Add the following required Python modules to requirements.txt:
| |
Install dependencies using:
| |
In app.py, include the initial Flask bootstrap code (import statements are omitted for brevity):
| |
Initialize bower and install AngularJS and ui.router:
| |
Include AngularJS and ui-router in index.html and create routings for the home, login, and secret pages:
| |
Add the following code to main.js for routing configuration:
| |
Running the server (python app.py) should now display a basic interface at http://localhost:5000:
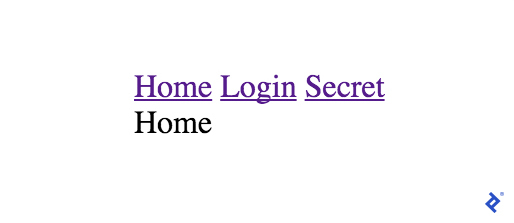
The Home, Login, and Secret links should function, displaying the corresponding template content.
Congratulations on setting up the skeleton! If you encounter any errors, refer to code on GitHub.
Step #2: Login and Register
This step implements user registration and login functionality using email and password.
First, configure the backend with a User model and a method to generate JWT tokens. The simplified User model below omits basic checks like email format or password strength.
| |
The Python jwt module generates the JWT payload. iat and exp represent the token’s creation and expiration timestamps. This code sets token expiration to two weeks.
After creating the User model, add “login” and “register” endpoints. The code for both is similar; only the “register” part is shown here. Satellizer defaults to calling /auth/login and /auth/signup endpoints for “login” and “register,” respectively.
| |
Test the endpoint using curl:
| |
The result should resemble:
| |
With the backend ready, move to the frontend. Install satellizer and add it as a dependency in main.js:
| |
Add satellizer as a dependency:
| |
Login and signup in satellizer are straightforward:
| |
Refer to code on GitHub if you encounter any issues during setup.
Step #3: Securing the Secret View
Currently, anyone can access the secret page without authentication. We’ll implement an AngularJS interceptor to redirect unauthorized users to the login page.
Add a requiredLogin flag to differentiate the secret page:
| |
The “data” part will be used in the $stateChangeStart event, triggered on each routing change:
| |
Users are now redirected to the login page if they attempt to access the secret page without authentication.
You can find the code for this step in here.
Step #4: Displaying User-Specific Information
Let’s personalize the secret page by adding user-specific content.
Create a backend endpoint accessible only to authenticated users with valid tokens. The /user endpoint returns the user_id and email associated with the token.
| |
Again, we use the jwt module to decode the JWT token from the ‘Authorization’ header and handle expired or invalid tokens.
Test this endpoint using curl. First, obtain a valid token:
| |
Then, use the token:
| |
This returns:
| |
Now, include this endpoint in the Secret Controller. Use the $http module to call the endpoint. Satellizer automatically adds the token to the header, simplifying token handling.
| |
Finally, the secret page displays personalized information.
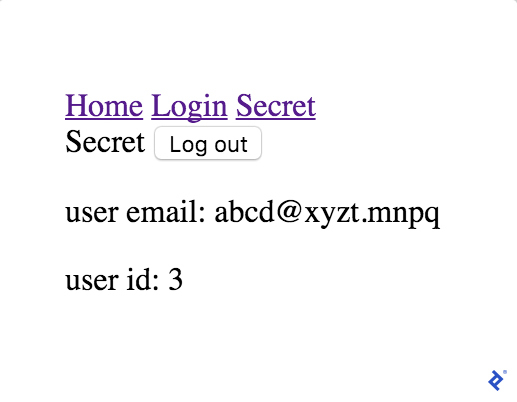
The code for this step is available in GitHub.
Step #5: Enabling Facebook Login with Satellizer
Satellizer simplifies social login integration. This step enables users to log in using their Facebook accounts.
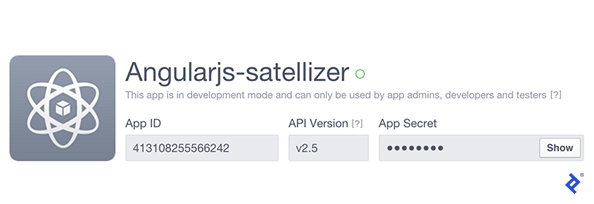
Create a Facebook developer account and a website application following developers.facebook.com/docs/apps/register to obtain an application_id and secret code. Once completed, you’ll have the application ID and secret as shown in the screenshot below.
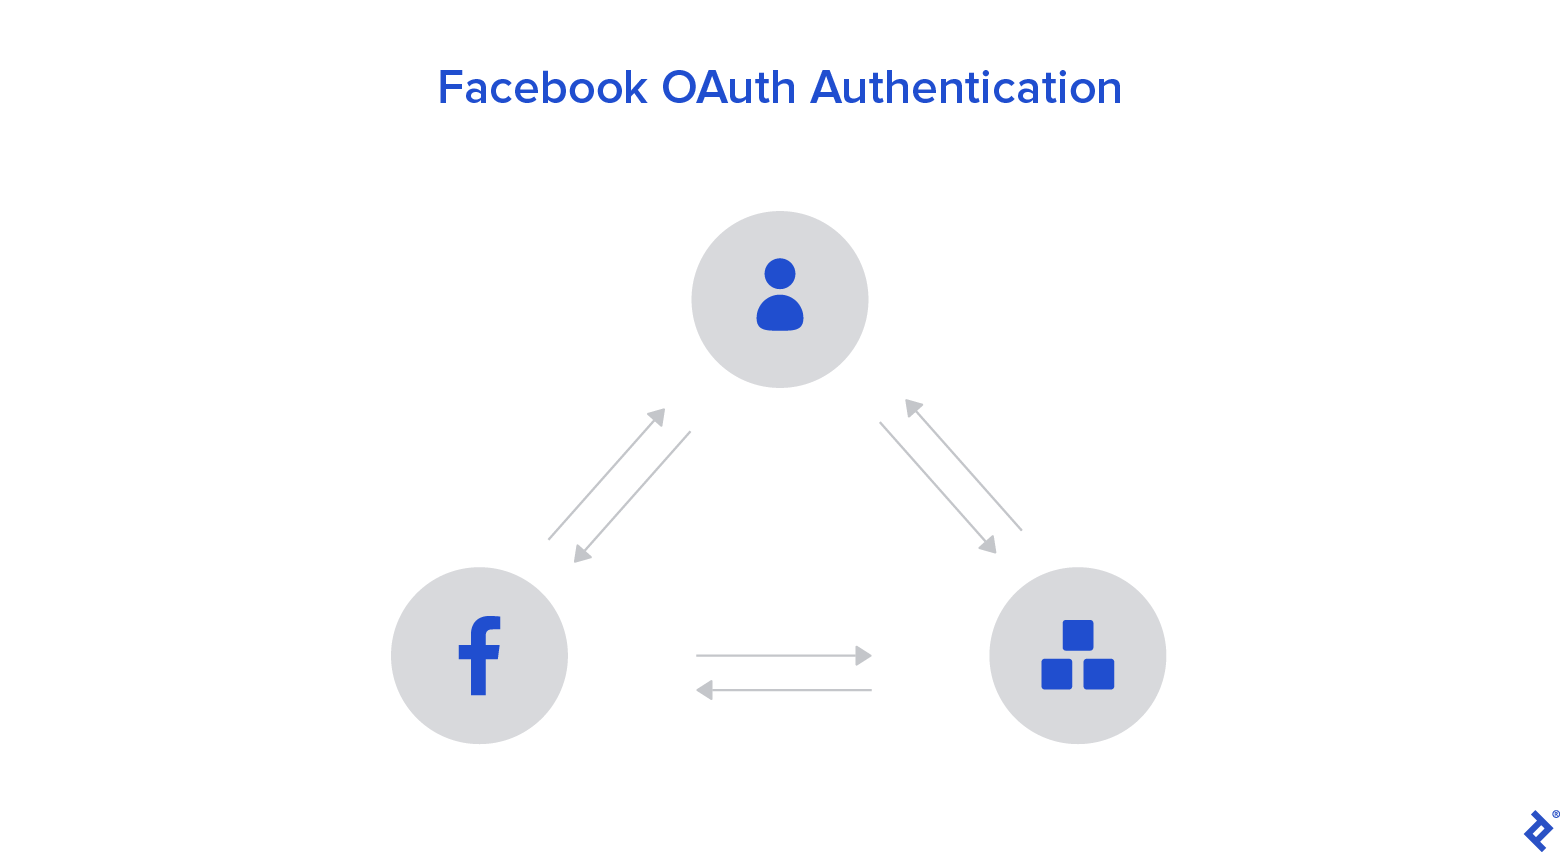
When a user chooses Facebook login, Satellizer sends an authorization code to the /auth/facebook endpoint. The backend retrieves an access token from Facebook’s /oauth endpoint using this code, allowing calls to the Facebook Graph API to fetch user information like location, friends, email, etc.
To track whether an account is created via Facebook or regular signup, add facebook_id to the User model.
| |
Configure the Facebook secret using the FACEBOOK_SECRET environment variable in app.config.
| |
Set this environment variable when launching app.py:
| |
This method handles Facebook logins. Satellizer defaults to calling the /auth/facebook endpoint.
| |
The requests module facilitates communication with the Facebook server. This completes the complex backend part. On the frontend, adding Facebook login is straightforward. Inform Satellizer about your facebook_id within the app.config function:
| |
To initiate Facebook login, call:
| |
As usual, refer to code on GitHub for the complete code.
The web application now offers complete login/registration functionality, allowing users to use their email and password or Facebook. Upon login, they can access their personalized secret page.
Enhancing the User Interface
Let’s improve the appearance using Bootstrap for layout and the angular toaster module for handling error messages gracefully (e.g., failed logins).
The code for this beautification is available in here.
Conclusion
This article provides a step-by-step guide to integrating Satellizer into a simple AngularJS web application. Satellizer simplifies the addition of other social logins like Twitter, LinkedIn, and more. While the frontend code remains similar, backend implementation may vary due to differences in social network SDK endpoints and protocols. You can explore https://github.com/sahat/satellizer/blob/master/examples/server/python/app.py, which contains examples for Facebook, Github, Google, Linkedin, Twitter, and Bitbucket. When in doubt, consult the documentation at https://github.com/sahat/satellizer.