App developers outside the Salesforce ecosystem might be overlooking a powerful tool in the AI landscape.
When considering AI cloud solutions, developers often think of IBM Watson, Microsoft Azure Cognitive Services, Google Cloud, or Amazon AI. Salesforce Einstein, on the other hand, might be mistakenly perceived as exclusive to Salesforce specialists.
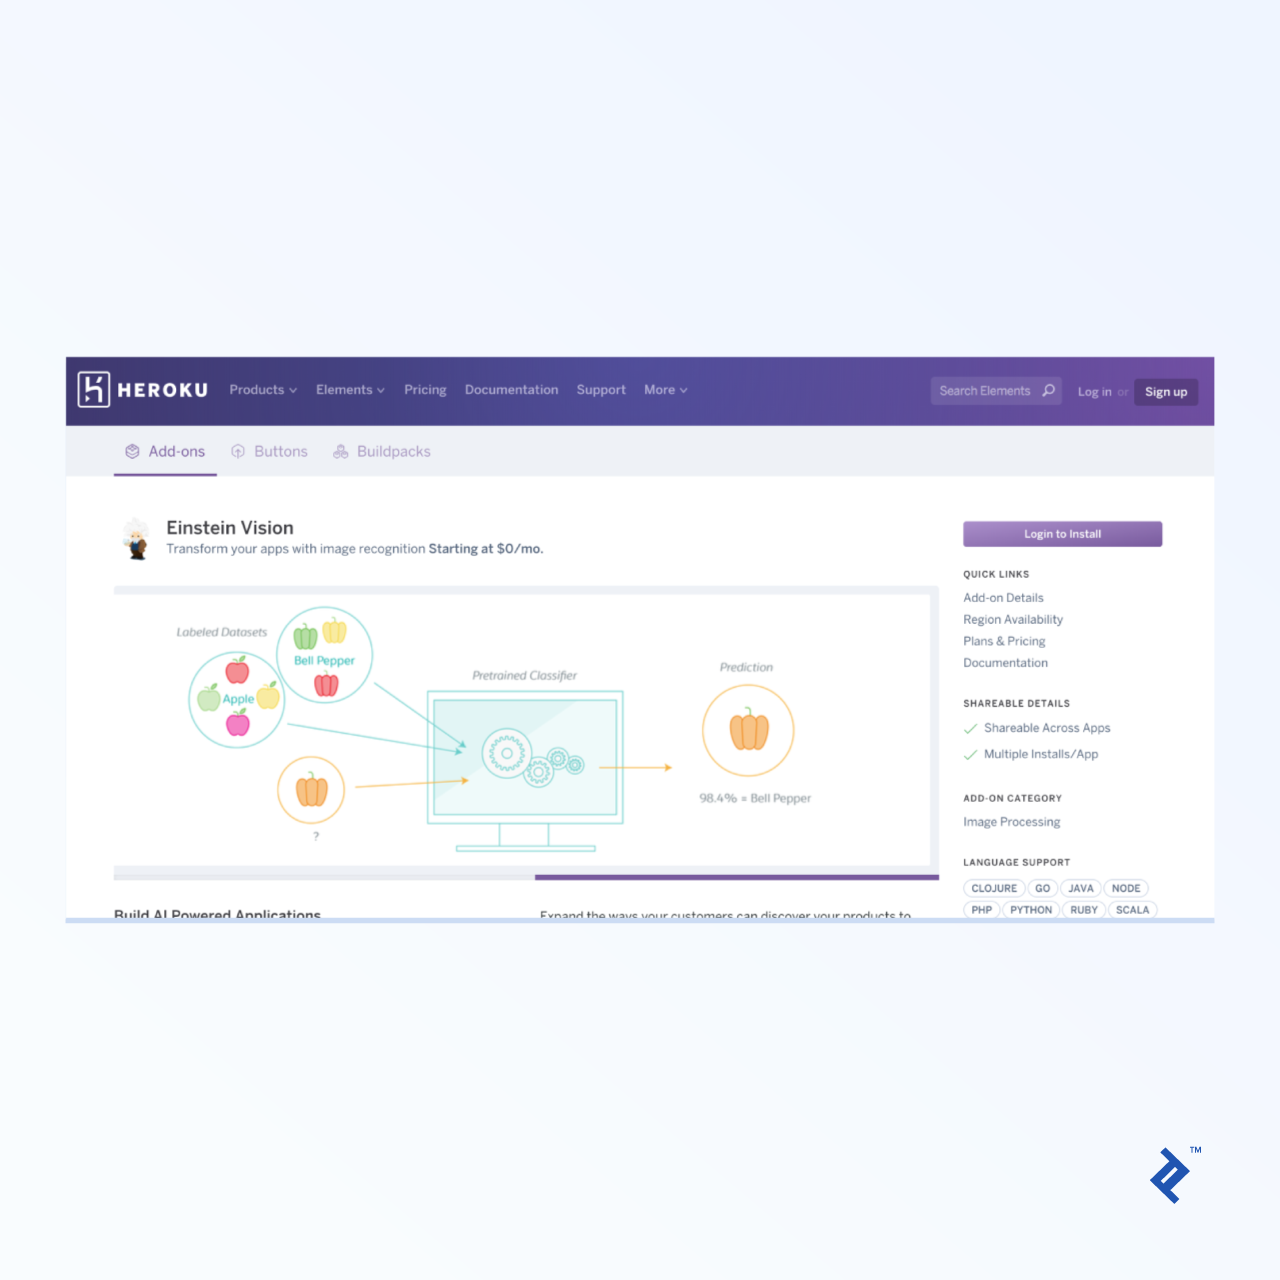
This is not the case! Any application, regardless of its connection to Salesforce, can utilize the advanced AI cloud technologies offered by Salesforce. With Salesforce Einstein, their suite of AI cloud services, they have entered the AI market. This includes noteworthy offerings like language and image recognition services.
Similar to other AI cloud solutions, you don’t need to be an AI expert to leverage these powerful technologies. This Salesforce Einstein API tutorial will guide you through setting up an account and making your first AI cloud API calls. We’ll use cURL and Postman for the calls, but you can utilize your preferred backend prototype or any other technology you’re comfortable with.
The possibilities from there are endless.
Creating a Salesforce Einstein API Account
Before you can make Einstein Platform API calls, you need to create an Einstein API account, obtain the key, and generate a Salesforce OAuth token using that key. You only need to complete this process once to access both Einstein Vision and Einstein Language.
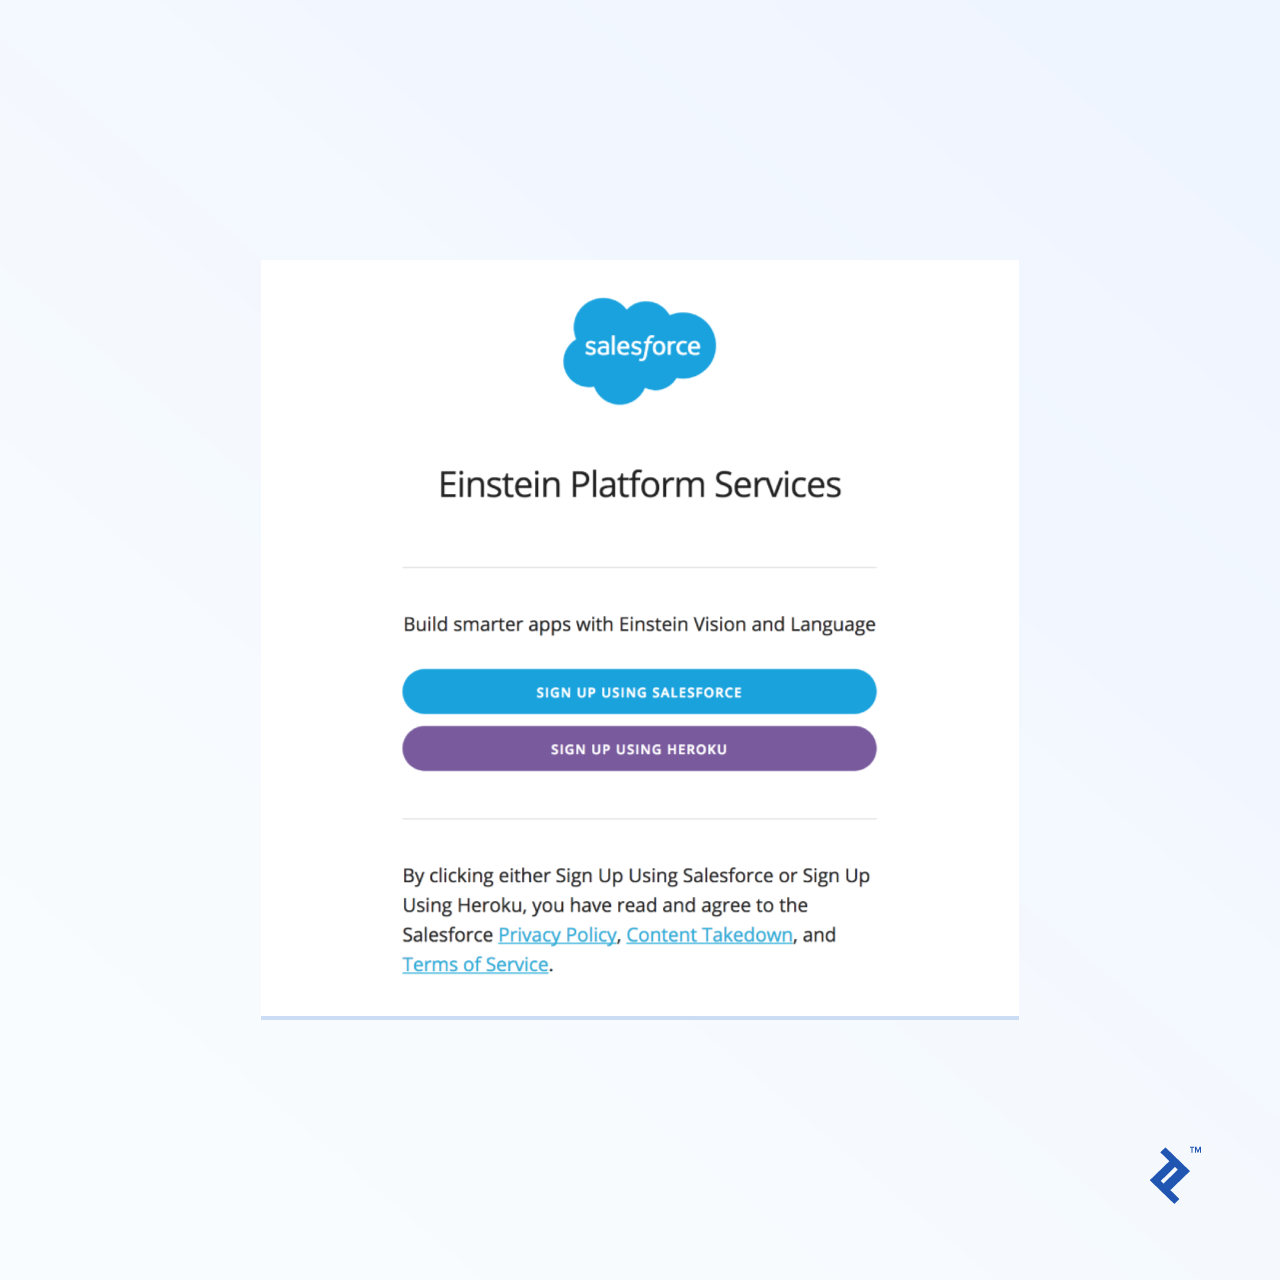
You can log in with your Salesforce or Heroku credentials. After selecting your preferred option, you’ll be redirected to the corresponding login page. If you choose Heroku, you’ll need to link a credit card and connect the service to a specific Heroku instance.
For those new to Salesforce without a Heroku account, setting one up is quick and straightforward, especially if you utilize an existing social account like Google.
For this tutorial, we’ll proceed with Salesforce (either through a social account or directly). The process involves some back and forth, so carefully follow these steps.
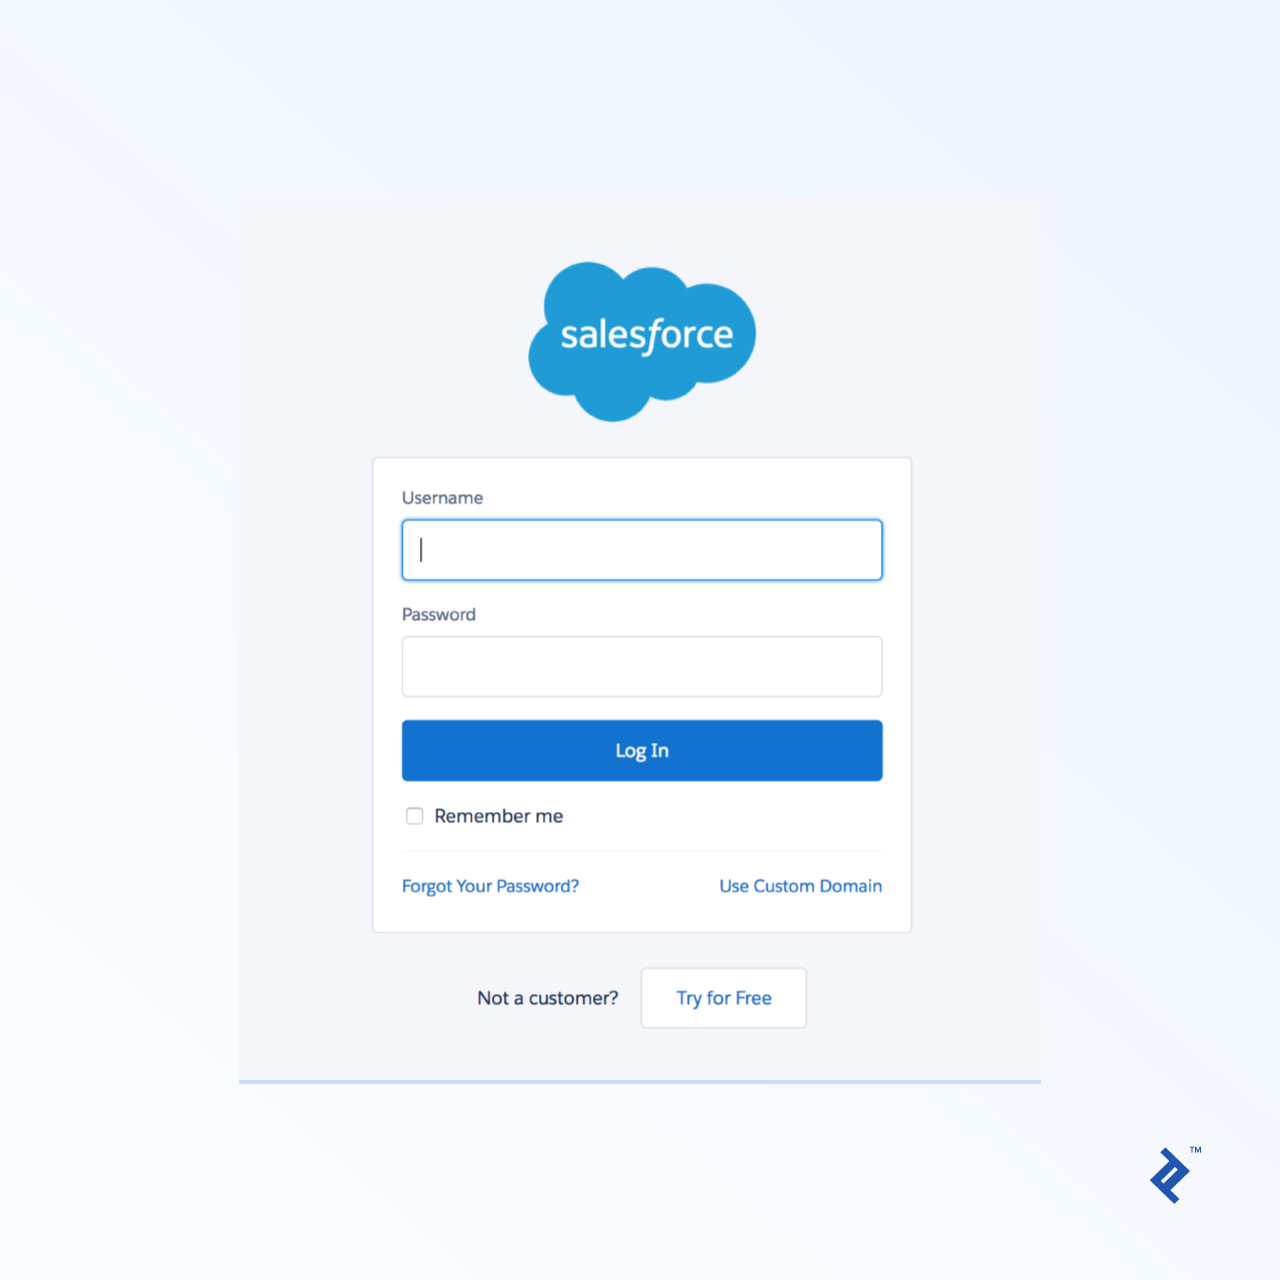
After logging into Salesforce, you’ll encounter a tour screen unrelated to Einstein. At this stage, check your email and click the verification link. Otherwise, the next step will result in an error.
Getting an Einstein API Token
Return to that initial Einstein API signup link and click the Salesforce login button again. Set a new password, even if you created your account through a third-party service like Google, and you’ll be redirected back to the tour page.
Navigate back to the API signup page for the third time and click the Salesforce login button. You should now see a new page. Before proceeding, download your private key, even if prompted to verify your email! If you miss this step, retrieving your private key will require manual assistance from their support team.
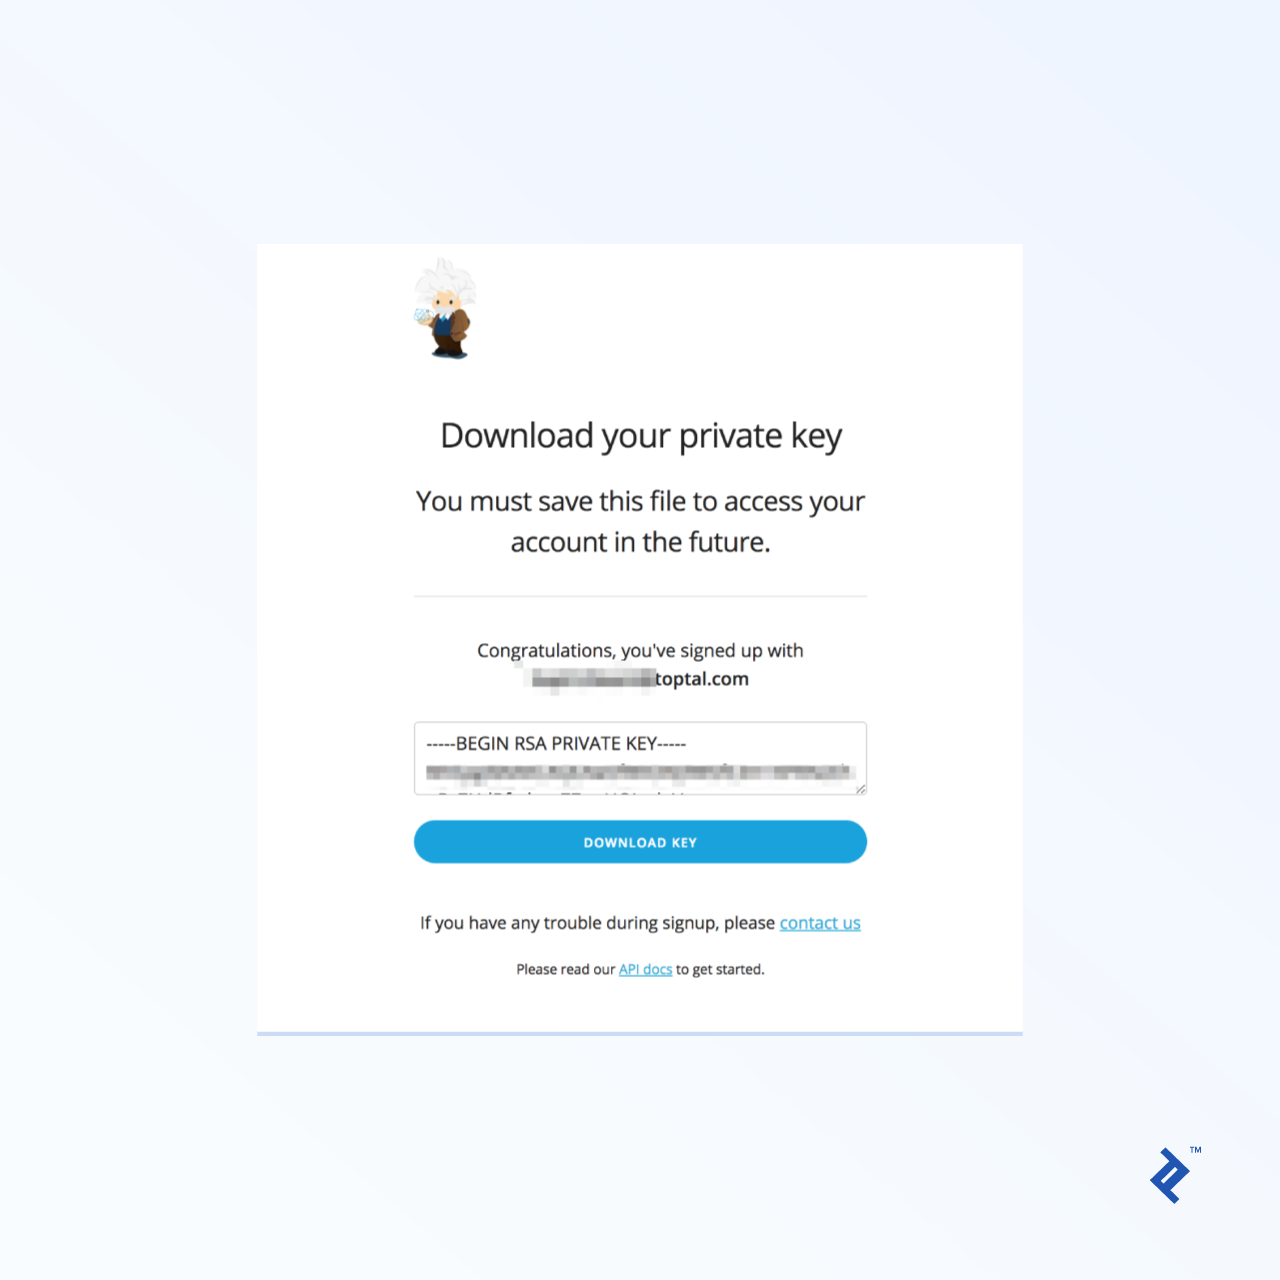
You can either download the file to your computer or copy and paste the key into a text editor, saving it as einstein_platform.pem.
You’ll receive another verification email, this time specific to Einstein. Click the link to verify your email address.
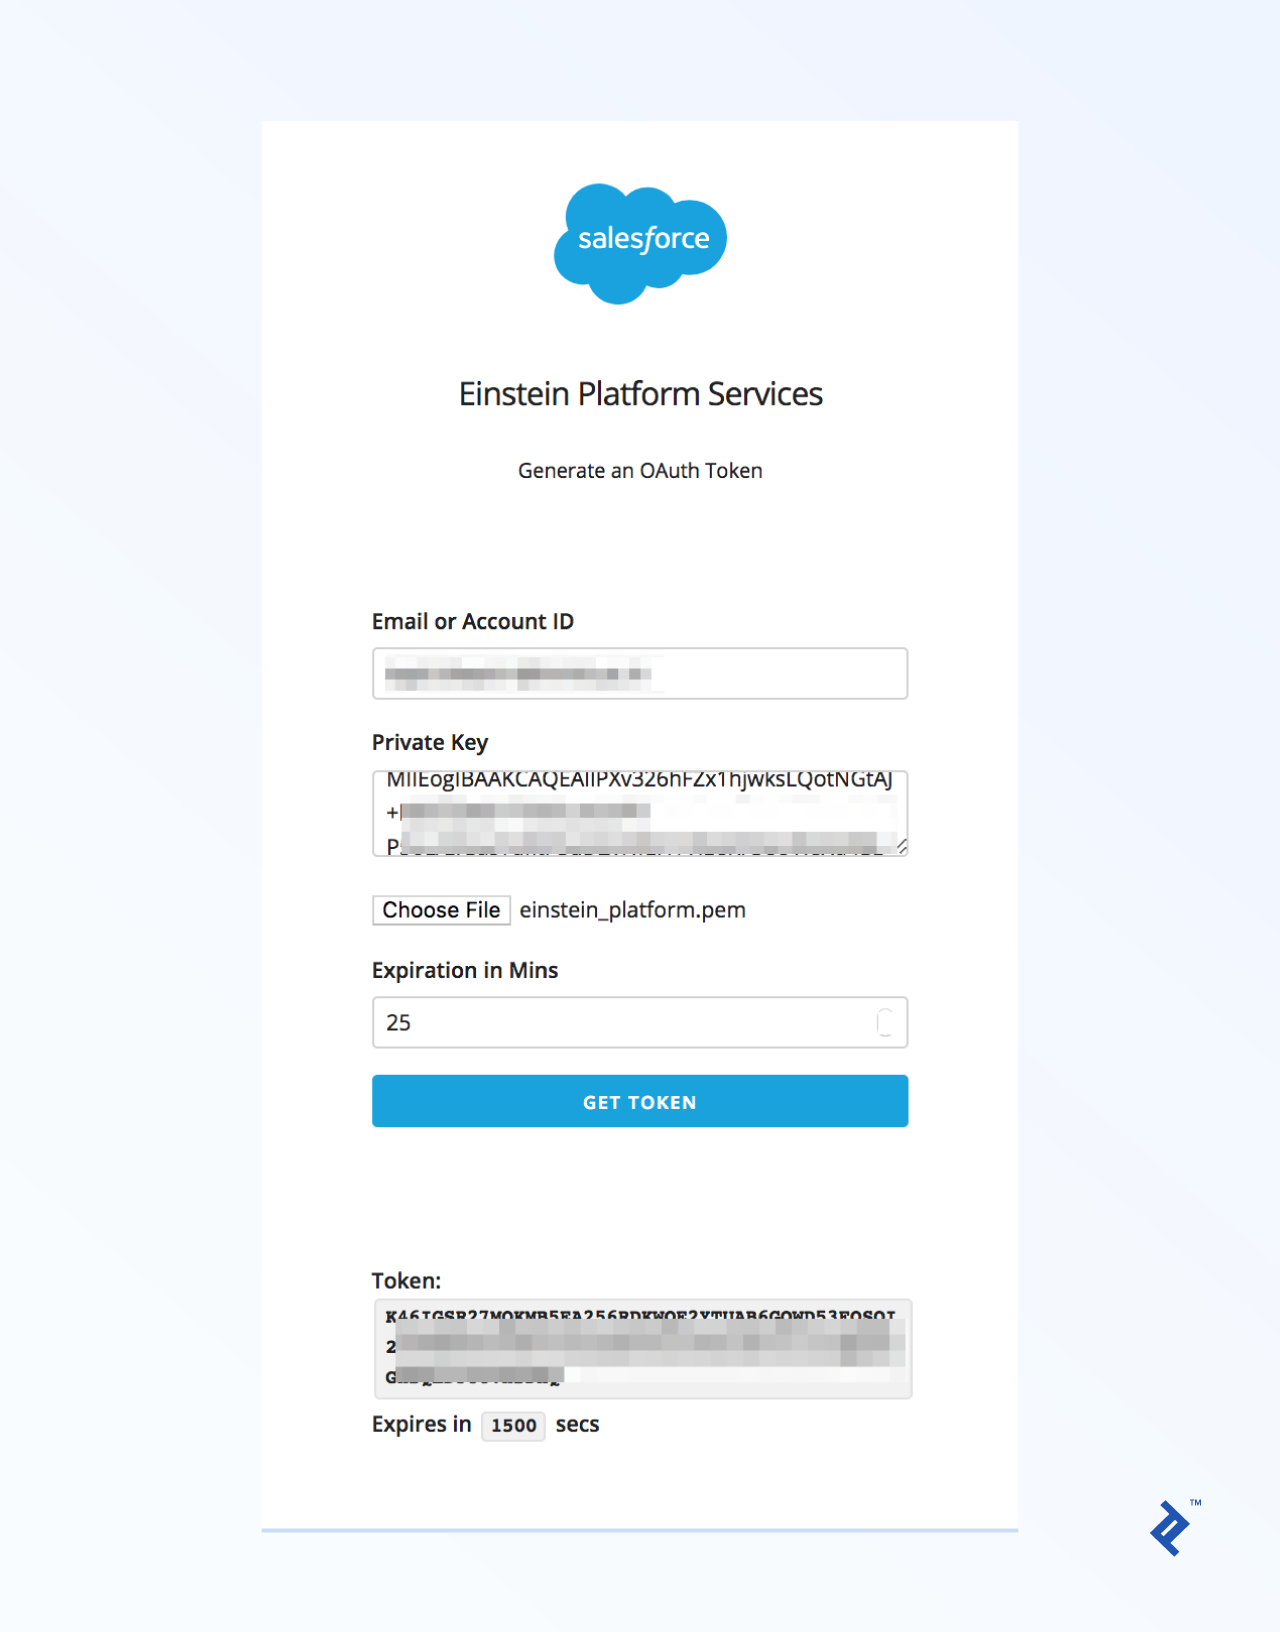
With your private key, you can now generate temporary tokens. Every API call you make, from creating datasets to training and using models, requires a valid OAuth token in the request header. To obtain this token, visit their token generator using the same email address used for login and provide the private key you received earlier.
Hands-on with the Salesforce Einstein API
Utilizing the AI cloud via Salesforce Einstein involves understanding how to train their artificial intelligence network by uploading sample data. If you’re unfamiliar with this concept, my previous tutorial provides examples of working with Salesforce Einstein, covering both Einstein Language and Einstein Vision.
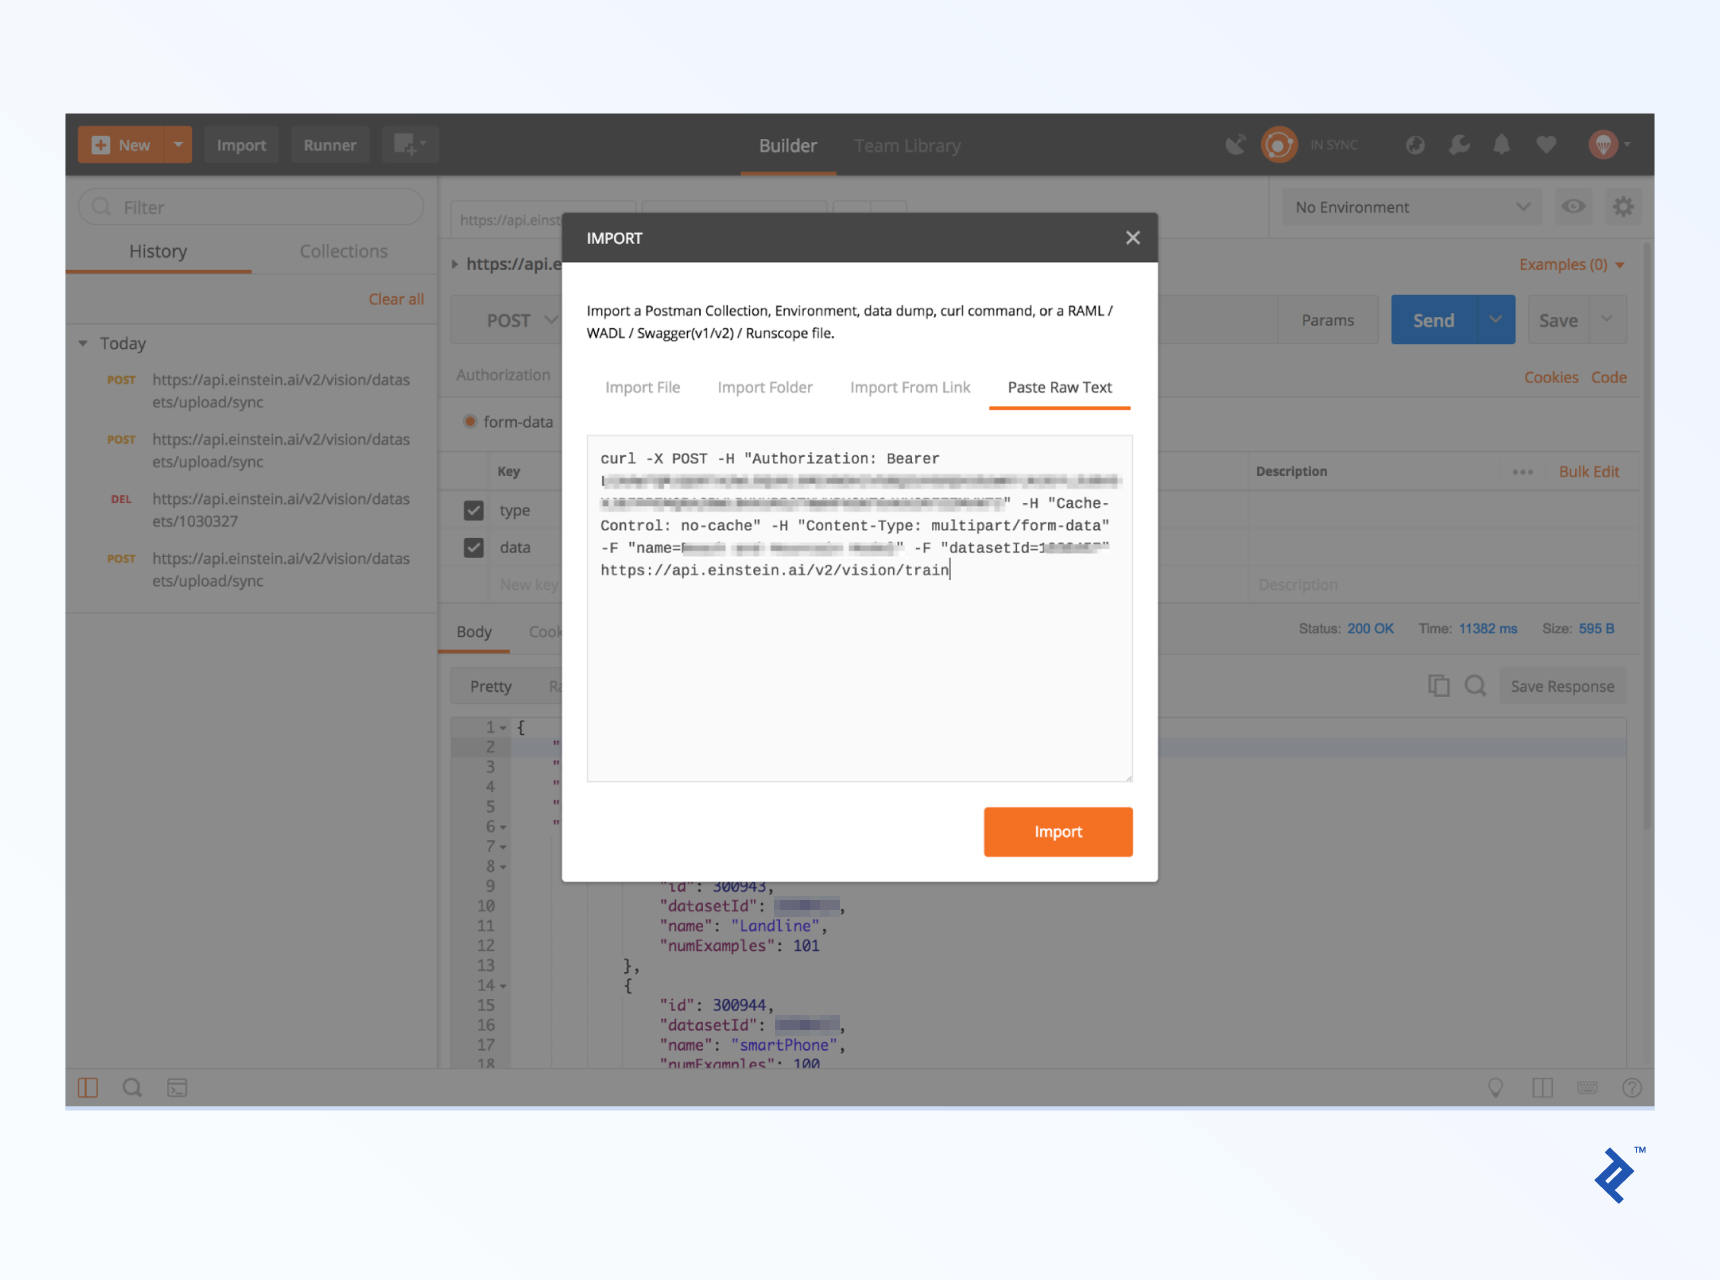
Assuming you have a basic understanding, let’s use the Einstein Image Classification REST API through cURL or Postman. If you’re using Postman, you can import cURL calls directly:
Imagine a scenario where you need to differentiate between smartphones and landline phones in images. Based on this prediction, you want to update a lead score or trigger a specific process.
The next step involves creating our own dataset. You’ll need at least 40 categorized examples. (If you’d rather skip this step, proceed to the prediction section below and use a modelId of FoodImageClassifier, GeneralImageClassifier, SceneClassifier, or MultiLabelImageClassifier.)
In our case, we have two categories: smartphones and landline phones. Create two folders named accordingly and populate them with relevant images. Finally, create a zip file (ensure it’s a zip file, not 7z or other formats) containing these folders.
Use the following Einstein API endpoint to create datasets:
| |
Replace <ZIP_LOCATION> with one of the following:
data=@/path/to/your/local/file.zippath=http://somedomain/file.zip
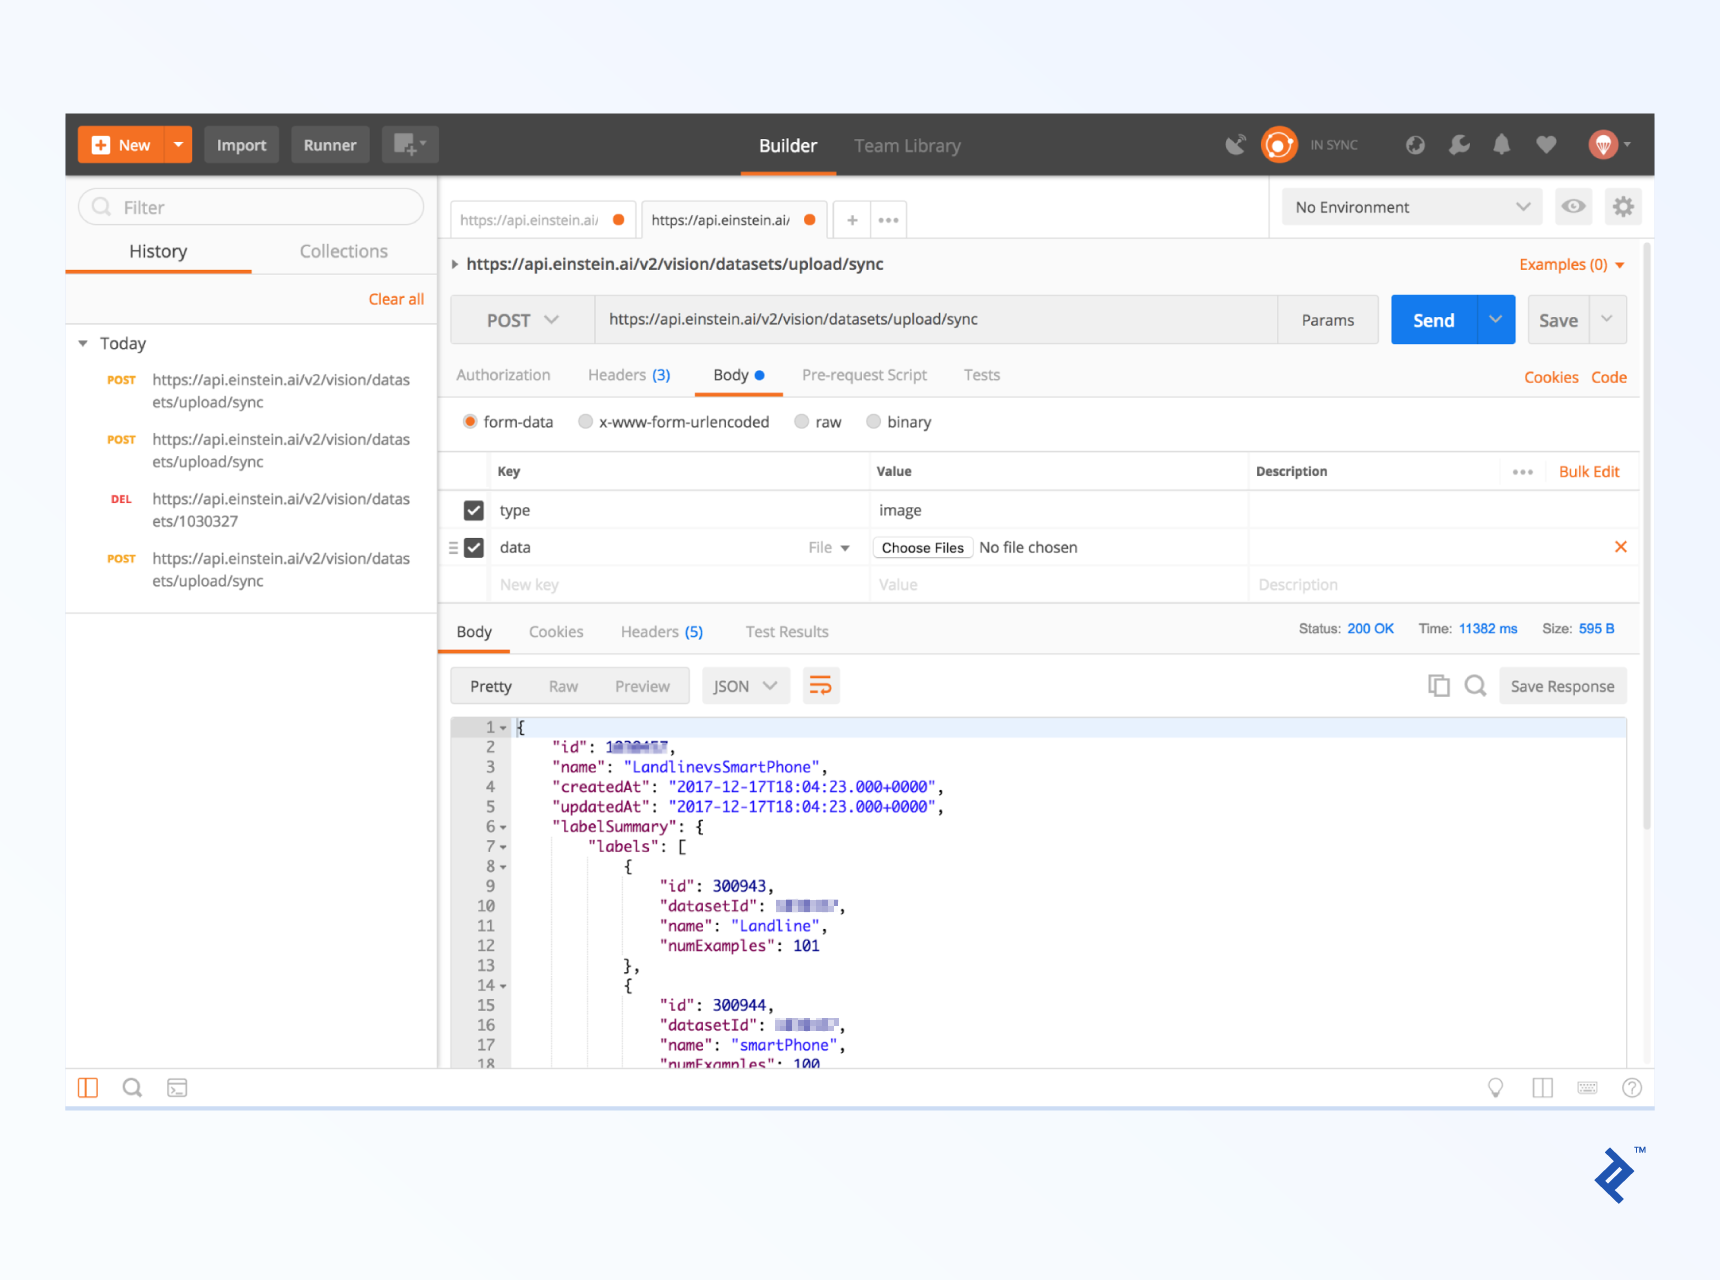
In Postman, without importing, fill out the header and body tabs as follows:
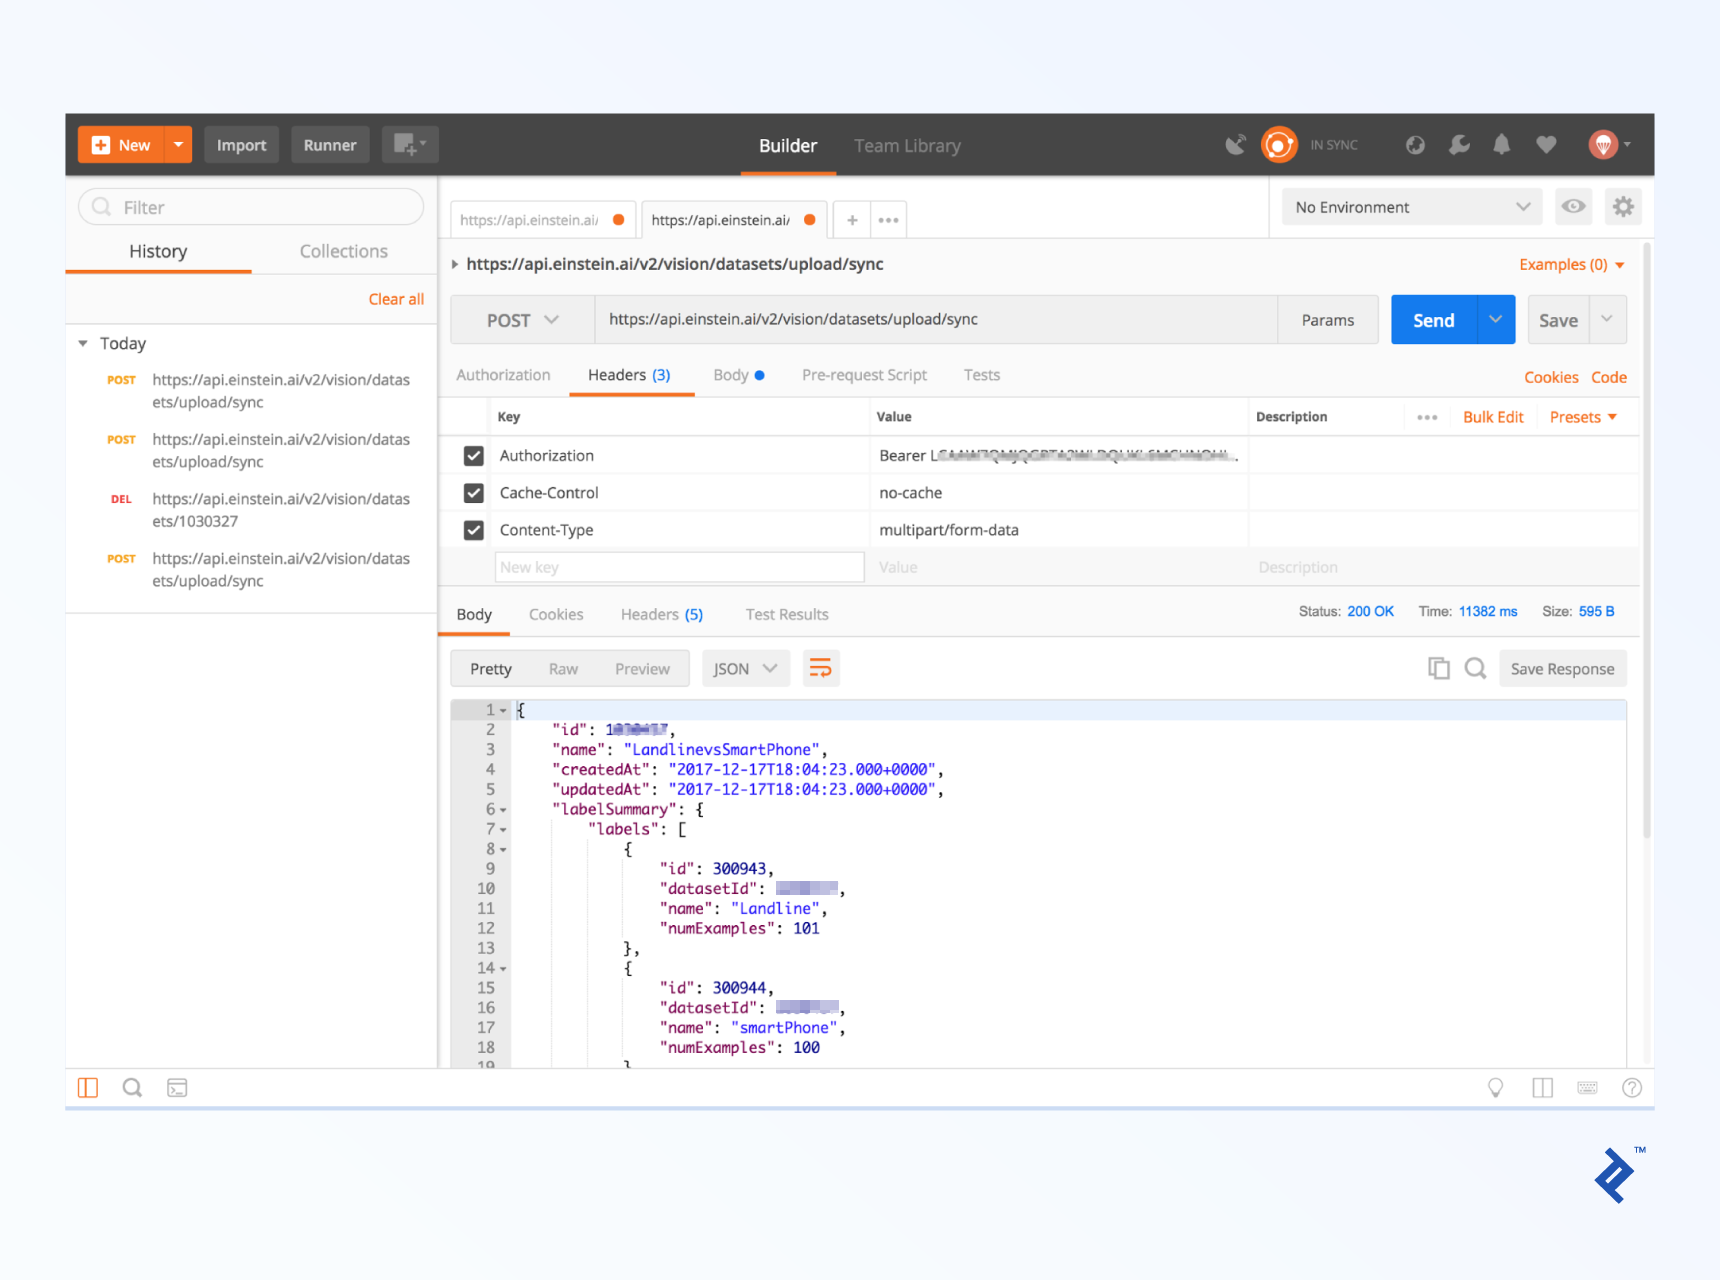
Uploading all images will take some time. Upon successful upload, the response will contain a datasetId (appearing as both the main id and within each category), which you’ll use in subsequent calls.
After uploading your dataset, you need to train the model. Use the following call:
| |
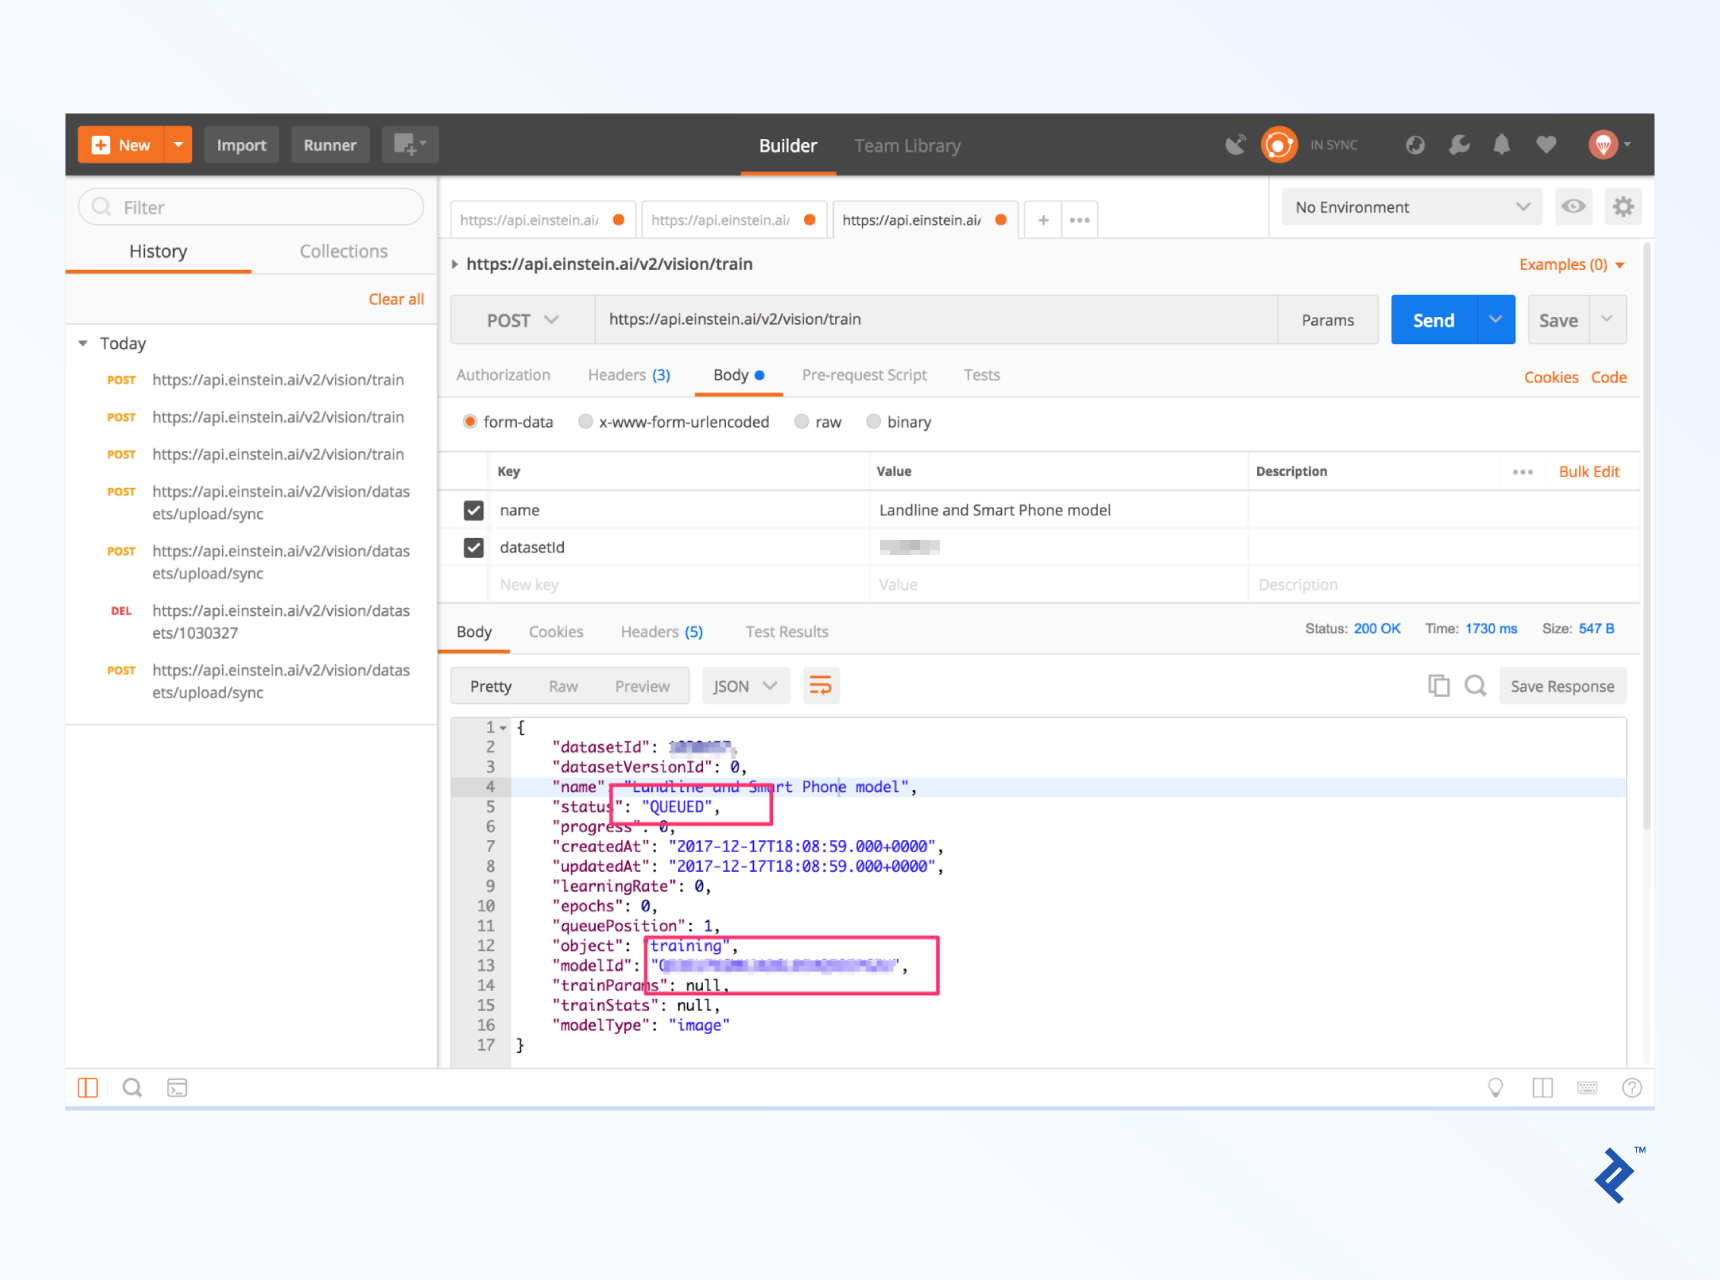
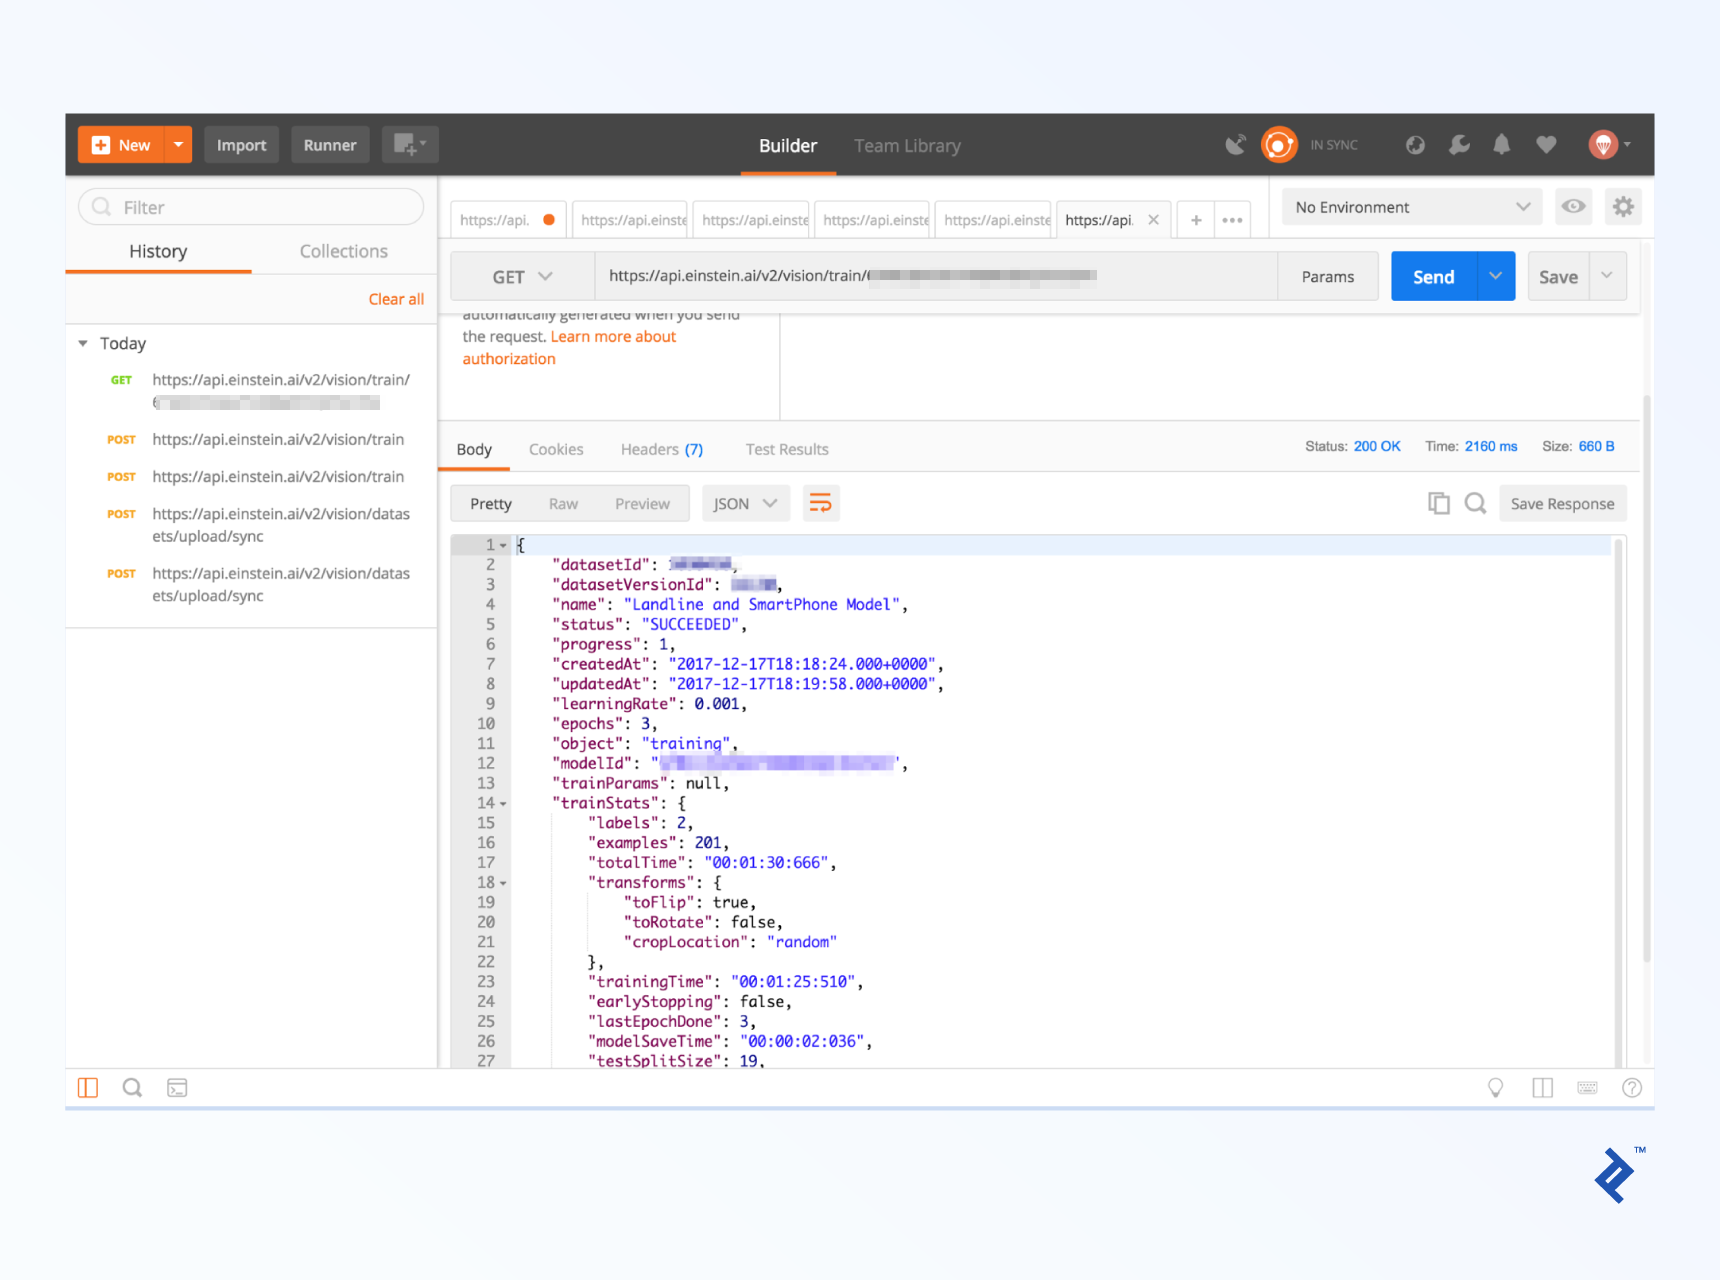
Dataset training is typically queued, and you’ll receive the modelId in the response. You can monitor the training progress by checking a dedicated endpoint:
| |
Once training is complete, you’ll get a response similar to this:
Using Einstein Vision for Image Prediction
Now for the exciting part! After training the model, you can send an image, and it will return probability values for each defined category. For this example, we used a stock iPhone X image for prediction.
Use the following endpoint for image prediction:
| |
<IMAGE_LOCATION> is similar to <ZIP_LOCATION>, but with different keys and an additional option:
sampleContent=@/path/to/your/local/file.zipsampleLocation=http://somedomain/file.zipsampleBase64Content=iVBORw0KGgoAAAANSUhEUgAAAC0...(Provide the raw base64 content without any prefixes.)
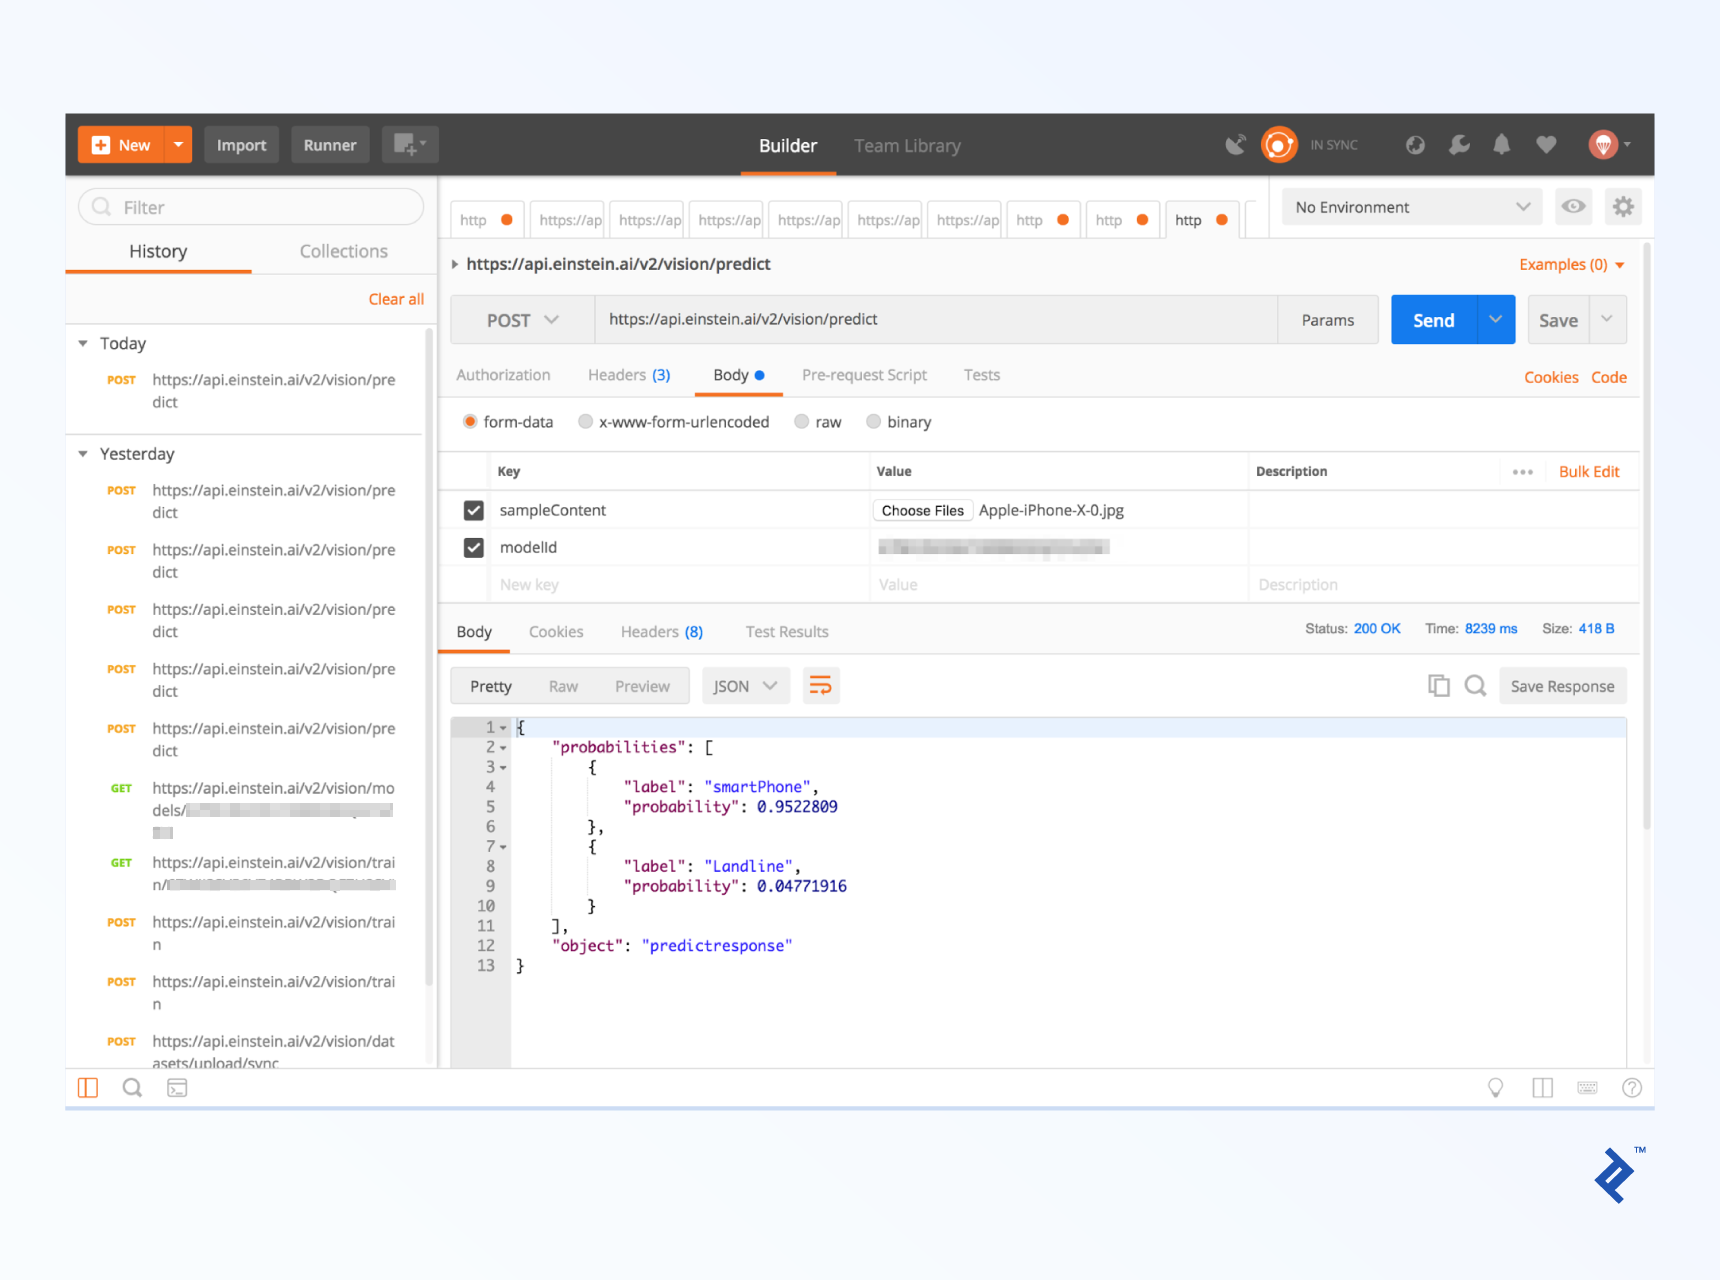
Based on the screenshot and probability values, the model successfully classified the iPhone X image as a smartphone. Success!
Regardless of your use case, it’s important to understand how Einstein Vision handles images outside the trained categories. In our tests, when presented with a sailboat image, the model still assigned probabilities for both smartphones and landline phones instead of indicating it couldn’t classify the image.
However, some pre-built models include categories like “Other” (for SceneClassifier) and “UNKNOWN” (for FoodImageClassifier). Experiment with your specific context to see how the model handles images outside its training data.
Additionally, “multi-label” models return all categories ranked by probability, assuming multiple categories can apply (meaning the probabilities don’t necessarily add up to 1). If this aligns better with your use case, consider exploring the newly released Einstein Object Detection. This model goes beyond simple image classification by providing bounding boxes alongside predictions, similar to Facebook’s auto-tagging feature but applicable to various objects, not just faces.
Salesforce Einstein Language: Intent and Sentiment
While Salesforce Einstein technically allows training both Intent and Sentiment models, it’s more common to focus on Intent training. This process resembles the previous steps, but instead of image folders, you provide a two-column CSV file containing texts and their corresponding categories (TSV and JSON formats are also supported).
Since the training process is similar, we’ll assume you’ve trained an Einstein Intent model using the case_routing_intent.csv training data and are comfortable using the pre-built Einstein Sentiment model.
Making Einstein Intent prediction calls is straightforward:
| |
Replace <TEXT_TO_PREDICT> with the text you want to analyze, such as “How can I track my shipment?”
Einstein Sentiment calls use the same format but with the pre-built CommunitySentiment modelId and a different endpoint:
| |
The JSON output for both cases mirrors the Einstein Image Classification prediction response format. The key information resides in an array associated with the probabilities key, where each element contains a label and its corresponding probability.
Easy AI with Salesforce Einstein
As you’ve seen, Einstein Vision and Einstein Language are surprisingly easy to use. These Einstein APIs are distinct from other Salesforce developer APIs, sharing only the name. Now it’s your turn to explore their potential and build something amazing!