It’s no secret that the way people access information has changed drastically over the past decade, thanks to technology. With people constantly on the go, small, mobile devices have become the preferred way to connect to the internet. This shift has forced small businesses across all sectors to adapt and provide multichannel visual content to stay relevant and competitive.

A recent study conducted on 1,500 content creators highlighted how significantly visual content impacts brand visibility, website visits, lead generation, social media interaction, and sales. So, how can you create compelling visuals that attract, engage, and keep your audience hooked? This post will give you the tools and know-how to do just that. We’ll delve into:
- The definition of visual marketing,
- Five incredible tools to help you create professional-looking content, and
- Techniques for optimizing your images for better performance. First, let’s get back to the basics of visual marketing.
What is visual marketing?
In the battle for consumer attention, visuals have become a powerful weapon for brands to capture interest and engage their audience. Visual marketing is all about utilizing graphics, videos, infographics, apps, GIFs, memes, SlideShare presentations, animations, sketches, doodles, user-generated content, and data visualization to educate or convey a message effectively. We’ve all heard the saying, “A picture is worth a thousand words.” In digital marketing, images and other visual content also translate to increased impressions and higher conversion rates.
We’ve all heard the saying, “A picture is worth a thousand words.” In digital marketing, images and other visual content also translate to increased impressions and higher conversion rates.
Why is visual marketing important?
Think about what catches your eye while scrolling through your social media feeds. It’s likely some visually appealing content. That’s because visual content on social media evokes emotional responses from viewers. It also generates the highest engagement and the best return on investment.
Given that 90% of the information our brains process is visual, focusing on creating engaging visual content to capture your target audience is essential for your business. Still need convincing about the power of visual content marketing?
- 91% of people prefer visual content over written content
- 70% of businesses are putting their money into content marketing, including visual marketing.
- Content Marketing Institute’s 2019 Benchmarks, Budgets, and Trends reports that a majority of B2C marketers are increasing their visual content spending.
- A 2020 Digital Marketing Skills Survey revealed that BrainStation cites 67% of respondents found Instagram, a completely visual platform, to be a highly effective social media marketing platform.
Visual marketing tools to engage your audience and boost your ROI
As we’ve established, incorporating compelling visuals into your social media strategy can yield substantial returns. The right tools make visual creation achievable, even without professional design or videography skills. Below are five of my go-to visual marketing tools and how to leverage them to create imagery and tell your brand’s story in a way that resonates with your customers.
1. Bannersnack
Bannersnack is an ideal tool for crafting social media visuals and display banner ads.
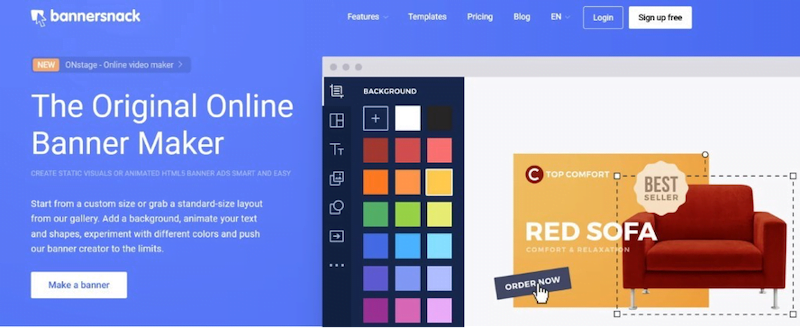
As a web-based platform, there’s no need for downloads or installations. You can choose from a wide range of customizable templates for major social media platforms or start with a blank canvas.
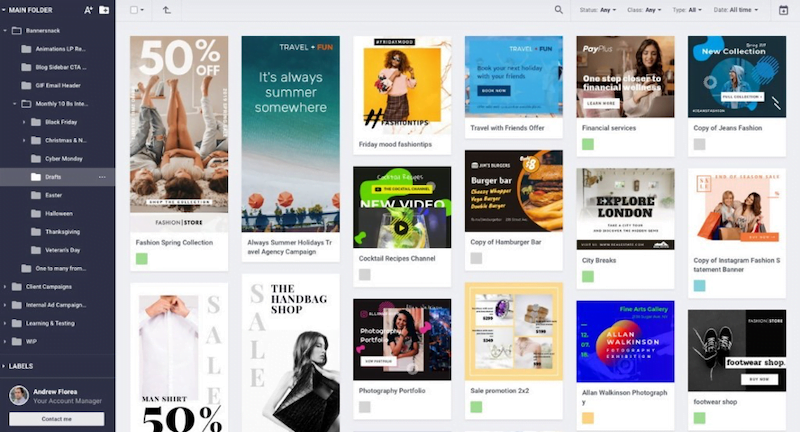
How to create a banner set from a Bannersnack template
Begin by selecting the desired banner size from Bannersnack’s extensive list of presets, covering popular social media and ad banner dimensions.

Next, choose to edit a pre-designed template or begin from scratch. Bannersnack’s intuitive banner generator makes creating animated or static banners a breeze.
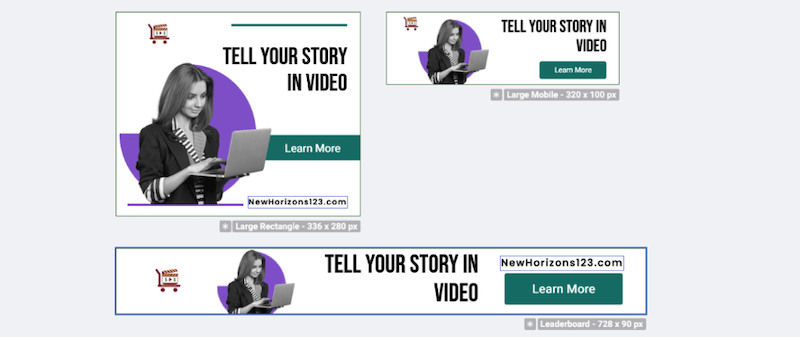
Start by picking a design you like and select multiple sizes to create a complete set in one go. The banners below illustrate the initial templates.

Tailor the template by adding or modifying text, uploading your own visuals, or using built-in elements such as buttons, backgrounds, headlines, or colors to reflect your brand’s voice.
Personally, I find that a green call-to-action button yields the highest click-through rates based on my tests. Below is the same set of banners, now customized to align with my brand identity.
Bannersnack offers the flexibility to edit all banners simultaneously or refine each banner individually. The ability to generate multiple sizes of the same banner at once is a significant time-saver. Once your designs are polished, you can embed them directly or export them to prominent advertising platforms such as AdRoll, Google Ads, and Ads Display Network.
How to Create a Facebook cover with Bannersnack
A custom-branded Facebook cover is a powerful way to strengthen your brand’s presence. Start by opting to design a single banner and choosing the Facebook cover option. Next, browse through the templates, selecting one to personalize, or opt for a fresh start. Note that you can filter templates by category or scroll through the entire collection to find your perfect match.
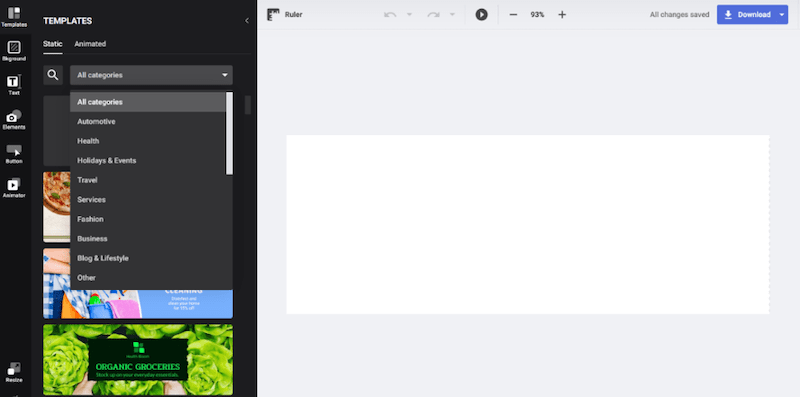
Clicking on your chosen template from the left-hand navigation transfers it to the design area, where you’ll make your changes. Each design element is customizable, from backgrounds and text to buttons and beyond. Take a look at the original Facebook cover template below.

I’ve infused the above template with my brand colors, logo, and a tailored message, as shown in the image below. Once your Facebook cover is ready to go live, you can grab the embed code or export your masterpiece in various image formats.
Remember that embed code won’t work on social media platforms. It’s only functional on sites where you can access and modify the source code with HTML. These are just a few of the many impressive features Bannersnack offers. Dive in with a free account, experiment, and if you’re happy with the results, upgrade to the package that best fits your needs.
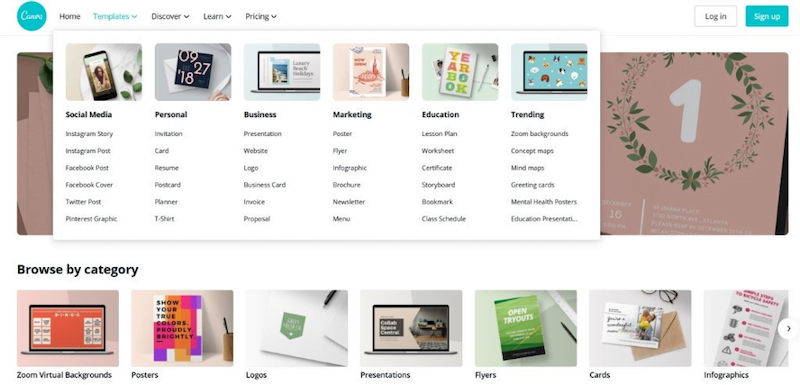
2. Canva
Canva is a popular visual marketing tool known for its ease of use and user-friendliness. It boasts an extensive stock library of over a million photos and graphics.
You can choose to use images from Canva’s vast library or upload your own. Personalize templates with banners, text, buttons, and their images—or seamlessly integrate your own.
The intuitive drag-and-drop interface makes Canva incredibly easy to use, allowing you to quickly create visuals for a wide range of purposes, such as:
- Sharing visuals on social media
- Designing illustrations for blog posts
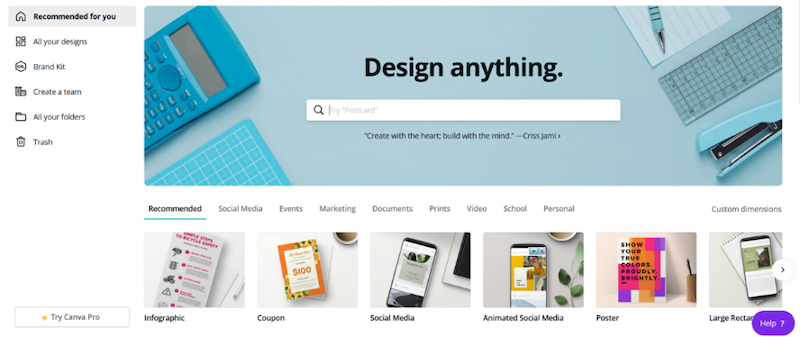
- Creating email newsletters If you haven’t already, sign up for a Canva account. Once you’ve created and verified your account, go ahead and log in. In the top navigation menu, select Facebook Cover from the Templates section. Browse the templates, pick your design, and click Use this template to open the editing canvas.
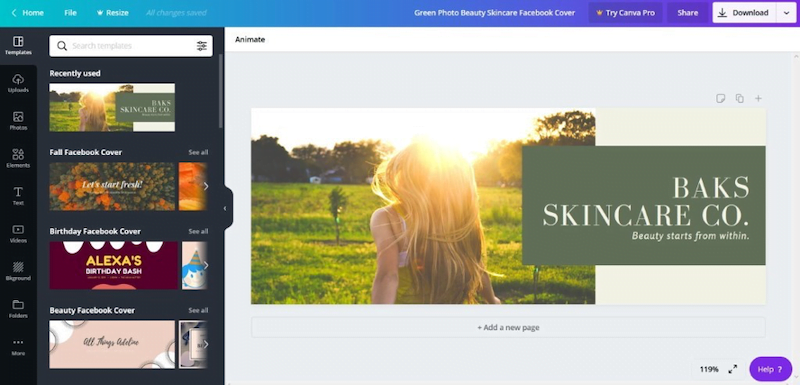
Your visuals should be a true reflection of your identity and match your brand’s website online presence. Maintaining consistency is vital, ensuring your target audience instantly recognizes your online presence through elements like your logo, font, and colors. How strong is your website and online presence? Find out in 90 seconds with the free LOCALiQ Website Grader! Within this screen, you have the power to customize the template using your brand assets. If you decide a different template better suits your needs, simply click on it from the left-hand navigation, and it will appear in the editing window. Let’s begin by aligning the colors with my brand palette. Click on the section of your template where you wish to change the color. You’ll notice a color square appearing over the template. Click on it to reveal the color panel.
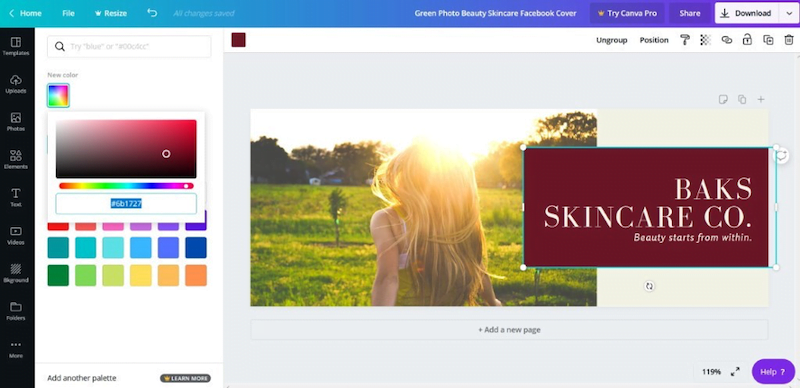
To modify text and other colors, simply select them and replace each with your desired choice. Next, click on Uploads from the left sidebar navigation. Upload your logo, click on it to add it to your working image, resize it to your liking, and position it wherever you desire.
See how effortless it is to create a customized visual using a Canva template? The possibilities for design types and sizes are limitless with Canva’s free version.
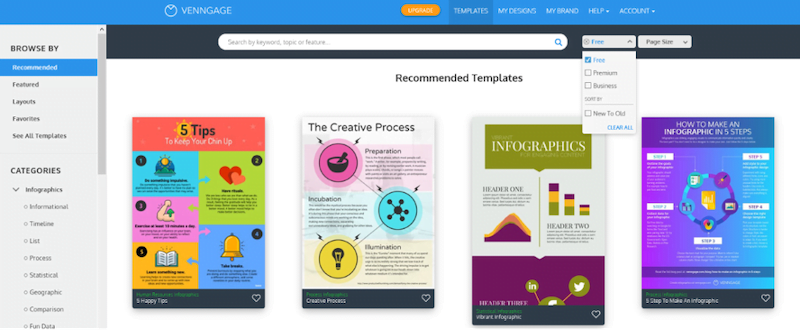
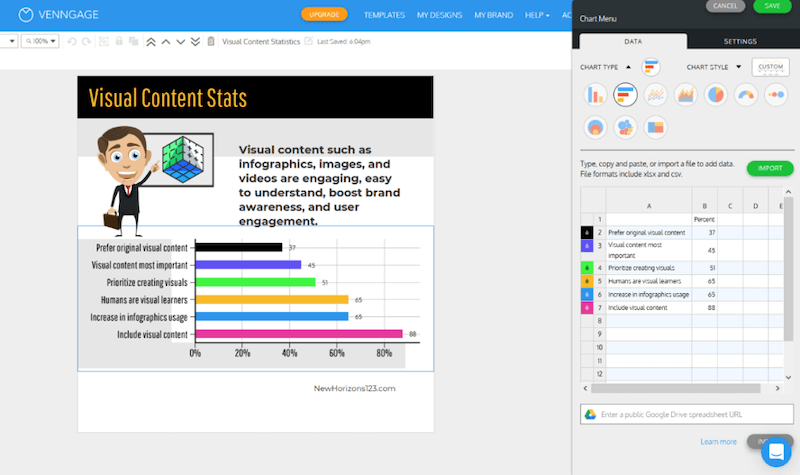
3. Venngage
Infographics present data, statistics, and processes in a visually engaging and memorable format. Venngage empowers users to create infographics in three simple steps:
- Select one of their professionally designed templates.
- Populate the template with charts, text, and information to visualize your data effectively.
- Customize your design by modifying colors, fonts, images, and other elements to make it your own.
The free version lets you create up to five different infographics, giving you a taste of the program’s capabilities. Venngage provides access to a vast library of themed designs, stock images, icons, charts, and templates.
To unlock additional features and create more than five infographics, upgrading to a premium version is required. Get started by registering for a free account. Log in to your dashboard to start a new design or view any previously created infographics.
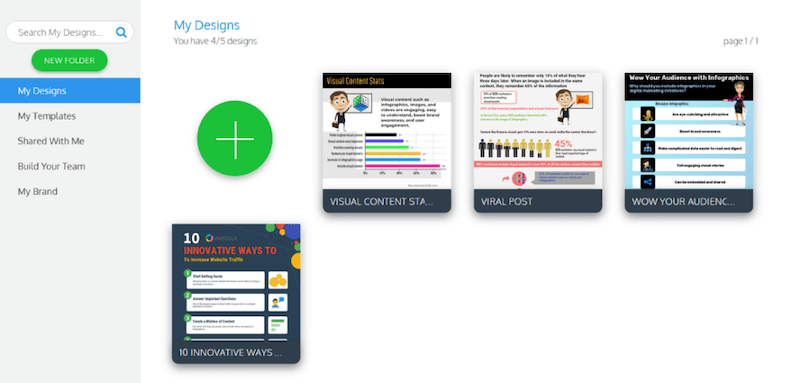
To embark on your infographic creation journey, click on the green circle with the plus sign. From the dropdown menu, select ‘Free’. Now you can search by keyword, topic, or feature, or simply scroll through the options until you find a template that inspires you.
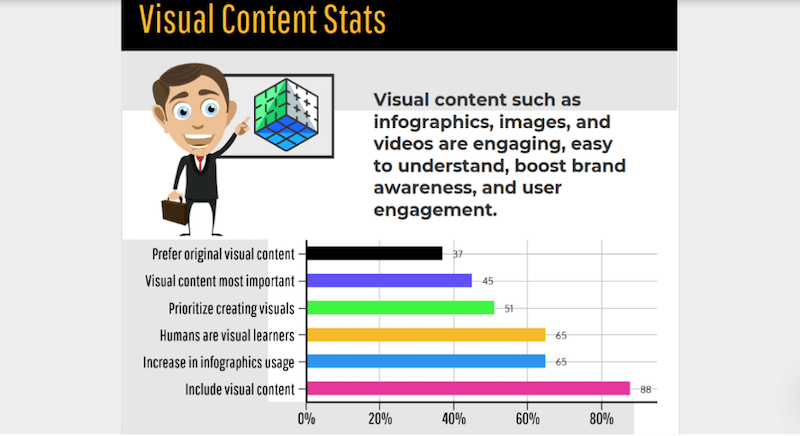
How to visualize your data with Venngage
Transforming your valuable data into well-structured and visually appealing charts makes it easier for your audience to grasp and understand.
With Venngage, you have an array of chart types at your disposal, including:
- Pie charts
- Bubble charts
- Bar charts
- Pictographs
- Line charts
- Word clouds
- Stacked bar charts Input your data by typing, copying and pasting, or importing a CSV or XLSX file. Your chart will instantly populate with the imported data.
How to customize a template with Venngage
Venngage employs a user-friendly drag-and-drop editor, making template customization a breeze. Edit and personalize by tweaking fonts, text, visuals, colors, and charts to perfectly match your brand and message. Drag widgets directly onto your canvas and customize their orientation, color, and size. You can also lock groups of elements in place. Enhance your designs further with images and icons from the built-in library or by uploading your own.
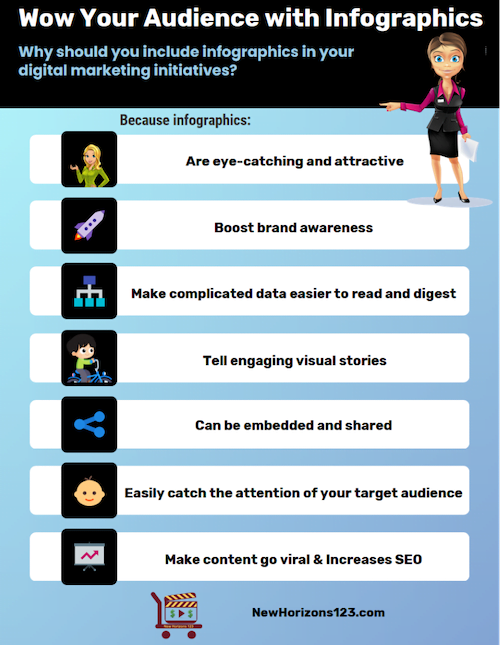
Why use templates?
Templates provide a convenient framework, allowing you to easily swap out elements such as text, images, charts, tables, and graphs with your own. The power of templates is perfectly exemplified by popularity of website builders such as Squarespace, which empowers individuals with no design or coding experience to create professional-looking websites. For marketers without a graphic design background, creating stunning infographics from scratch can be challenging. Customizing templates allows users to produce and share professional-quality designs, like the example below, with their audience.
4. Lumen5
Promoting itself as the simplest video maker for social media marketing, Lumen5 allows users to transform their existing content into captivating videos.
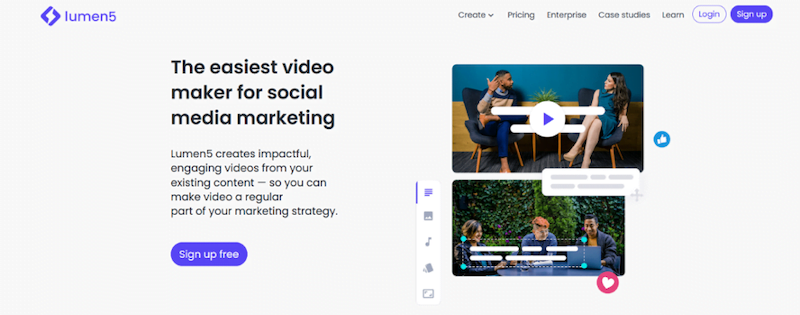
Lumen5 leverages the power of artificial intelligence (AI) to pair your content with relevant video clips and images. The result is a slideshow-style video enriched with text overlays. The free version allows you to create up to three videos per month (720p resolution). Keep in mind that your video will include a Lumen5 watermark. If you find the platform valuable, explore their upgrade options for a watermark-free experience.
How to create a video using Lumen5
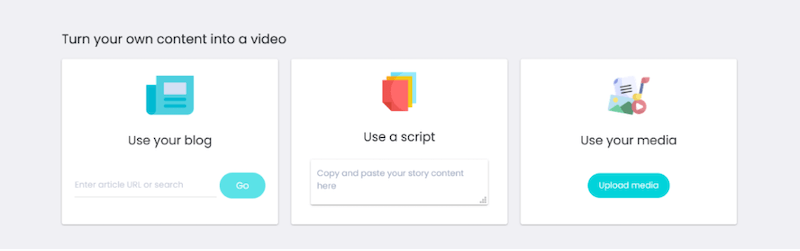
Upon signing up and logging in, Lumen5 will prompt you to take one of the following actions:
- Enter the URL of an article
- Paste your content directly into the provided box
- Upload your own media. Note that you can also upload your own media at any point during the video creation process.
Next, you’ll be prompted to choose your preferred video format from the following options:
- Facebook newsfeed, story, carousel ad
- Instagram post, Story, IGTV
- Twitter timeline
- Snapchat story
- YouTube landscape
- LinkedIn newsfeed
- Pinterest landscape, square
- Custom landscape, square, vertical You also have the flexibility to change or make this selection later in the process. The next screen will prompt you to select a brand or style that aligns with your vision.
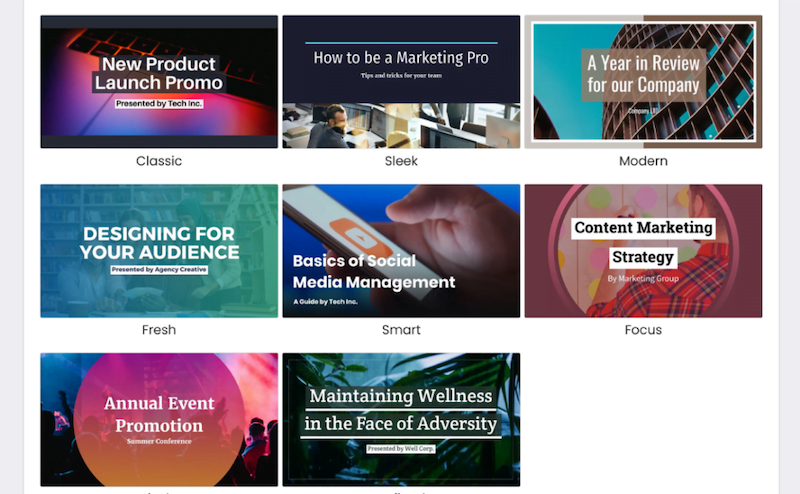
Lumen5’s AI-powered engine will then intelligently select sentences from your content, giving you the option to accept or reject them.

The following screen presents the storyboard section on the right-hand side with the corresponding text on the left. You can easily include, reorder, or delete sentences by clicking on them.
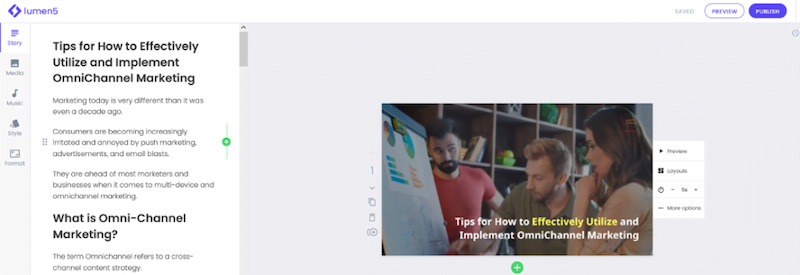
If your blog post is on the longer side, create a concise summary video using your subheadings and a few descriptive words. Aim to keep your text fields under 140 characters for optimal viewing.
How to add audio and media with Lumen5
After finalizing the text for your video, it’s time to choose visuals. Select from Lumen5’s extensive built-in library or upload your own captivating visuals. Click on Media on the left-hand side.
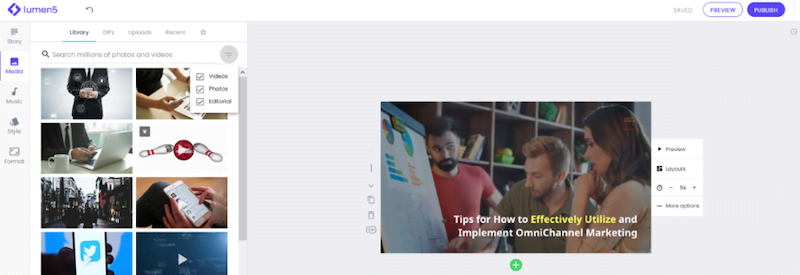
From there, you can choose from:
- Library
- GIFs
- Uploads
- Recent
You can also conveniently save your favorite media assets in one central location by clicking the star icon. Note that you can filter by videos, photos, and editorial or search through Lumen5’s vast library of visual assets.
Lumen5 exclusively uses royalty-free media assets from its library, so you can rest assured knowing you won’t encounter copyright issues.
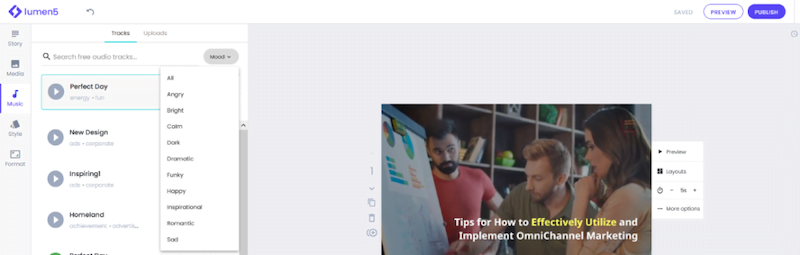
If your blog post already includes images, they will be conveniently displayed at the top of the media library for easy access. To enhance your video with music, simply click on Music on the left side. Search for tracks by mood or upload your own custom audio.
How to add your branding in Lumen5
Lumen5 enables you to maintain brand consistency across your videos by setting up default branding elements. Start by navigating to the Brand presets tab.
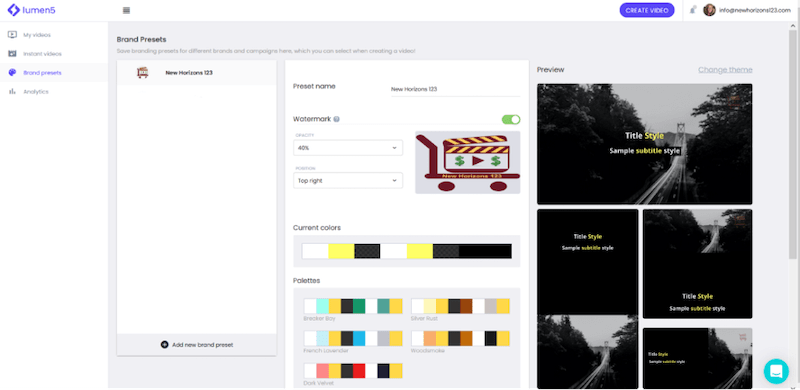
This section allows you to:
- Upload your logo (400 x 400 pixels) and fine-tune its opacity and position.
- Choose color palettes that resonate with your brand.
- Select primary and secondary fonts that align with your brand identity.
- Define scene transitions for a polished and professional look. The final step involves crafting a compelling outro message or a clear call-to-action. Make sure you explicitly tell your viewers what action you want them to take after watching your video.
Sharing and publishing your video on Lumen5
Once your video has finished rendering, you can find it in your dashboard under My videos. To explore the available options, click on the three dots located below the video.
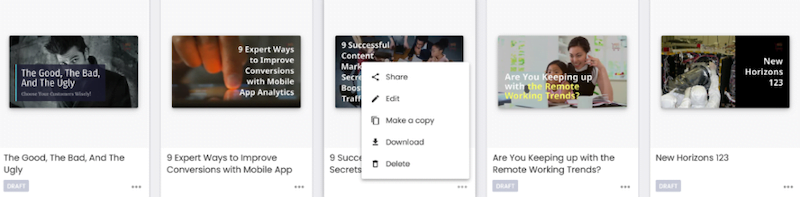
You can share your video directly to Facebook, edit it further, create a copy of it, download it to your device, or delete it.
How to automatically resize for optimal social media vertical or square shape in Lumen5.
Manually resizing videos can be a tedious task involving a lot of reformatting. Lumen5 simplifies this process by taking care of it for you. To resize, select your video from the dashboard, click on the three dots, select Share, and then choose Auto resize.
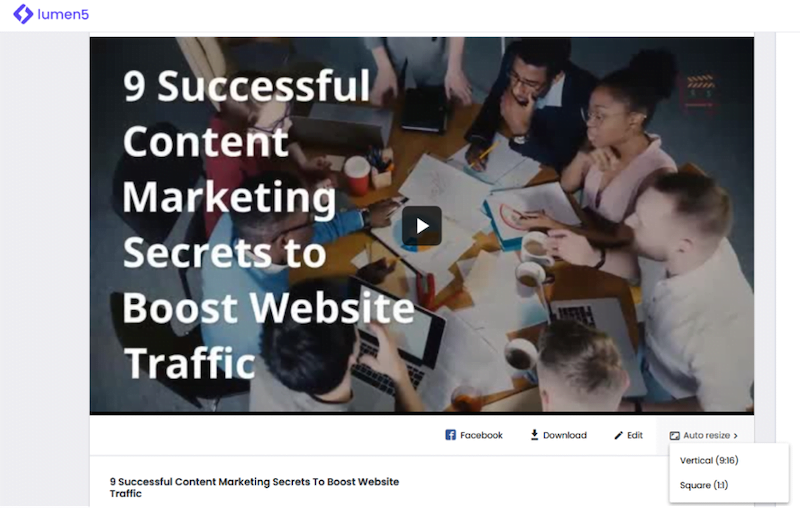
Choose between a Vertical or Square shape, and Lumen5’s AI will seamlessly resize your video to your specifications. This automation feature is a significant time-saver and a valuable asset for users.
5. Placeit
If you’re searching for a comprehensive platform to manage all your branding design needs, look no further than Placeit. With over 50,000 templates and a constantly expanding library of professionally designed assets added daily, you’ll have no shortage of eye-catching imagery to choose from. Create everything from logos and videos to your entire social media campaign with branded visuals in minutes. Simply browse the selection of video templates, customize the text to your liking, change the color of backgrounds and shapes, and add your images or video clips. Here are some of its key features:
- Unlimited downloads: Download as many assets as you need, giving you creative freedom.
- Fonts and audio selection: Customize your video’s audio with the ability to select fonts and audio tracks. You can also adjust the playback speed and quantity of slides to create both short and long videos.
- New templates every day: Placeit’s designers are always ahead of the curve, constantly adding fresh, on-trend assets to the library.
- Easy-to-use interface: You don’t need any technical skills to create a wide variety of designs, art, videos, demos, Instagram stories, and other social media marketing assets.
- Professional graphics: All graphics are meticulously crafted by a team of skilled professionals.
Alternatives to storing visuals on your website
With such a diverse range of tools available, there’s no excuse not to incorporate stunning visuals into your social media content marketing strategy! However, it’s vital to remember that audiences consume information quickly on websites and landing pages. Large, unoptimized visuals can hinder the user experience can significantly slow down loading times, impacting user experience. If images and other visuals take too long to load, visitors will get frustrated and leave your site. Fortunately, the solution is simple. Make sure to optimize and compress your self-hosted visuals using free tools such as JPEG Optimizer, Compress Now, and Tiny PNG. While optimizing and compressing visual content on your website and landing pages will undoubtedly improve site speed, you might also want to explore using online storage to free up space on your mobile devices or website hosting platform. Online storage also provides an additional layer of protection should your site experience malicious attacks that compromise or corrupt your data, information, and visual content.
The future of visual marketing
As technology evolves and consumer preferences continue to change, marketing trends will inevitably shift. However, one thing remains constant: visual content will remain a vital tool for brands to connect with their audiences on a deeper level. Align your marketing campaigns with your brand’s core values and messaging. Continue to create relevant, eye-catching, and visually appealing content that draws your target market to your message and captivates their attention.