Are your photography skills stuck in the days of disposable cameras and summer camp selfies? Don’t fret if your boss wants “high-quality” product photos! These fourteen product photography tips, ideas, and techniques will have you covered.
I may not be a professional photographer, but I did get AP college credit for my darkroom photography skills back in the day. I even studied studio art in college and still enjoy photography as a hobby. These days, I mainly use my trusty iPhone instead of film or my old DSLR – it’s amazing how good phone cameras have become. You don’t need expensive gear anymore, your iPhone’s built-in camera is more than capable.
Once you master these tips, your boss will be impressed, and your products will be flying off the shelves. For e-commerce, high-quality product photography is crucial for sales: 93% of consumers cite visual appearance as the most influential factor in purchasing decisions. So, let’s transform you from a selfie novice to a near-professional business photographer with these simple tips and techniques.
Beginner-Friendly Product Photography Tips
You’re already busy optimizing Google Shopping feeds and writing compelling Amazon product descriptions, leaving little time to master photography. That’s why we’re starting with five fundamental product photography tips for beginners.
#1: Illuminate Your Products Properly
Lighting is everything in product photography. Without it, your product and background won’t look the same as they do in person. As Tony Northrup explains in a Digital Photography School article, “A white background without light doesn’t appear white in the photo, it appears grey.”
You have two lighting options: studio or natural. Your product, the photo’s purpose, and the advertising platform will determine the best choice. Natural lighting works wonders for food, people, and clothing, especially for social media like Instagram.
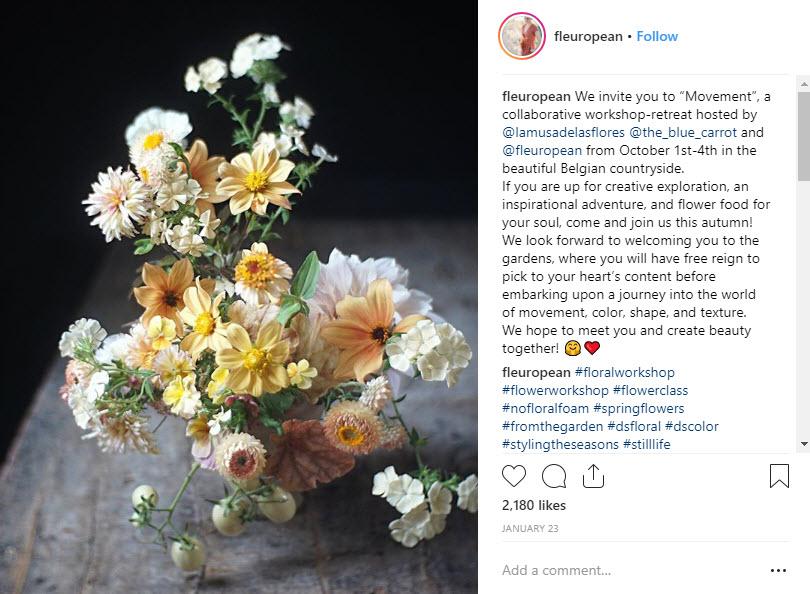
Flowers thrive in natural light. Via @fleuropean For indoor shoots, position your product near a window to maximize natural light. If possible, take your products outside! Early mornings and late afternoons offer ideal lighting with soft sunlight. Slightly overcast days also work well. Avoid shooting at midday when the sun is harshest, or you’ll end up with unwanted glare.
However, if your product is mainly used indoors (like cookware), has intricate details (like artwork), or is sold on platforms like Amazon and Google Shopping, artificial lighting is preferred. Don’t be intimidated by artificial lighting – a little knowledge and building a simple studio setup can go a long way.
While artificial lighting might seem daunting, it’s essential for advertising on platforms like Amazon and Google Shopping. For valuable insights, check out this guide from Light Stalking and this (food-specific) one from Pinch of Yum.
#2: Stabilize Your Shots with a Tripod
Tripods might seem overly technical, but they dramatically enhance the clarity and quality of your product photography. And the best part? They don’t have to be expensive or complicated.
Essentially, tripods eliminate camera shake from your hands, ensuring sharper images, a crucial aspect of professional-looking product photography.
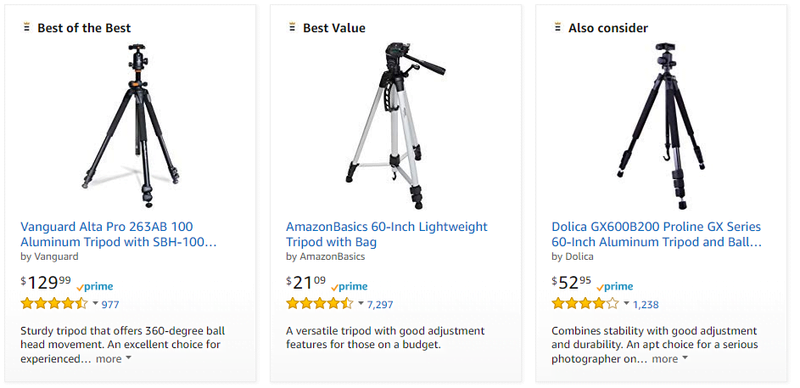
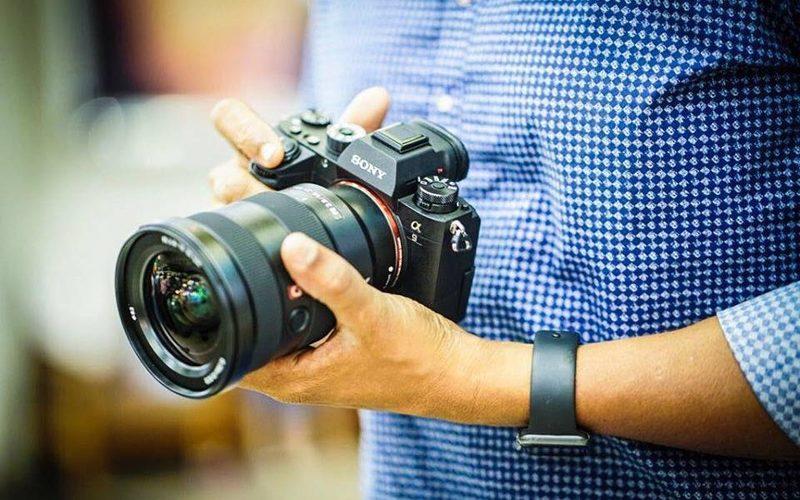
Whether you use a sophisticated DSLR or a simple iPhone, countless tripods cater to every camera type and budget. Head to Amazon and find the perfect one for your needs. Trust me, that extra minute setting up a tripod is worth it for exceptional product photos.
#3: Aim for Minimal Editing
Ever pulled an all-nighter to finish an assignment, thinking you’d fix it in the morning? Only to realize your draft is so rough that starting over would be quicker?
The same principle applies to photography. Don’t rely on Photoshop magic to salvage poorly shot photos. While editing can significantly enhance a photo, it has limitations. Think of it as fine-tuning an already stunning piece of art. Needing to replace the background or heavily crop elements signals a problem during shooting.
Adopt the “shoot for the edit” mindset. Capture your images knowing that minimal editing will enhance, not transform, them, leading to more impressive results.
#4: Master Basic Photo Editing
While editing should be minimal, it’s an indispensable skill for product photography. Minor adjustments, like tweaking saturation or masking imperfections, can significantly elevate the final image.
However, the sheer volume of editing possibilities can feel overwhelming without proper guidance, especially with powerful tools like Photoshop. Learning the fundamentals from professionals prevents you from feeling lost while editing.
Don’t worry if you can’t afford expensive courses! YouTube is a treasure trove of free tutorials covering the basics of various editing software.
Instagram-Worthy Product Photography Tips
insights released by Facebook in February 2019 reveals that 83% of Instagram users discover new products and services on the platform, with 79% seeking more information after seeing a product on Instagram.
Clearly, e-commerce businesses need to be on Instagram. Here are five more practical product photography tips.
#5: Draw Inspiration from Your Favorite Brands
Seeking inspiration from others is always beneficial. You probably already have some favorite brands in mind. Analyze their product photography and see if you can adapt similar techniques for your products.
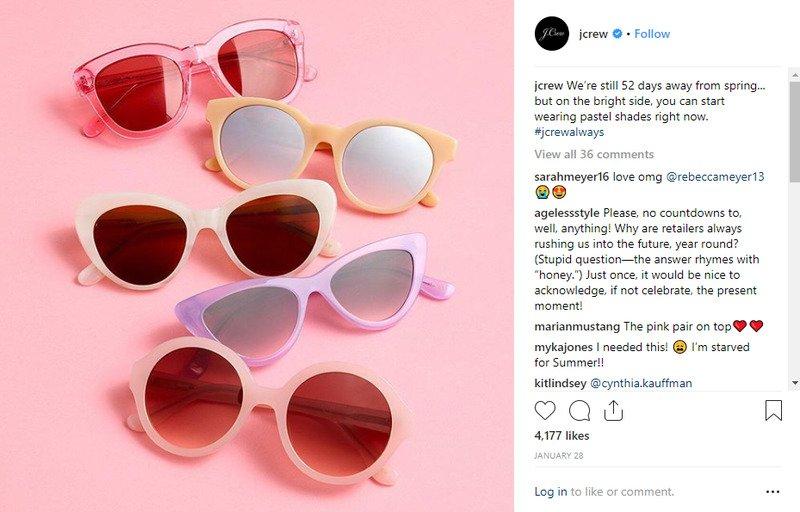
Let’s say you run a women’s clothing boutique. Look at your favorite women’s clothing brands on Instagram and identify what you like about their product photos. Maybe you’re drawn to the simplicity of a JCrew post, with its monochromatic color scheme and clean background that highlights the product. Can you recreate a similar aesthetic with your products?
#6: Master the Rule of Thirds
Most introductory photography and art classes teach the rule of thirds because it’s a powerful composition tool. This rule divides your frame into nine equal segments, as shown below.
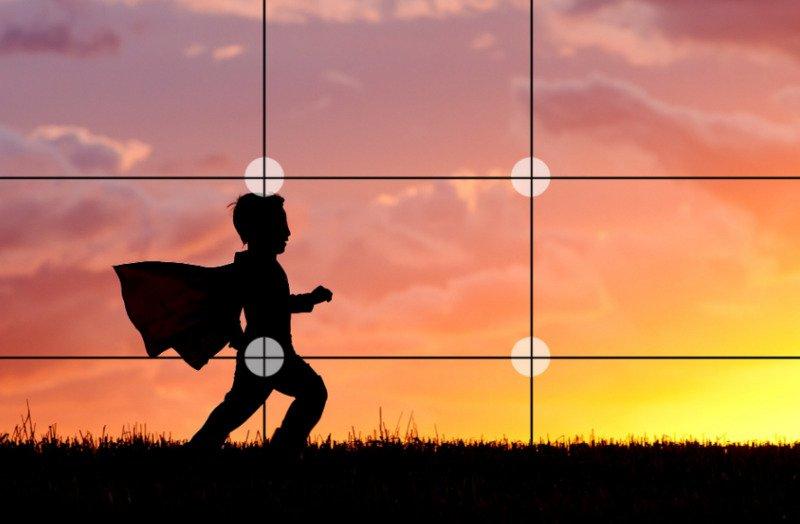
The rule of thirds helps artists create balanced compositions. It also guides you in placing your focal point – your product. The goal is to position your product along the gridlines, ideally at an intersection point.
Darren Rowse, founder of Digital School Photography, explains, “Studies have shown that when viewing images, people’s eyes naturally gravitate towards one of the intersection points rather than the center.” The rule of thirds aligns with this natural viewing tendency, creating a more engaging image.
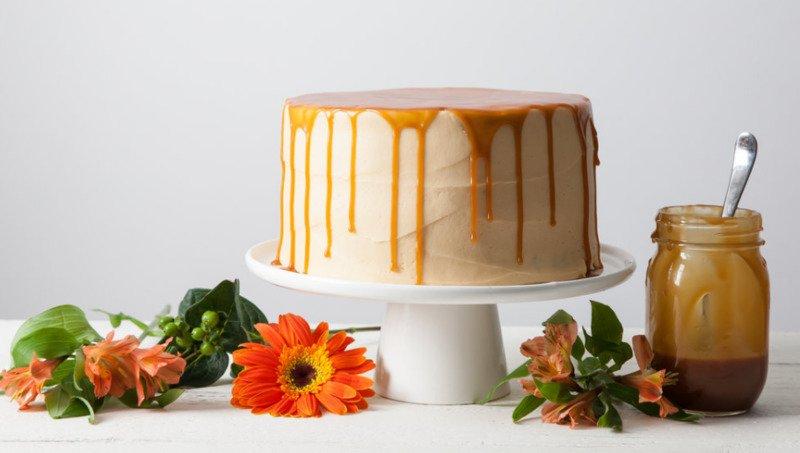
#7: Incorporate Simple Props
When it comes to product photography props, less is more! Remember, your product should remain the star. However, props can add context and visual appeal.
So how do you choose the right props? Opt for simplicity – keep them minimal, consistent with your color scheme, and relevant to the scene or product.
Take this example from Erin Clarkson, a baker I follow on Instagram. To showcase her new cake recipe, she uses a plain white cake stand, a container of caramel (a key ingredient, hence relevant), and fresh flowers for a touch of natural color. Even without the flowers, the caramel sauce alone would work as a prop, but the flowers enhance the final presentation.
#8: Capture Multiple Shots from Various Angles
If you have a large product line, it might be tempting to take just a couple of photos per product and move on. However, this contradicts the “shoot for the edit” approach. Taking multiple shots from different angles provides a comprehensive view of your product. Plus, it gives you more options during editing, preventing the dreaded “Should we reshoot this?” feeling.
When photographing food for social media, I like shooting from overhead and various side angles.
Sometimes, my preconceived notions about the best angle are completely off. The beauty of product photography lies in capturing multiple shots and choosing the most compelling one.


#9: Place Your Product in Context
Potential customers need to visualize themselves using your product. If they can’t imagine themselves using it based on your photos, why would they buy it?
Most people with limited budgets need assurance that a product will improve their lives before making a purchase.
This visualization becomes challenging when products are shown out of context. For instance, someone looking for a couch for their new apartment might struggle to envision it in their space if it’s advertised against a plain background.
However, seeing the same couch in a home setting, as shown below, makes visualization effortless:

Product Photography Tips for Amazon & Google Shopping
As the dominant (arguably the only) product search engines, Amazon and Google Shopping deserve special attention in our guide.
Not using Google Shopping yet? Get our free beginner’s guide and watch your revenue soar!
#10: Adhere to Platform-Specific Guidelines
Amazon and Google Shopping offer incredible opportunities for e-commerce businesses, but they come with specific product photography rules.
Amazon Product Photography Specifications: No Variant Code or MAIN Variant
- File formats: TIFF (.tif/.tiff), JPG (.jpg/.jpeg), GIF (.gif), or PNG (.png)
- File naming: product identifier (e.g., UPC) followed by a period and file extension (e.g., F000345123.jpg)
- Professional photos only; no illustrations
- No additional products or objects allowed
- For books, CDs, or DVDs, only the cover art is allowed; other products should occupy at least 85% of the frame
- Pure white background; no text, graphics, or additional images
Amazon Product Photography Specifications: All Other Products
- Professional photos relevant to the product
- Additional products or objects allowed for scale demonstration
- Cropped photos, close-ups, backgrounds, environments, text, and demonstrative graphics are permitted
Google Shopping Product Photography Specifications
- File formats: TIFF (.tif/.tiff), JPG (.jpg/.jpeg), GIF (.gif), PNG (.png), or BMP (.bmp)
- Accurate product depiction; no stock photos
- No promotional text, watermarks, or borders
- Minimum size: 100 x 100 pixels (non-apparel), 250 x 250 pixels (apparel); maximum 64 megapixels; no upscaling
- White, gray, or lightly colored background strongly recommended (practically required)
- Crawlable photo URL linked to the main product image
#11: Opt for a Plain White Background
My food photography course in college taught me the power of simplicity. A busy, patterned background is the worst thing you can do, especially for food. Your delicious pasta or beautifully decorated cake, which should be the star, gets lost in the visual chaos.
A clean, simple background ensures your product takes center stage. While pale blue, pink, or yellow can work, white is always a safe bet for a crisp, clean look.

A white background is a good practice in general and a requirement for Amazon product listings. While not mandatory for Google Shopping ads, it’s a highly encouraged best practice.
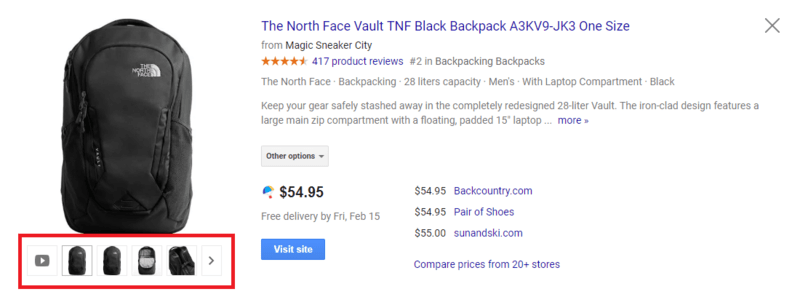
#12: Showcase the Details
Verbal descriptions, however detailed, can’t always effectively convey the intricacies of your product.
While some people easily visualize from bullet points, many others rely on visuals to process information.
Capture detailed photos of every important aspect to provide visual learners with a complete understanding. This eliminates guesswork and ensures clarity.
For instance, if you sell backpacks, your listing should include photos showcasing key features: mesh exterior pockets, a dedicated laptop sleeve, ample zippered compartments, etc. These visuals give potential customers a clearer picture, increasing their likelihood of purchasing.
#13: Use Diagrams for Clarity
This tip is especially helpful for products with features that are difficult to convey through standard photos. People need to understand how something works before they buy it.
A simple diagram effectively breaks down your product’s components and explains their functions.

This example zooms in on a mattress and divides it into four parts, clearly explaining the difference between memory foam and standard mattresses.
By using a diagram, you highlight your product’s unique value proposition, which is ultimately what you want your product photos to achieve.
#14: Showcase Your Product Range
Many businesses offer various products within the same category. For example, if you sell dinner plates, you likely have more than just one design.
This is crucial because customers have diverse preferences. Very few people searching for dinner plates have the exact same idea in mind.
To attract a wider audience and drive clicks, showcase your product range. This allows you to cater to different tastes.
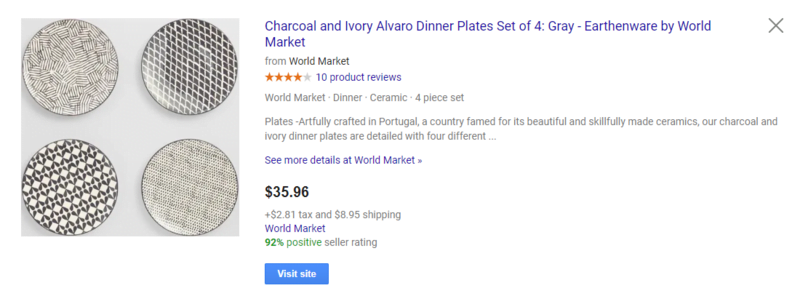
This seller understands this principle. By giving equal importance to each plate in the set, they appeal to a broader audience. Different plates will resonate with different people, generating more clicks than a single-plate photo.